Intro
In my last post, I walked you through the basic setup and Operating System install of a Raspberry Pi. Now lets move onto making it a NAS/Media Centre device.
I actually went down 2 different paths - initially I went with OpenMediaVault and reverted to a my previous setup when I encountered issues with my HDDs that I incorrectly blamed OMV for - so I will also do a post on both the issues experienced and how to do this without OMV.
The remainder of this post will cover the OMV install and configuration.
So what is OpenMediaVault
OpenMediaVault is a
network attached storage (NAS) solution based on Debian Linux. It contains services like SSH, (S)FTP, SMB/CIFS, DAAP media server, RSync, BitTorrent client and many more. Thanks to the modular design of the framework it can be enhanced via plugins.
Why use it?
My reasoning for using OMV was primarily a desire to have to do less mucking around in the terminal to manage my NAS/Media Centre (NASpberry Pi, if you will) and just use a convenient web GUI.#
Getting Started
There are installation guides on the OMV forums. I followed the one for OMV 5 (v6 release candidate has only just been released and requires your Pi to be running Raspberry Pi Bullseye OS - a guide for doing so can be found here).
Personally, I opted for OMV5 because OMV6 was a little too new and unproven for my likiing.
The guide I followed is here.
That guide does also cover a lot of what I did in my last post on setting up your Pi, though I took some steps to improve the security by both removing the default pi usercode after creating a new user (they create a new user but do not remove the default user) and by also using SSH Key authentication and disabling password authentication.
The actual install of OMV is pretty straighforward, you just download and run the script and it does all the work, right?
A Warning
You should never blindly run a script you know nothing about.
You should never pipe a script from the internet (whose contents you have not reviewed and therefore can have no trust in) straight into your shell.
You should never pipe a script from the internet straight to your shell executed by sudo in an elevated security context (if you don’t know why, read the above lines again).
This might sound like I’m overreacting, but this is no different to automatically running a downloaded executable on Windows and when it asks to elevate to Administrator privileges via User Account Control, just simply clicking “Yes” without thinking.
A safer way
-
Download the script as a single process:
wget -O - https://github.com/OpenMediaVault-Plugin-Developers/installScript/raw/master/install -
This allows you the opportunity to review the script yourself, by viewing it in a text editor for example, by running
nano installYou can also make use of Static Application Security Testing (SAST) code scanning tools such as SonarQube.
In my case, I was confident enough in my ability to review the shell script and get a feel for what it was doing (see below for more details).
-
Execute the code only once reviewed and confident it is safe.
Reviewing the code
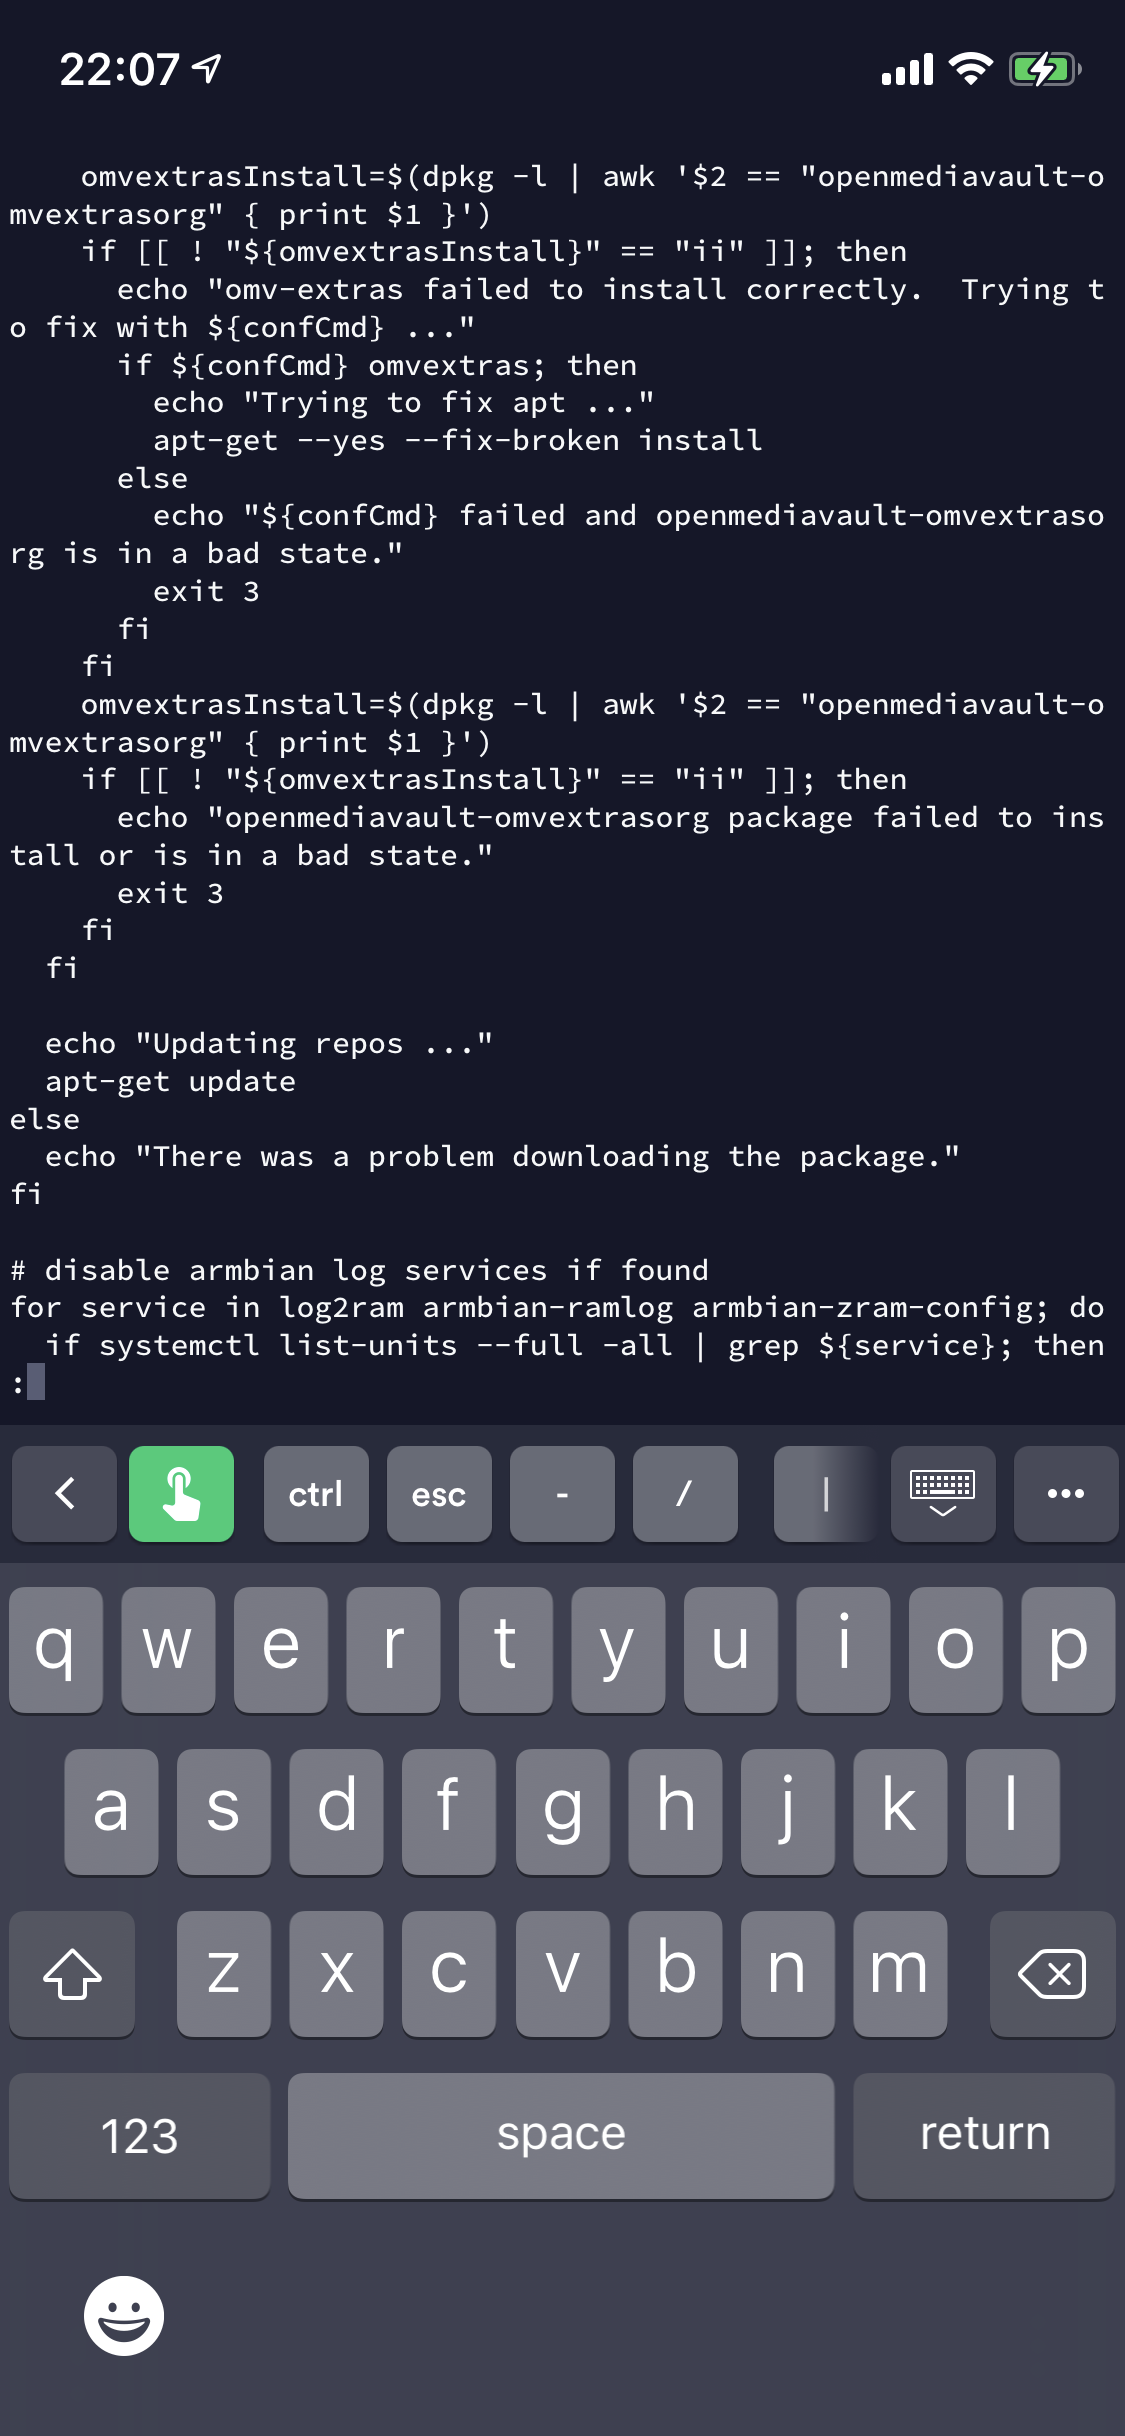
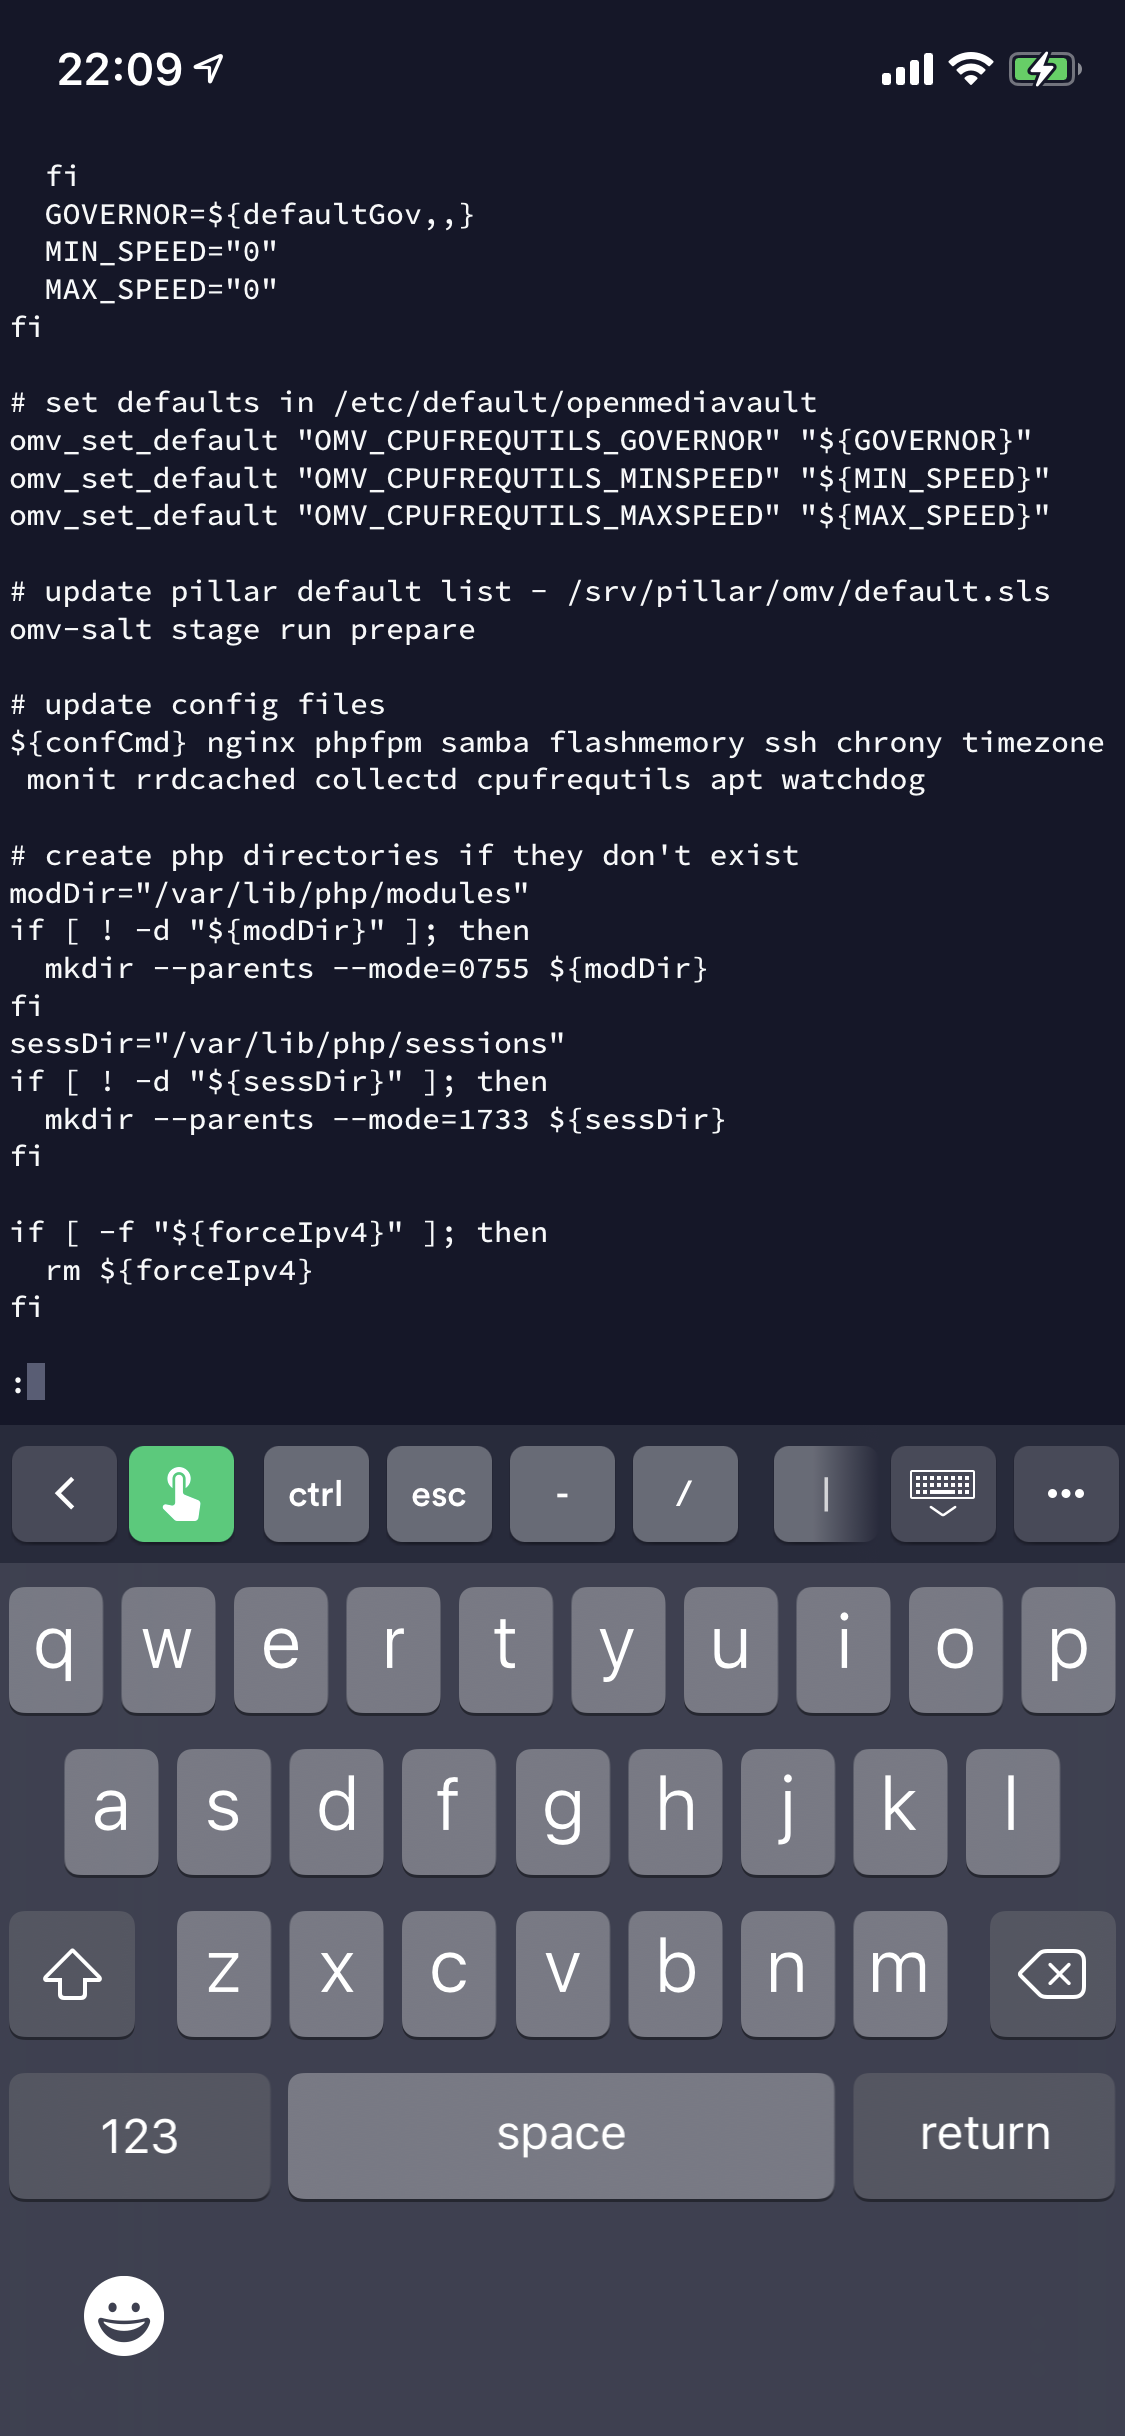
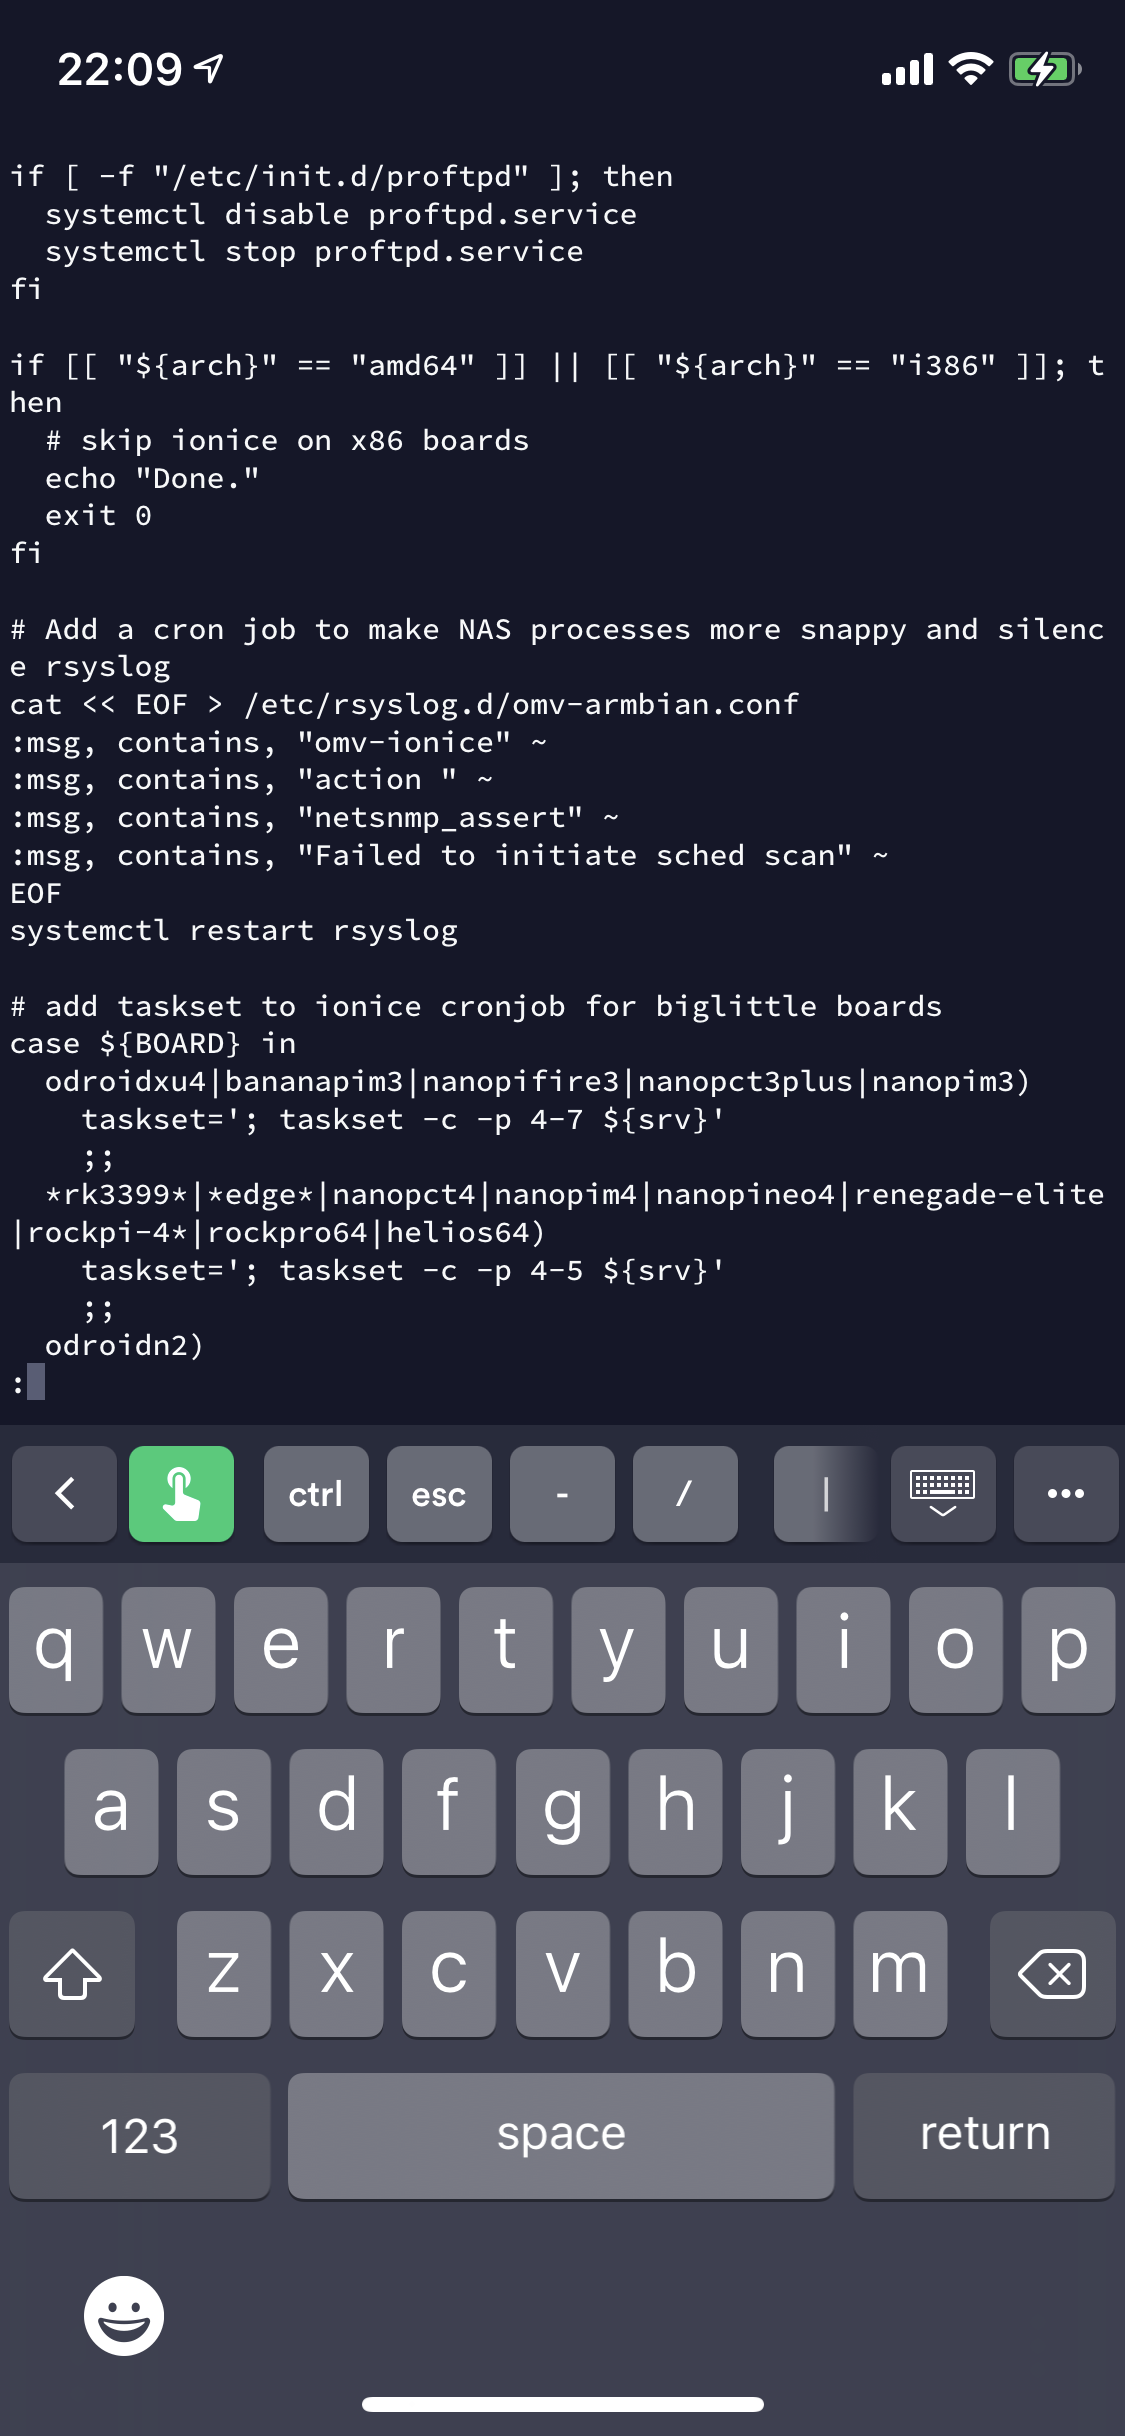
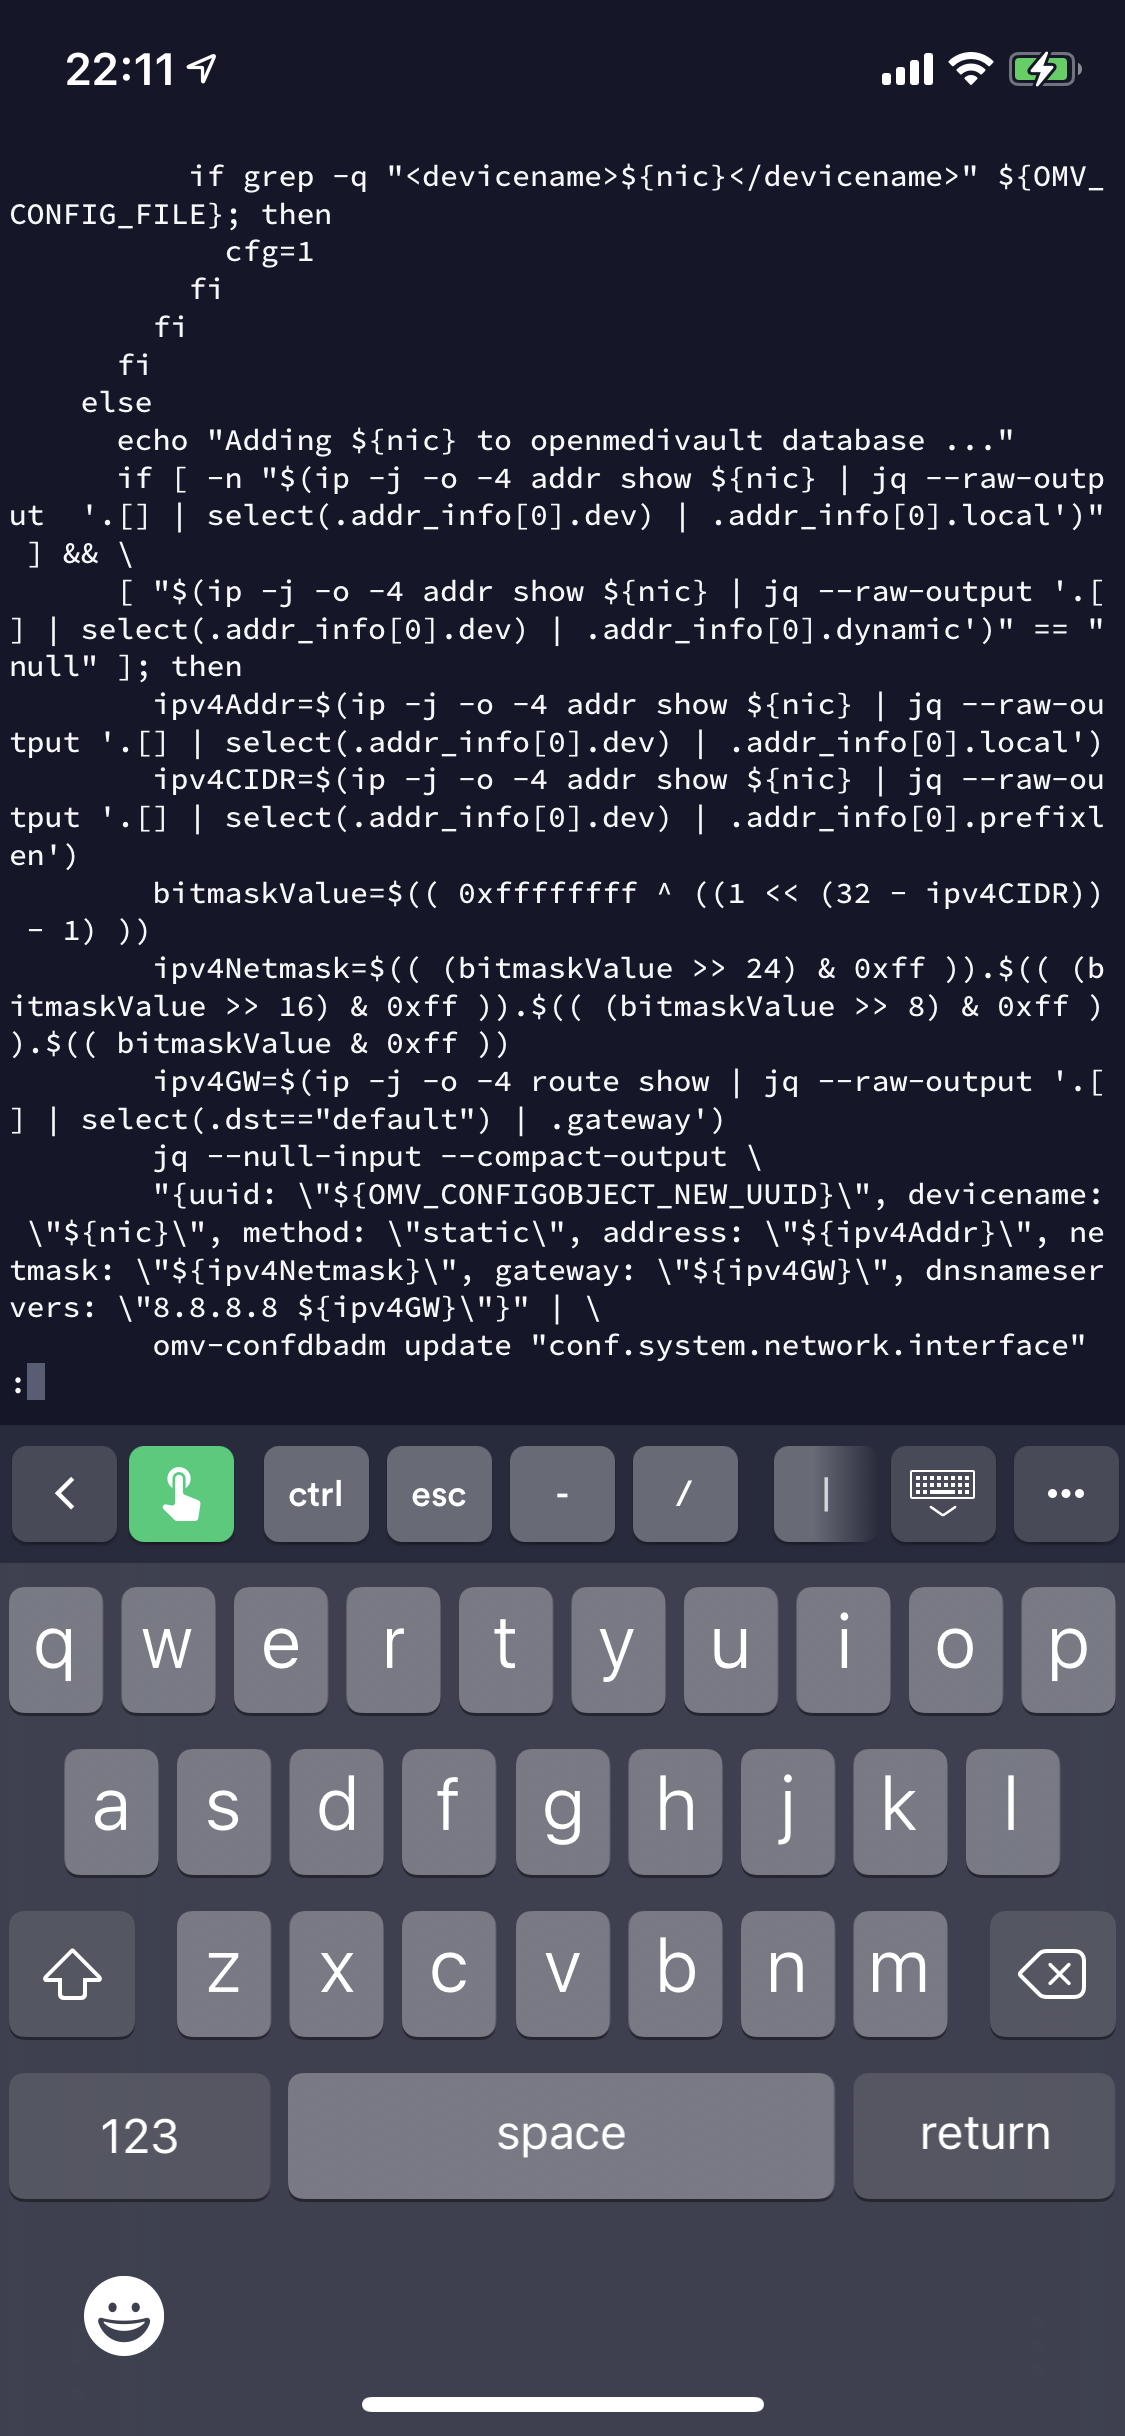
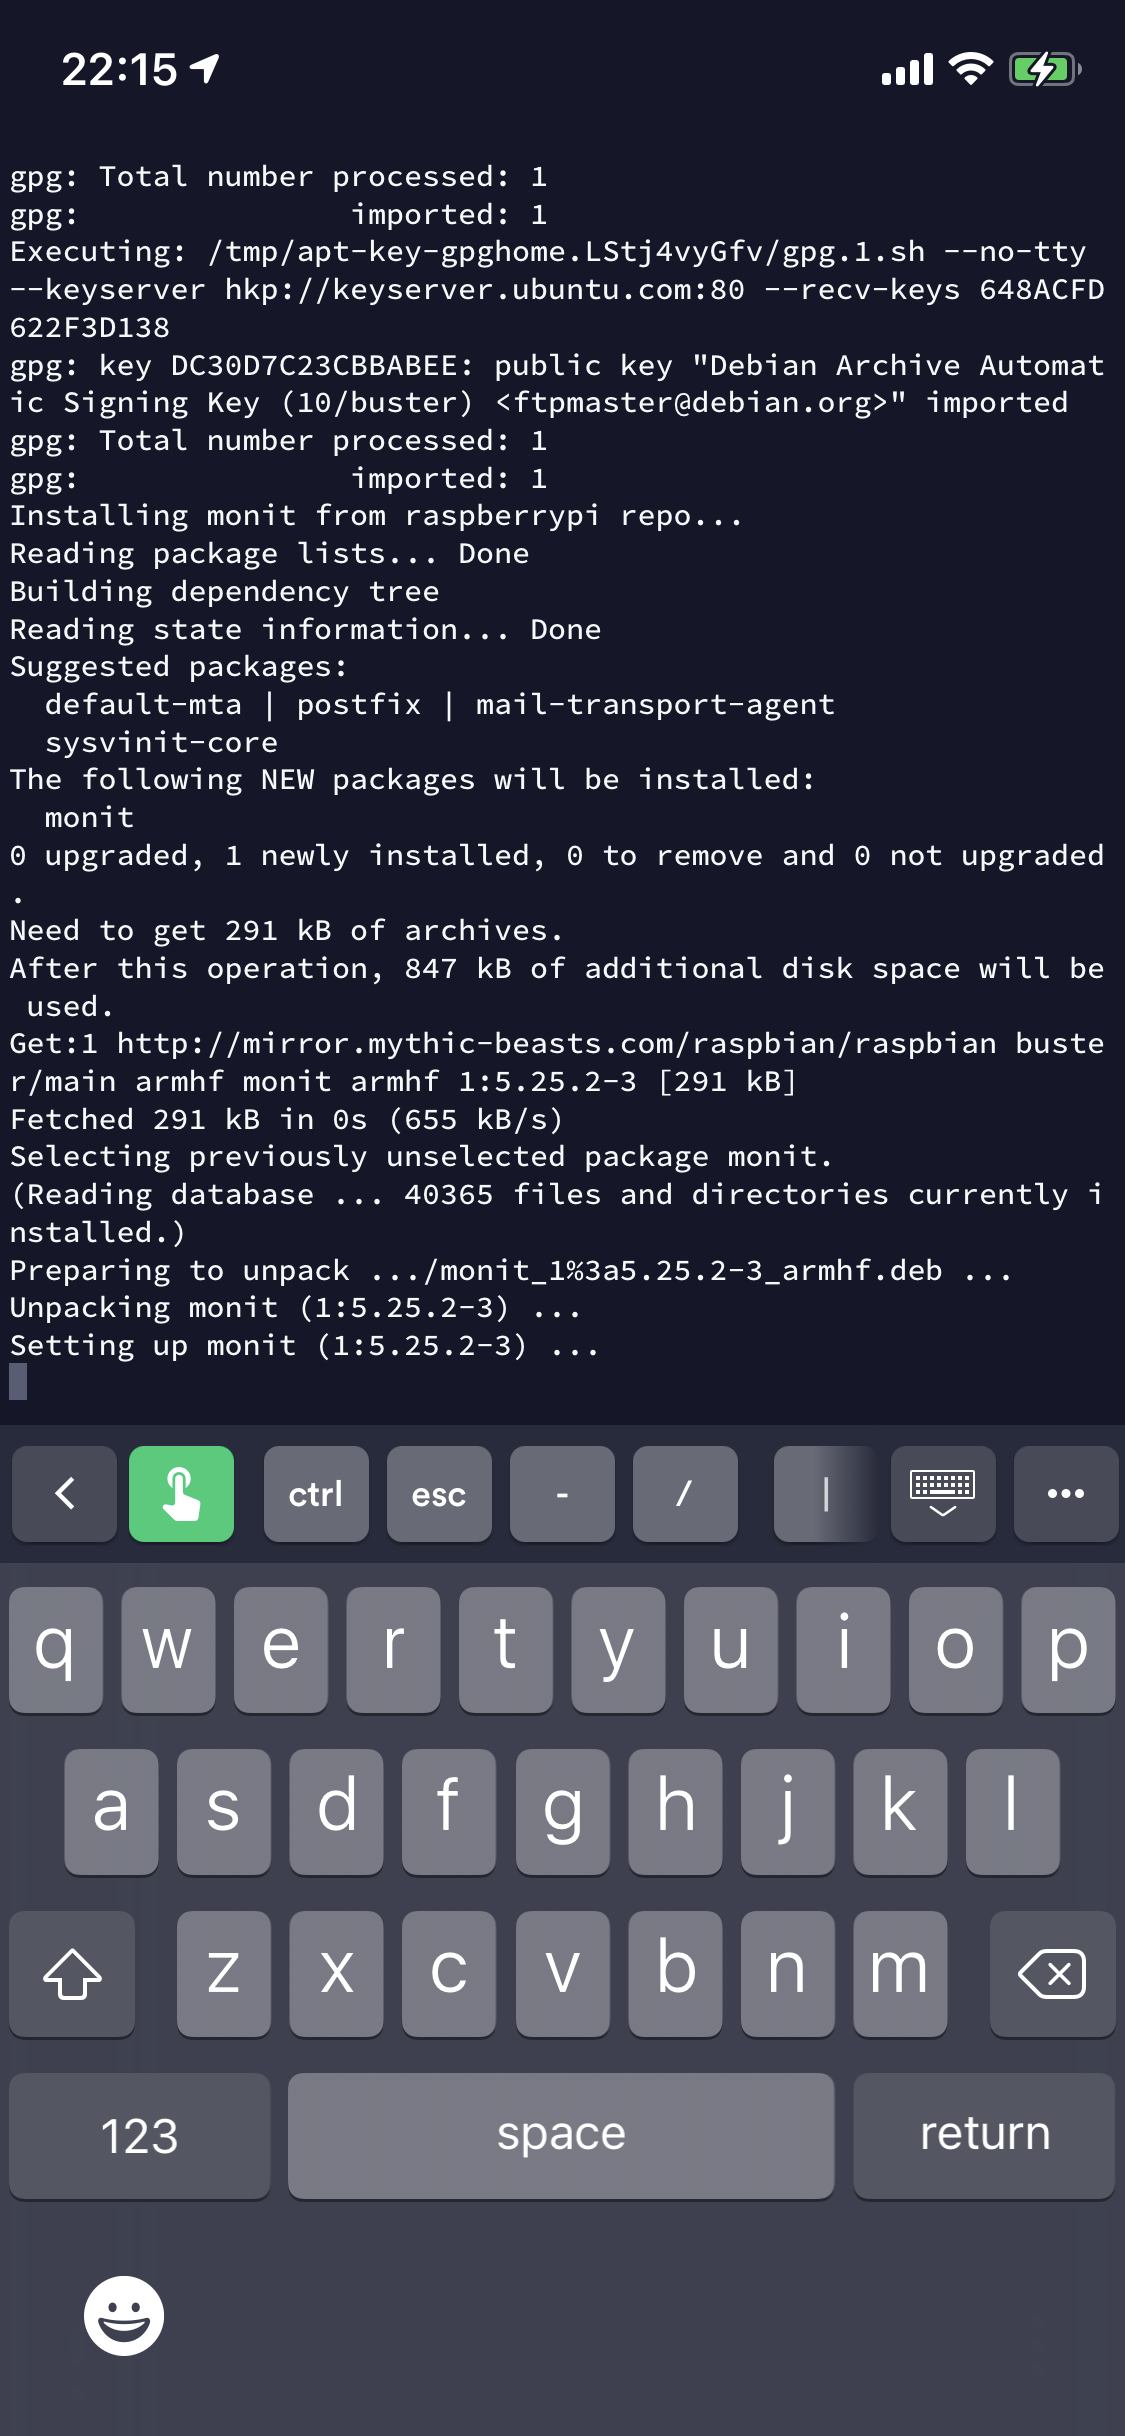
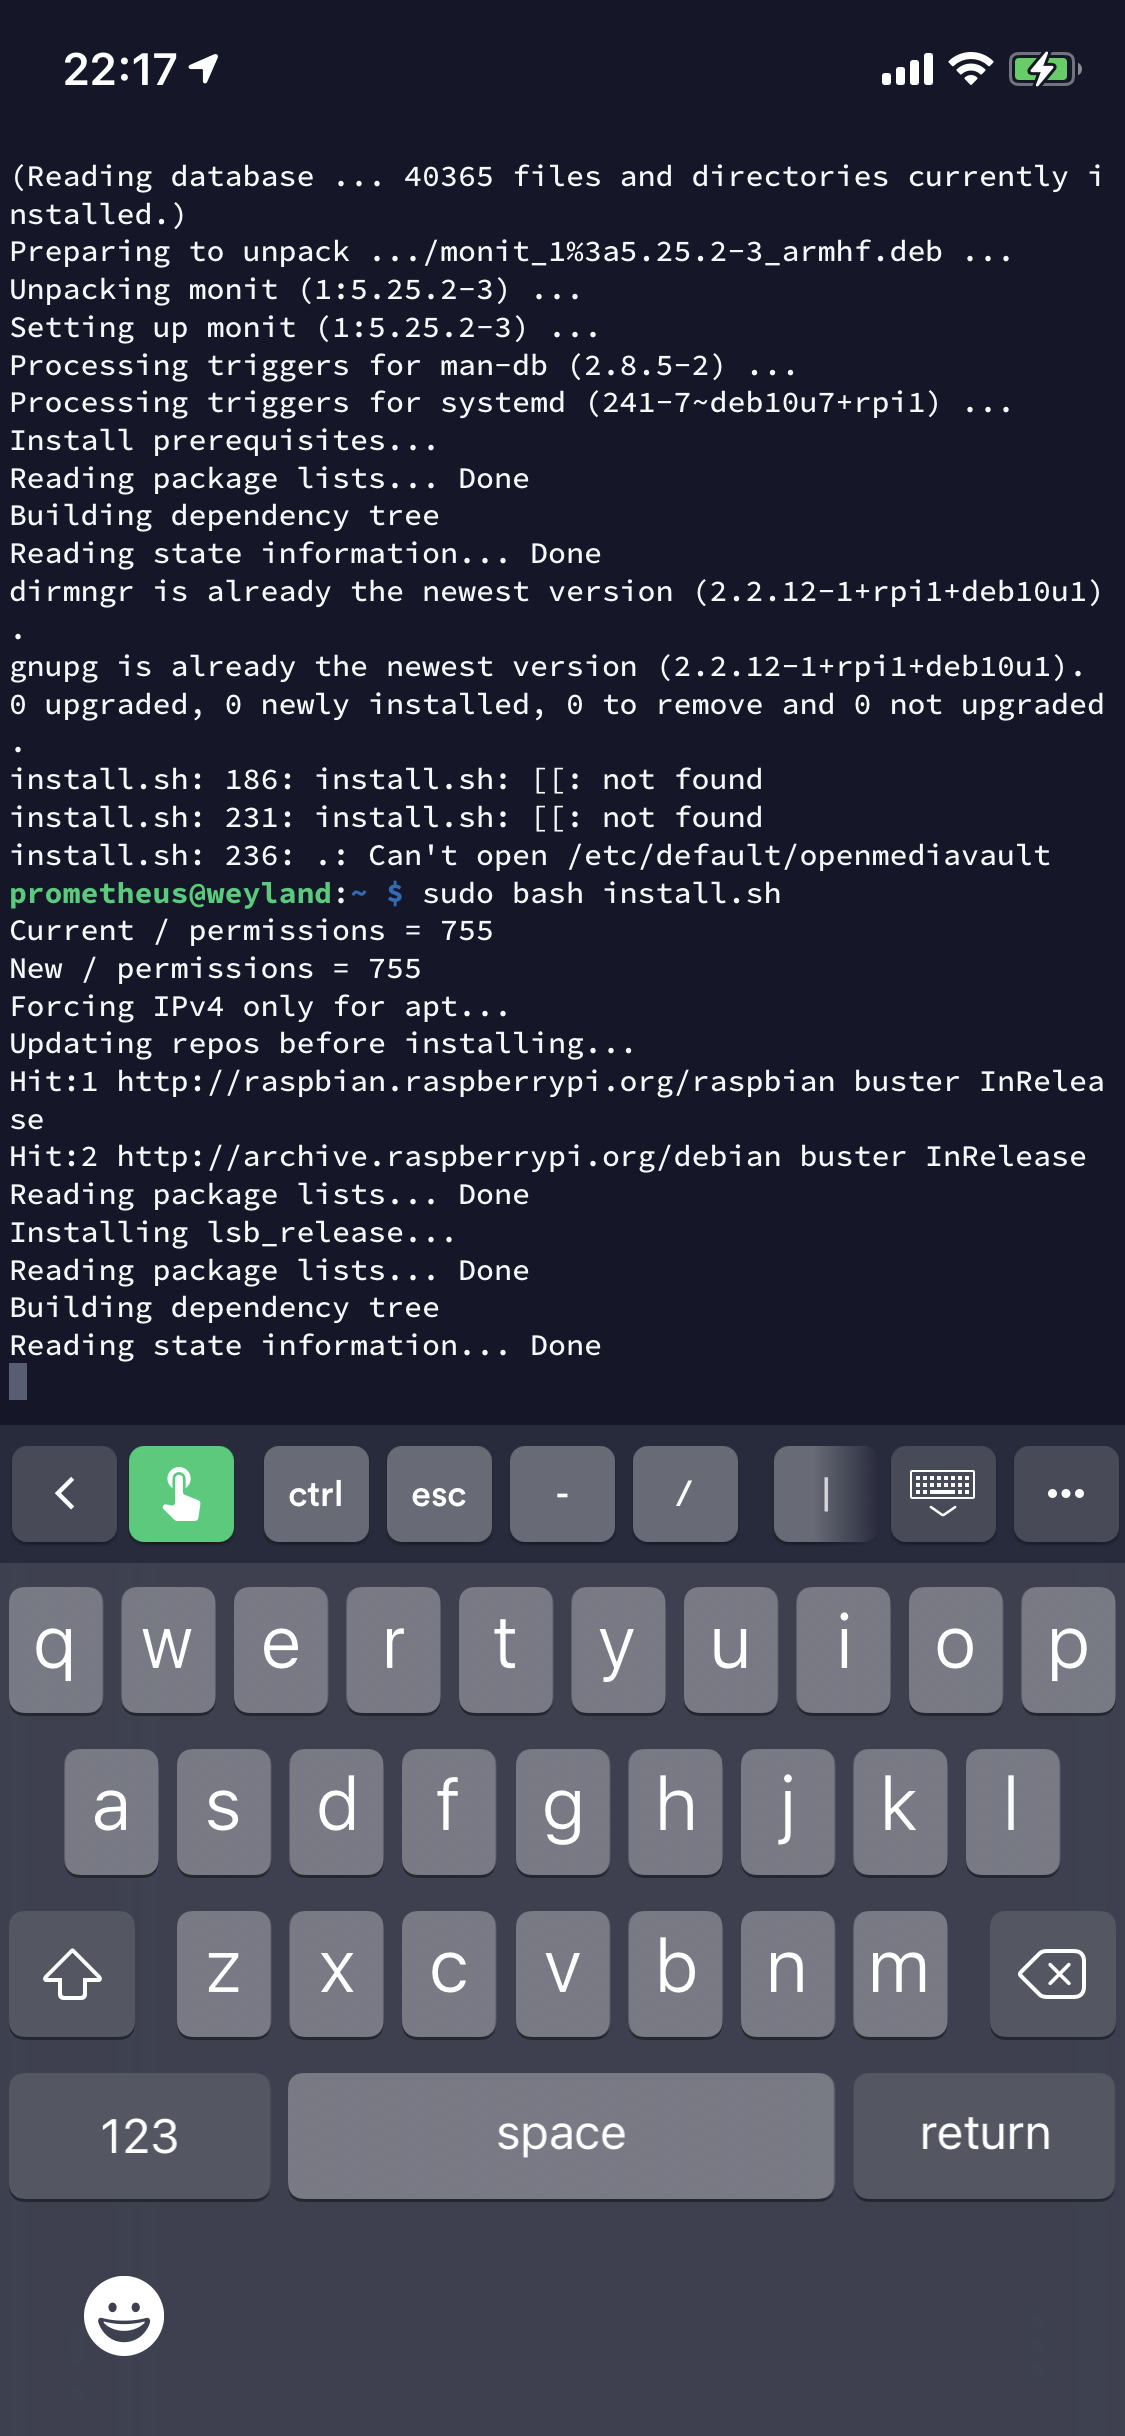
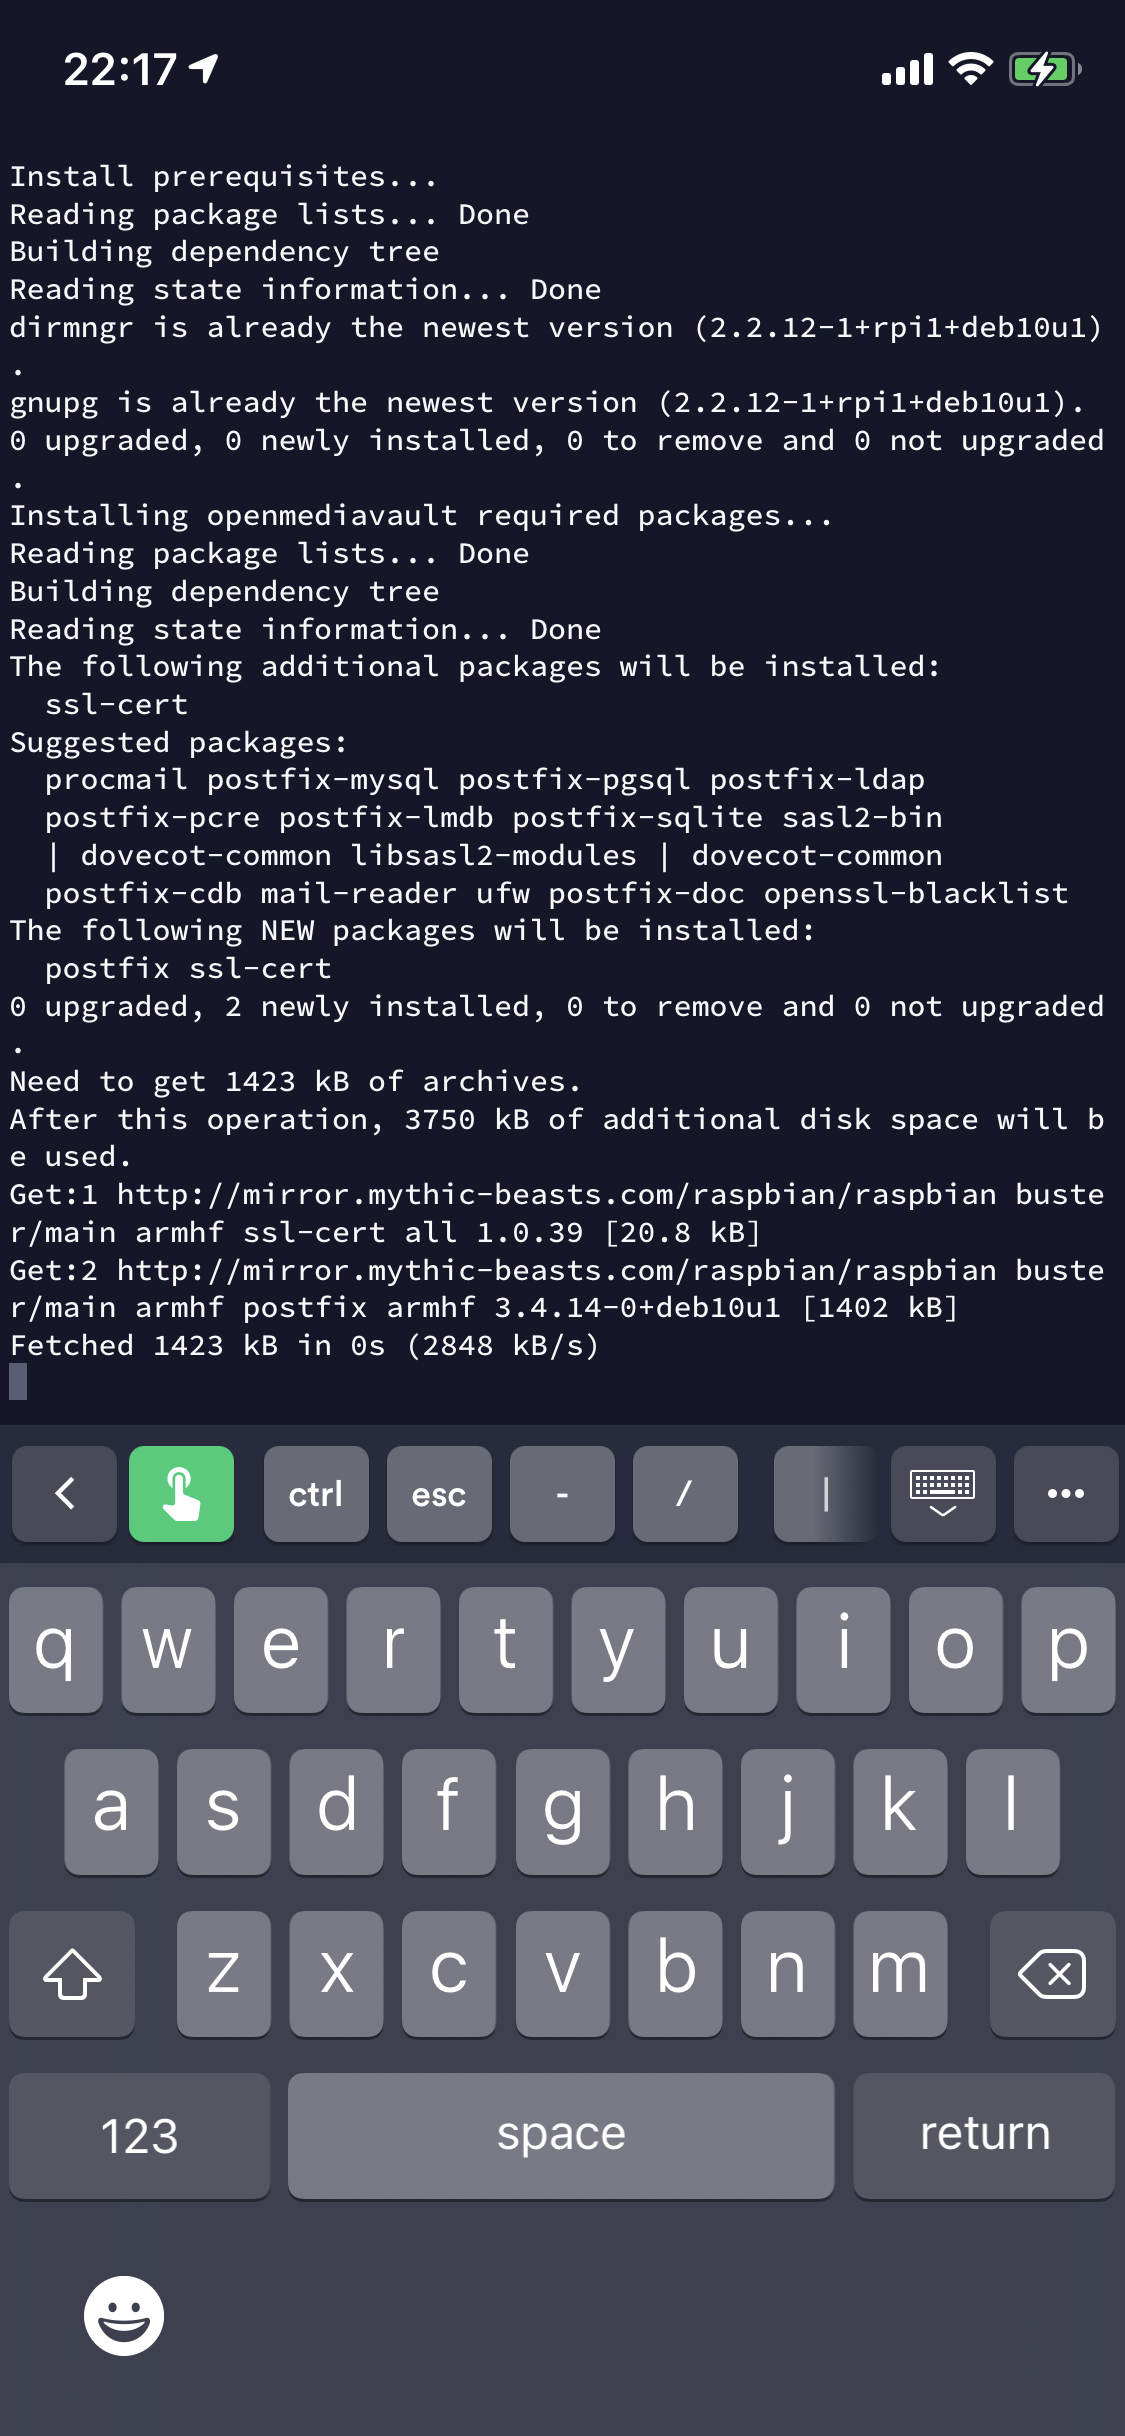
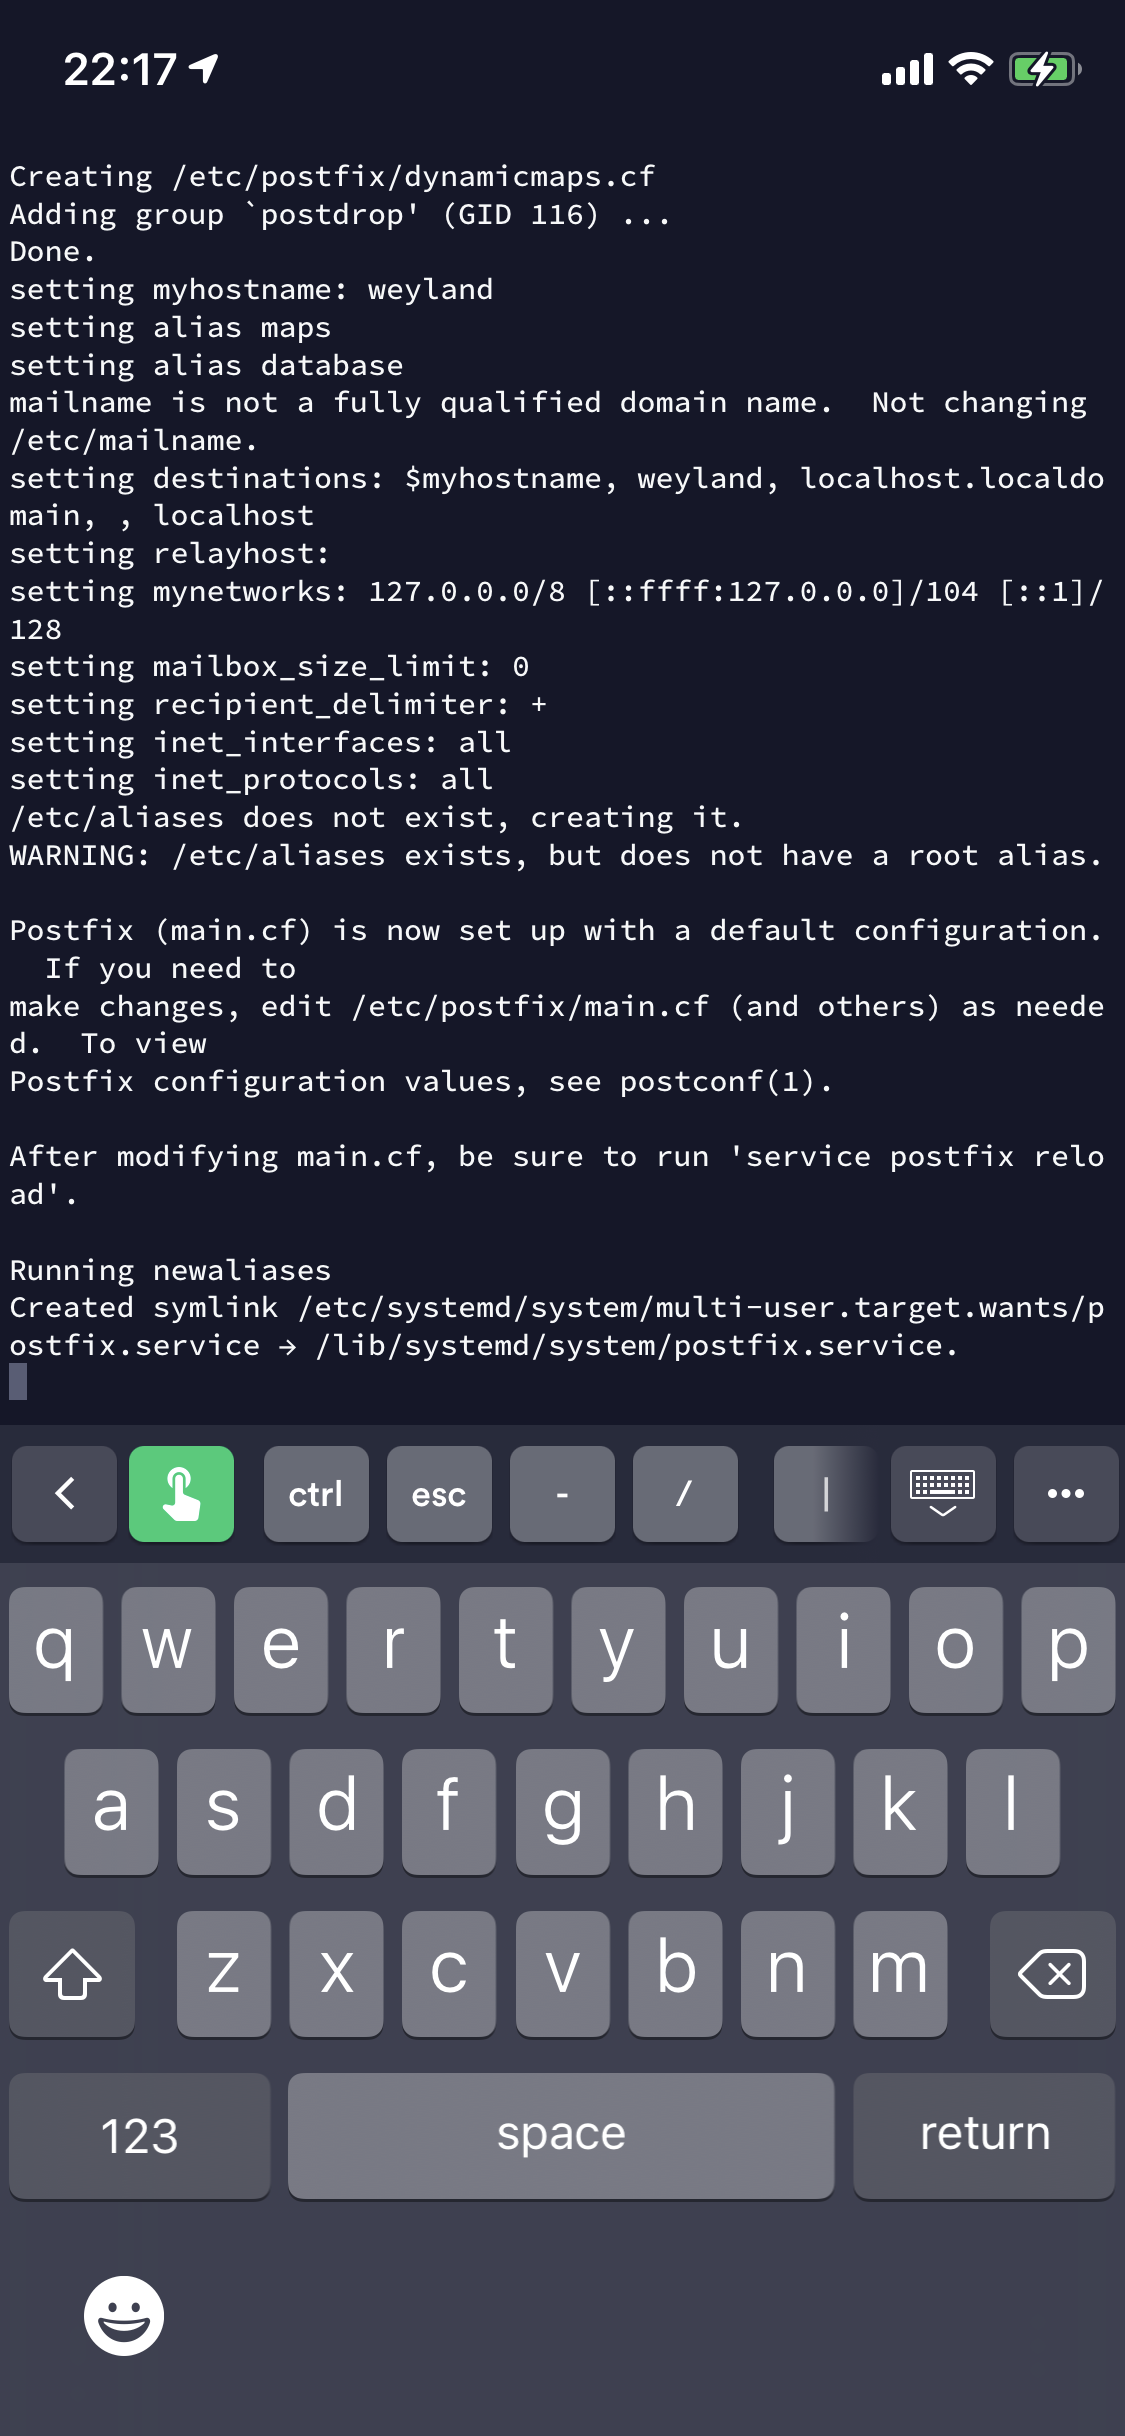
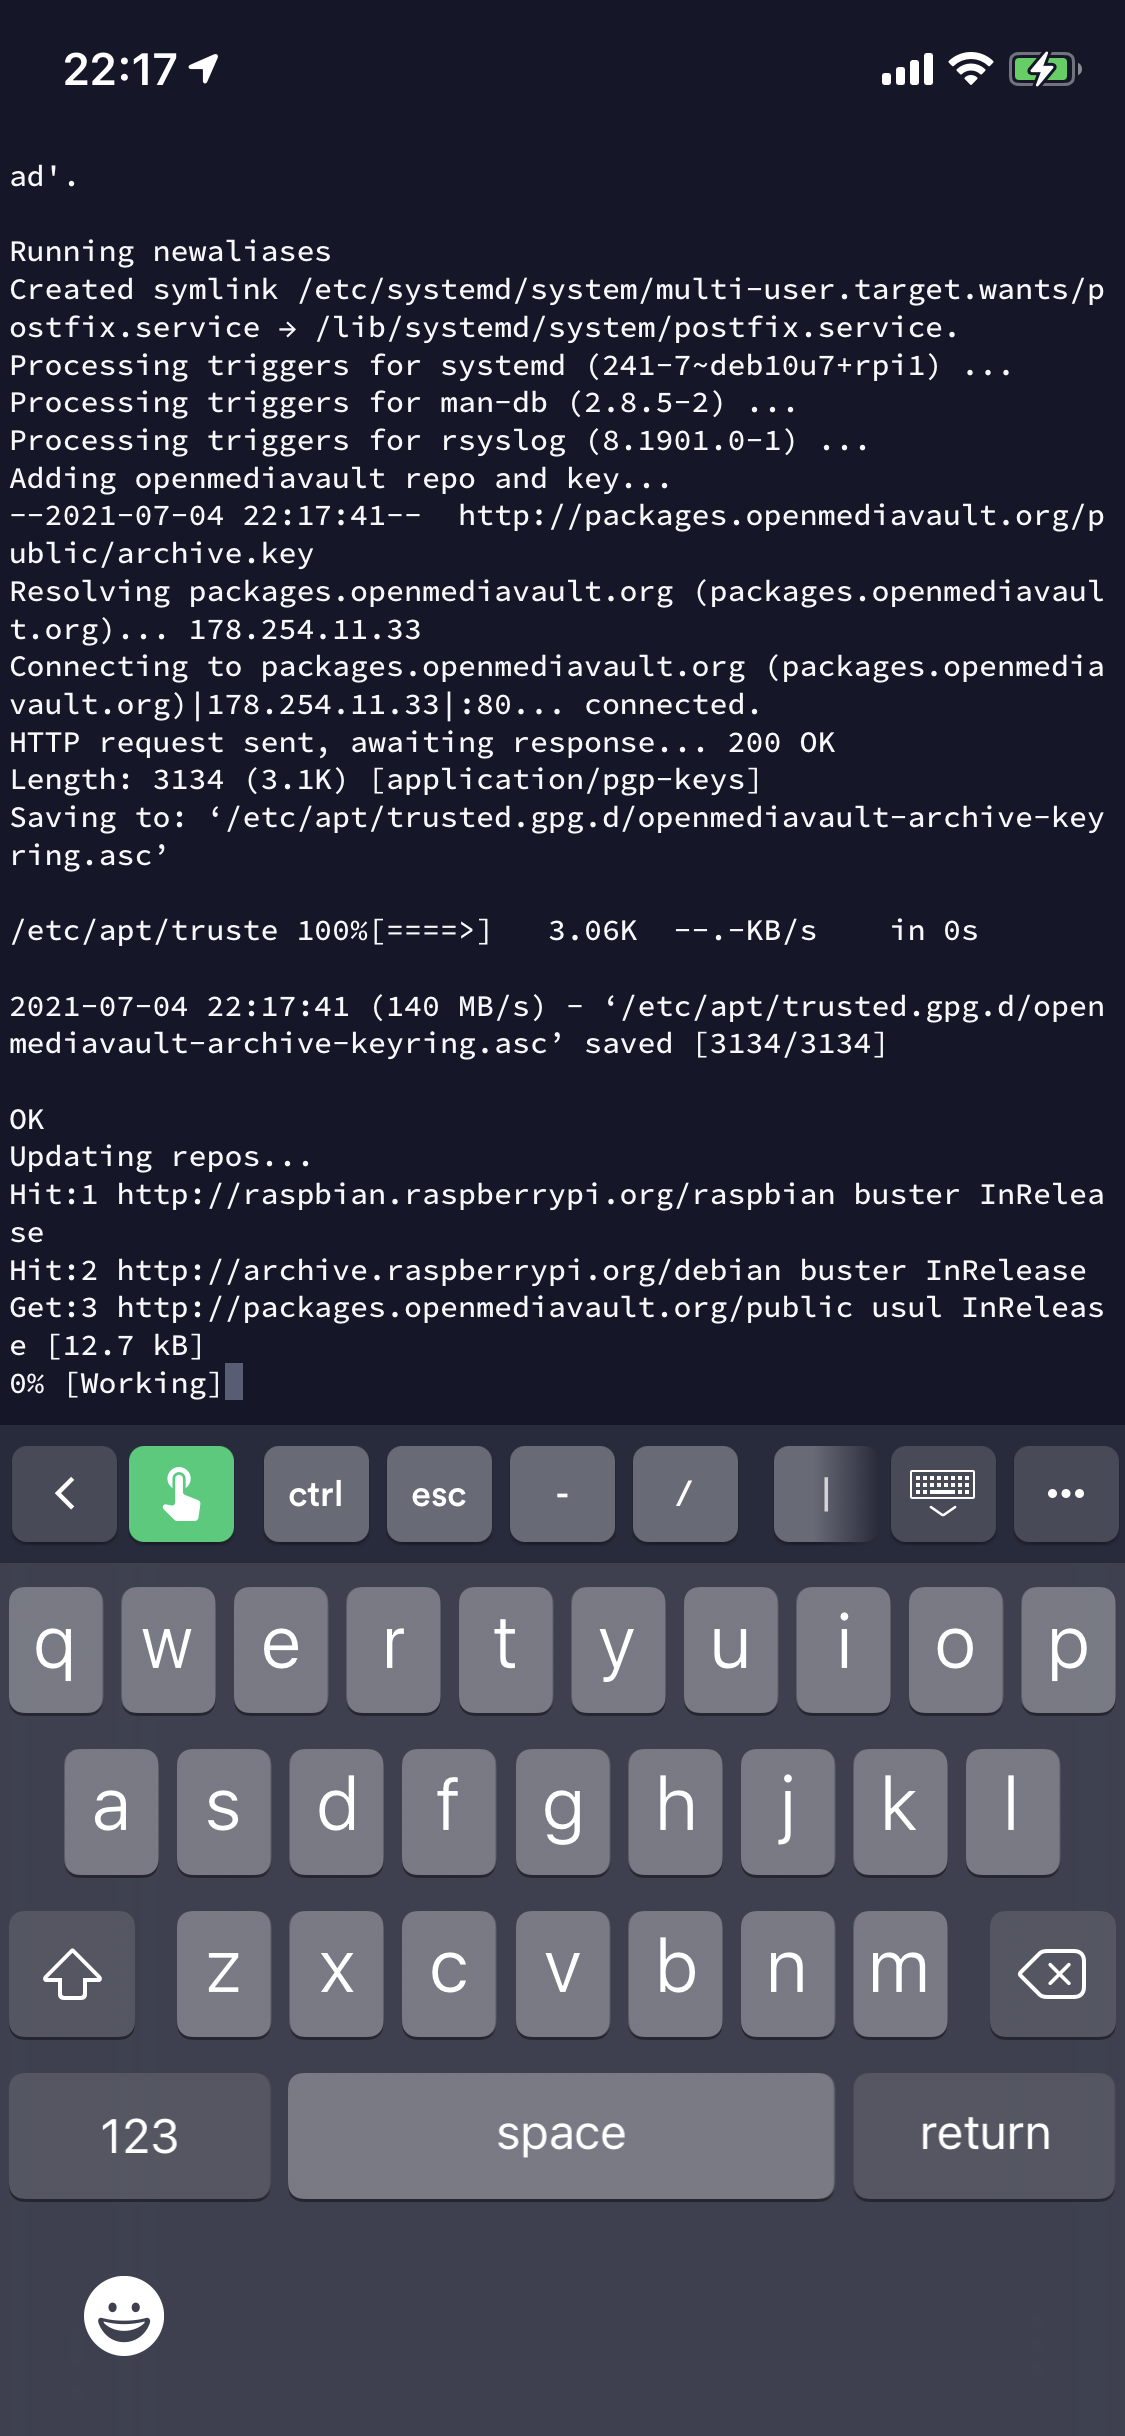
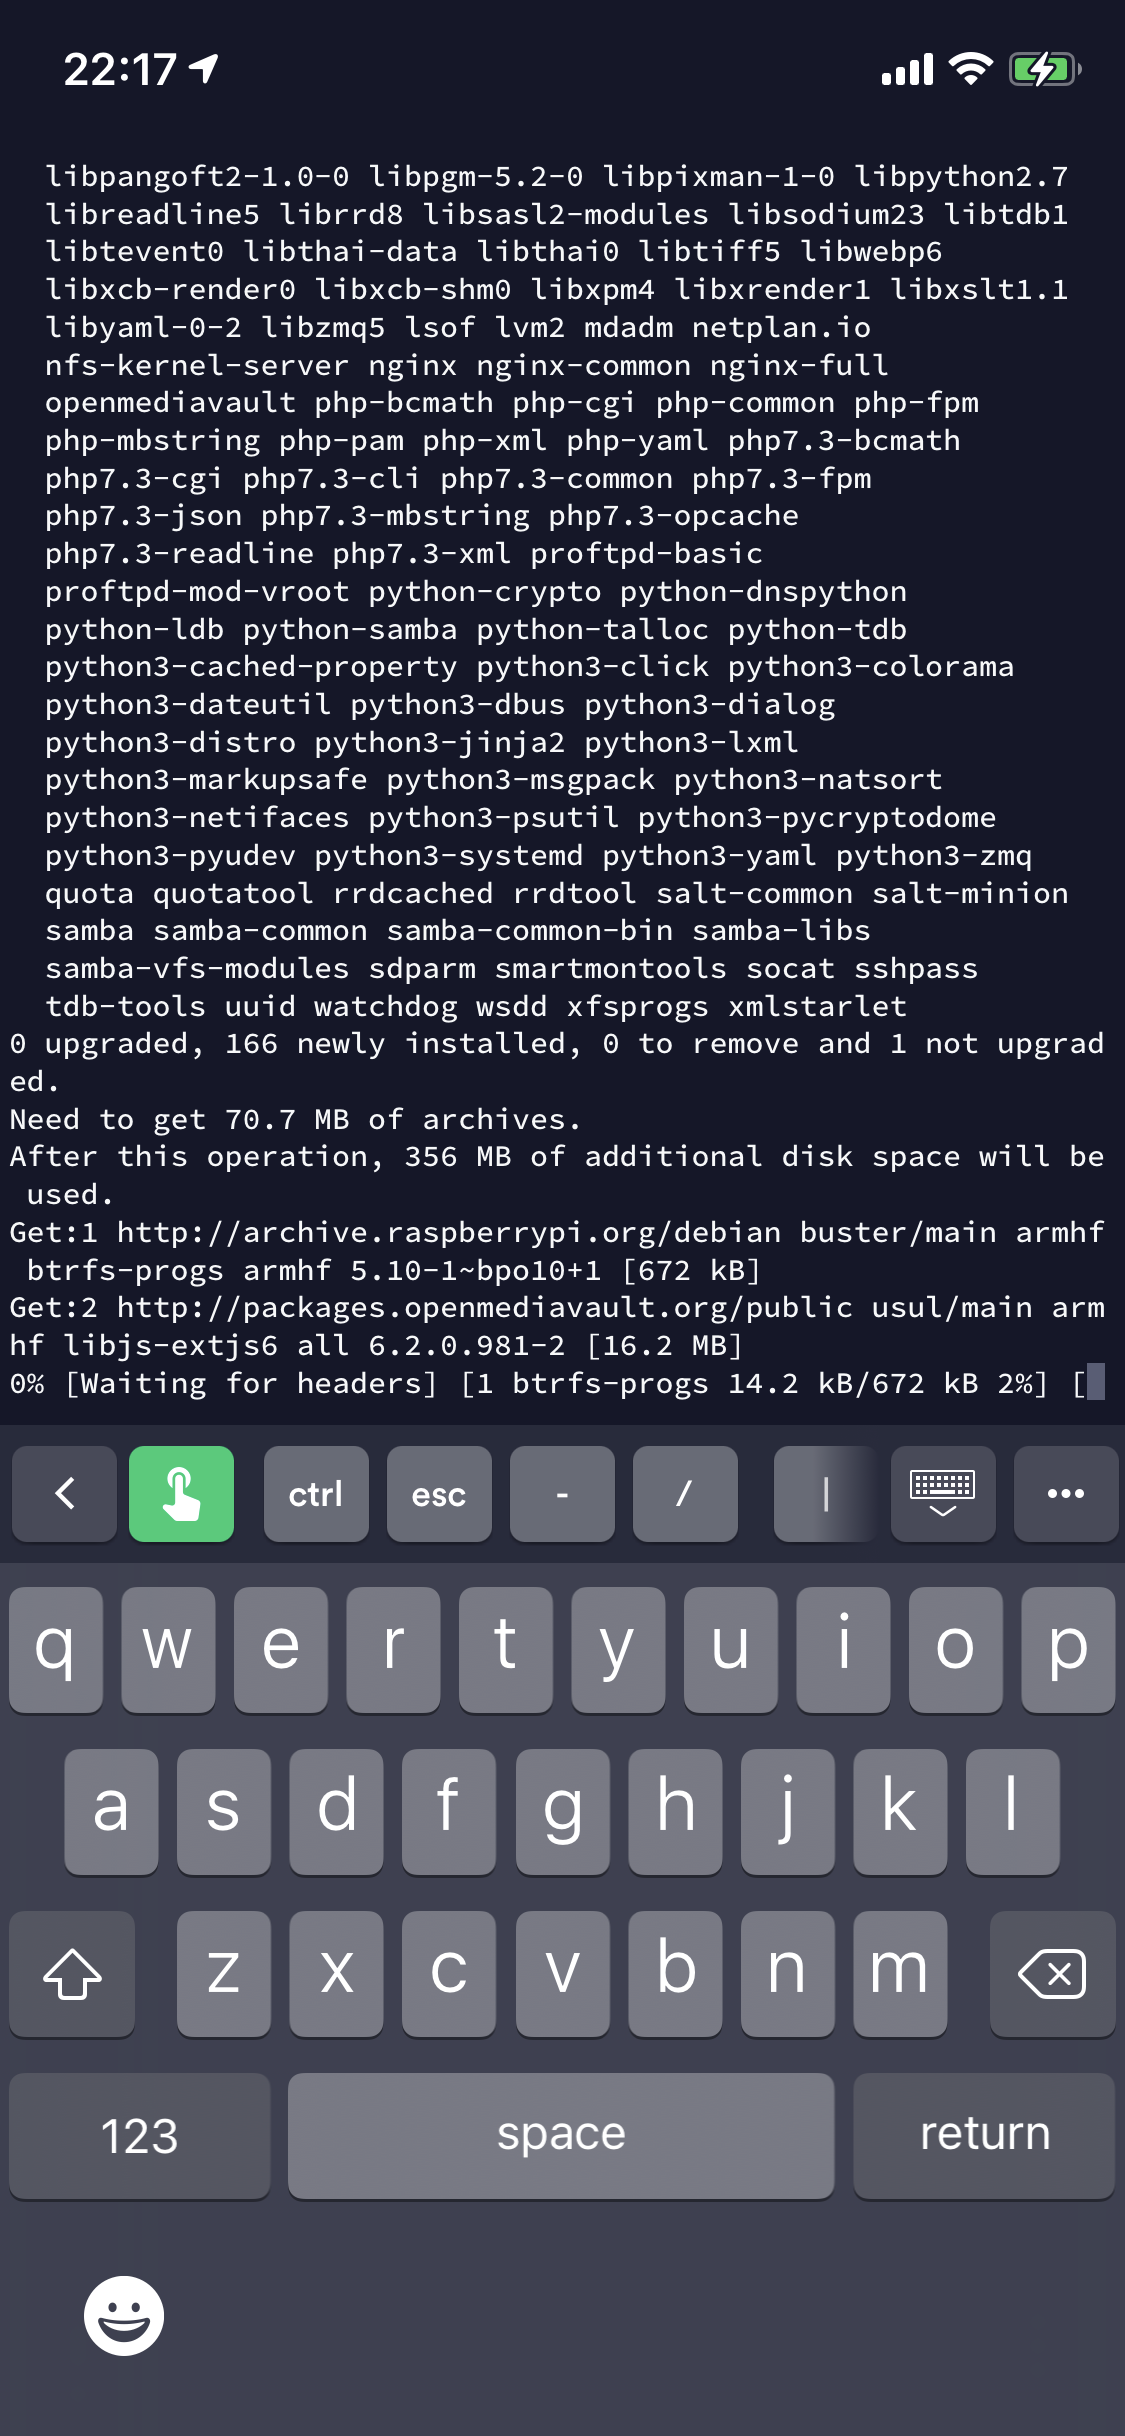
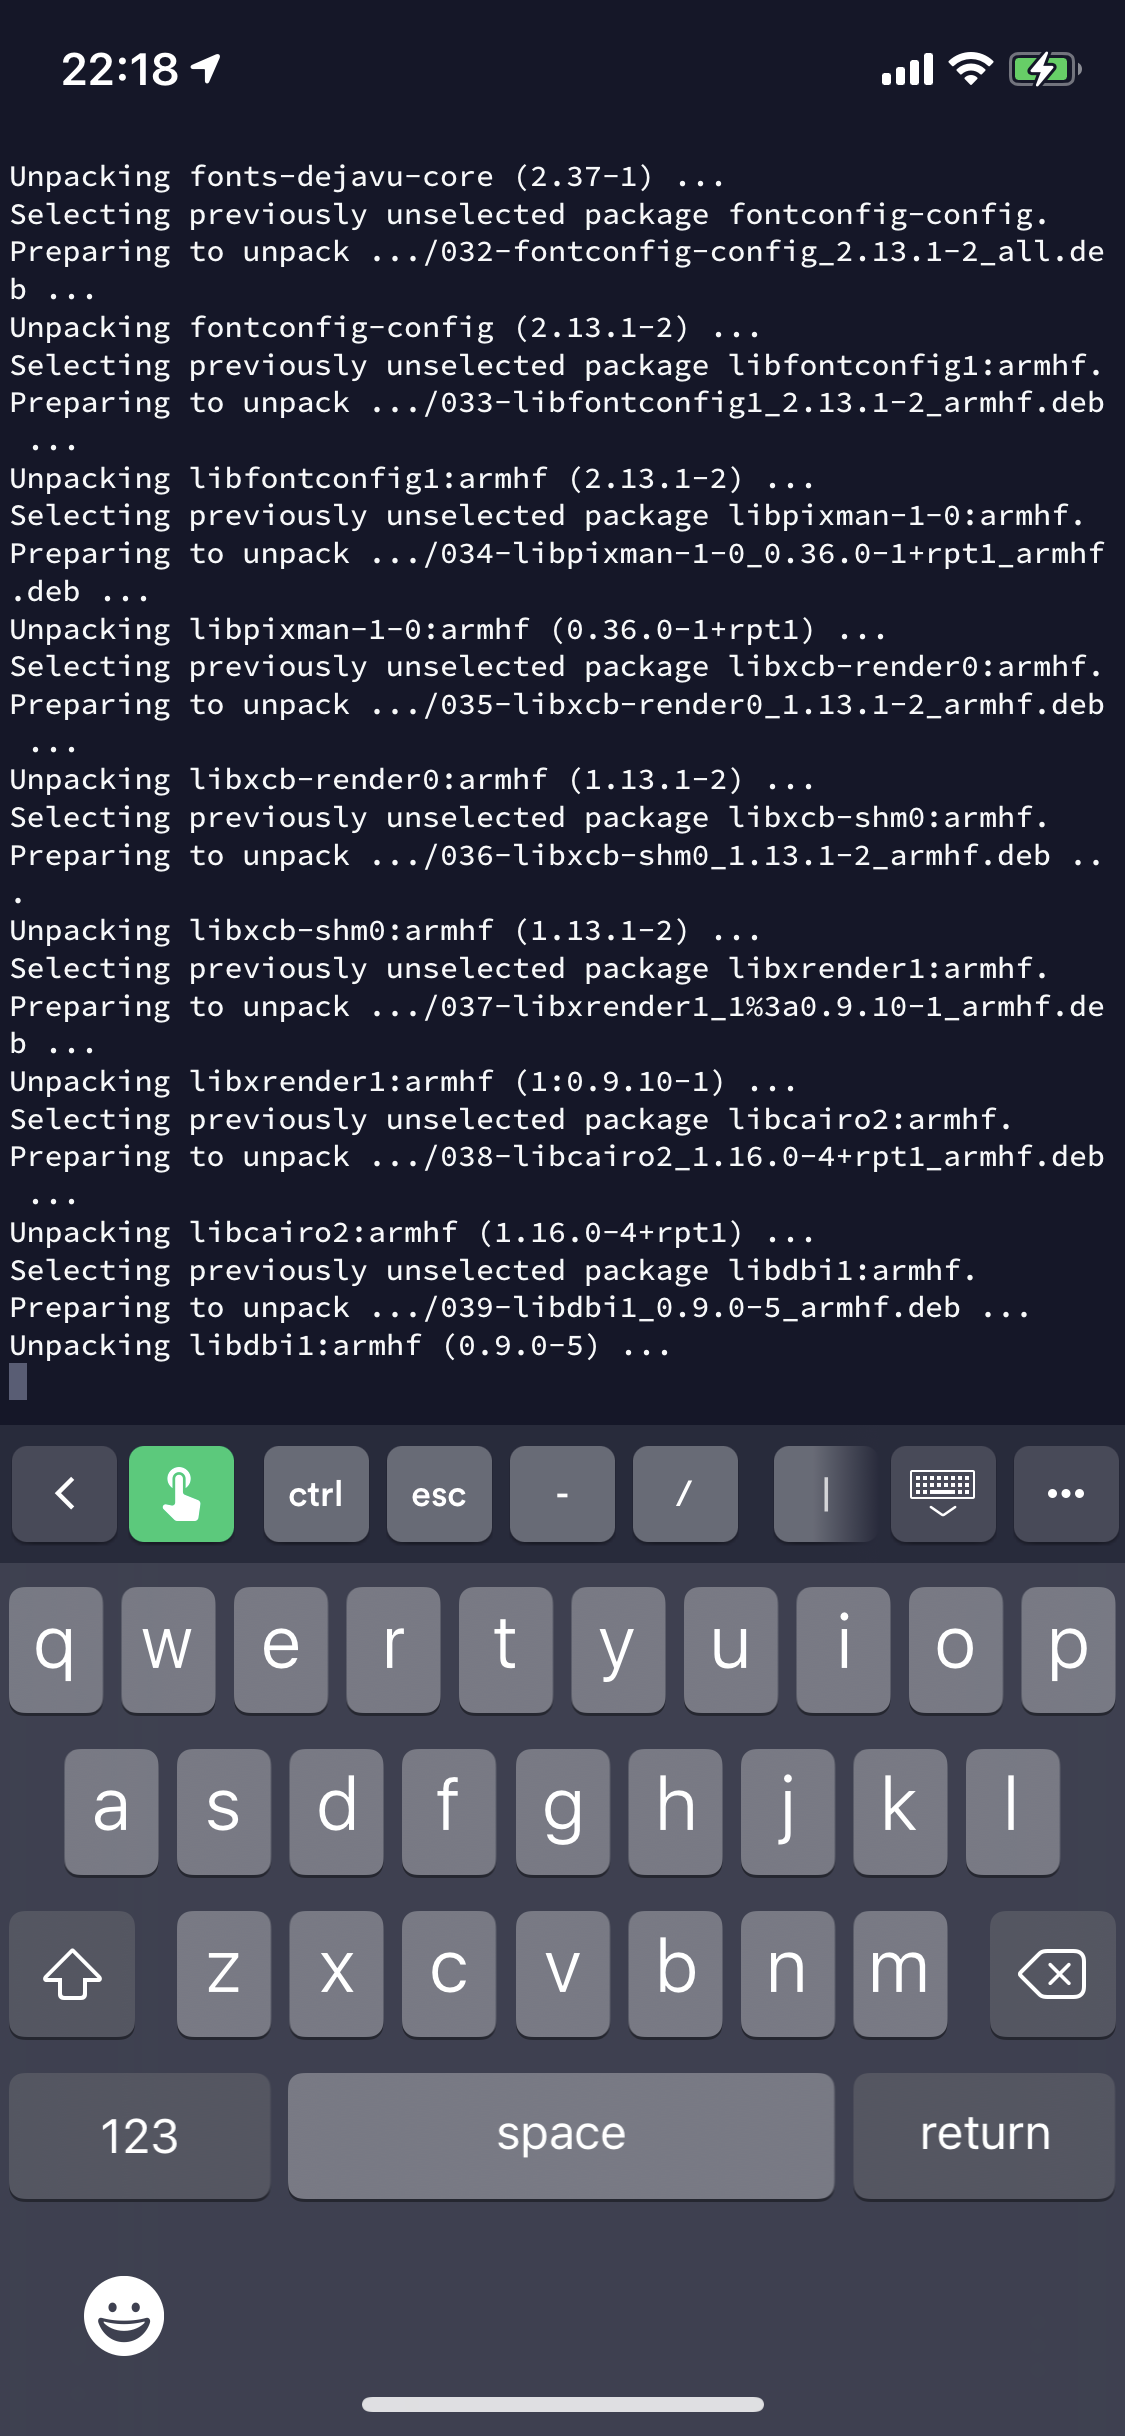
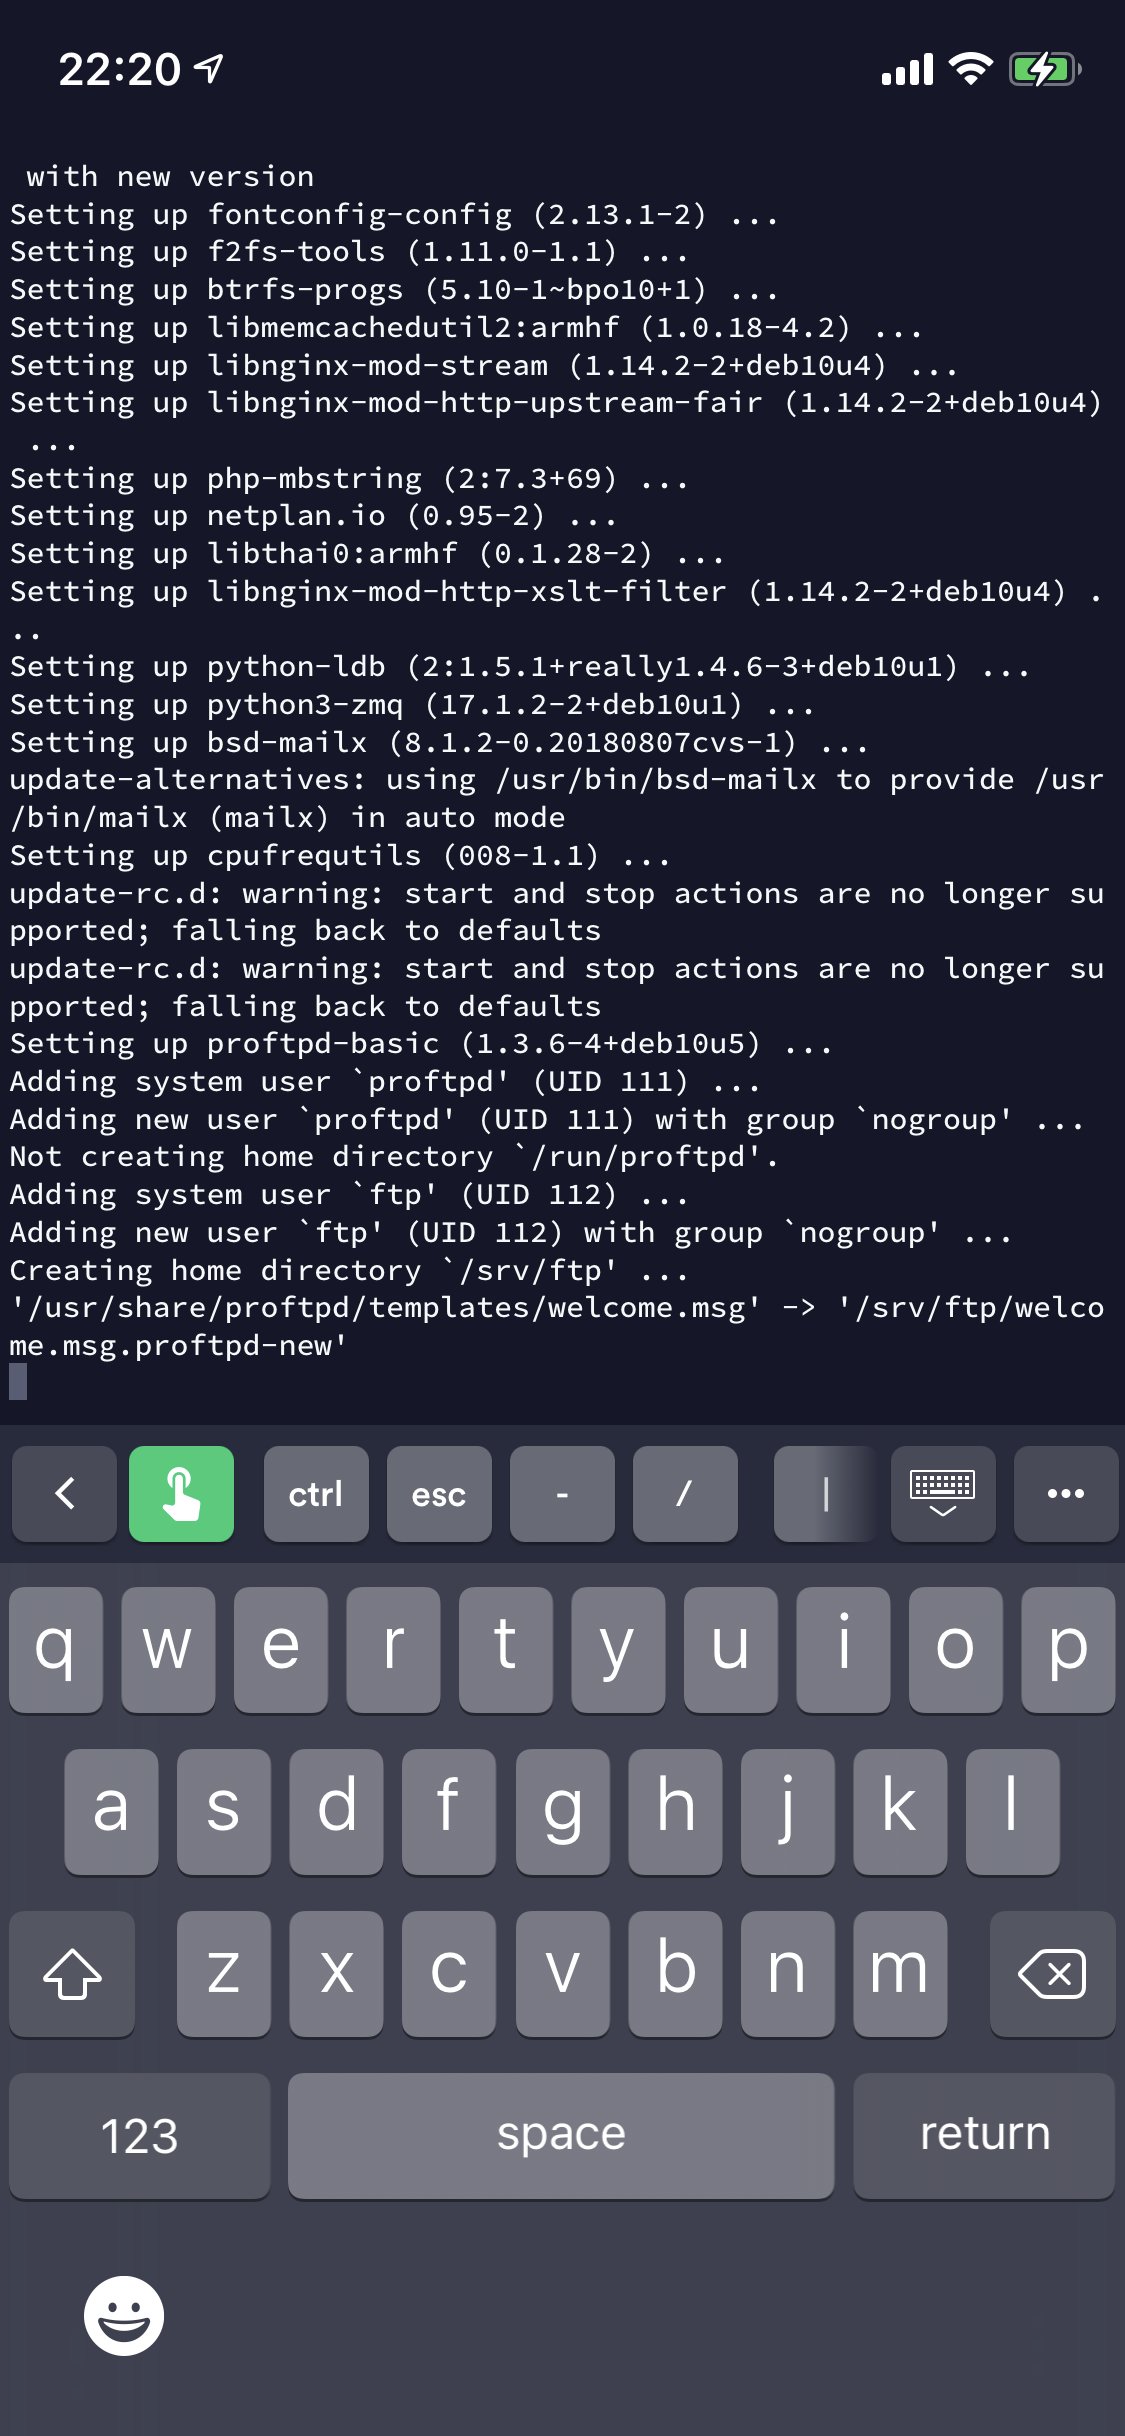
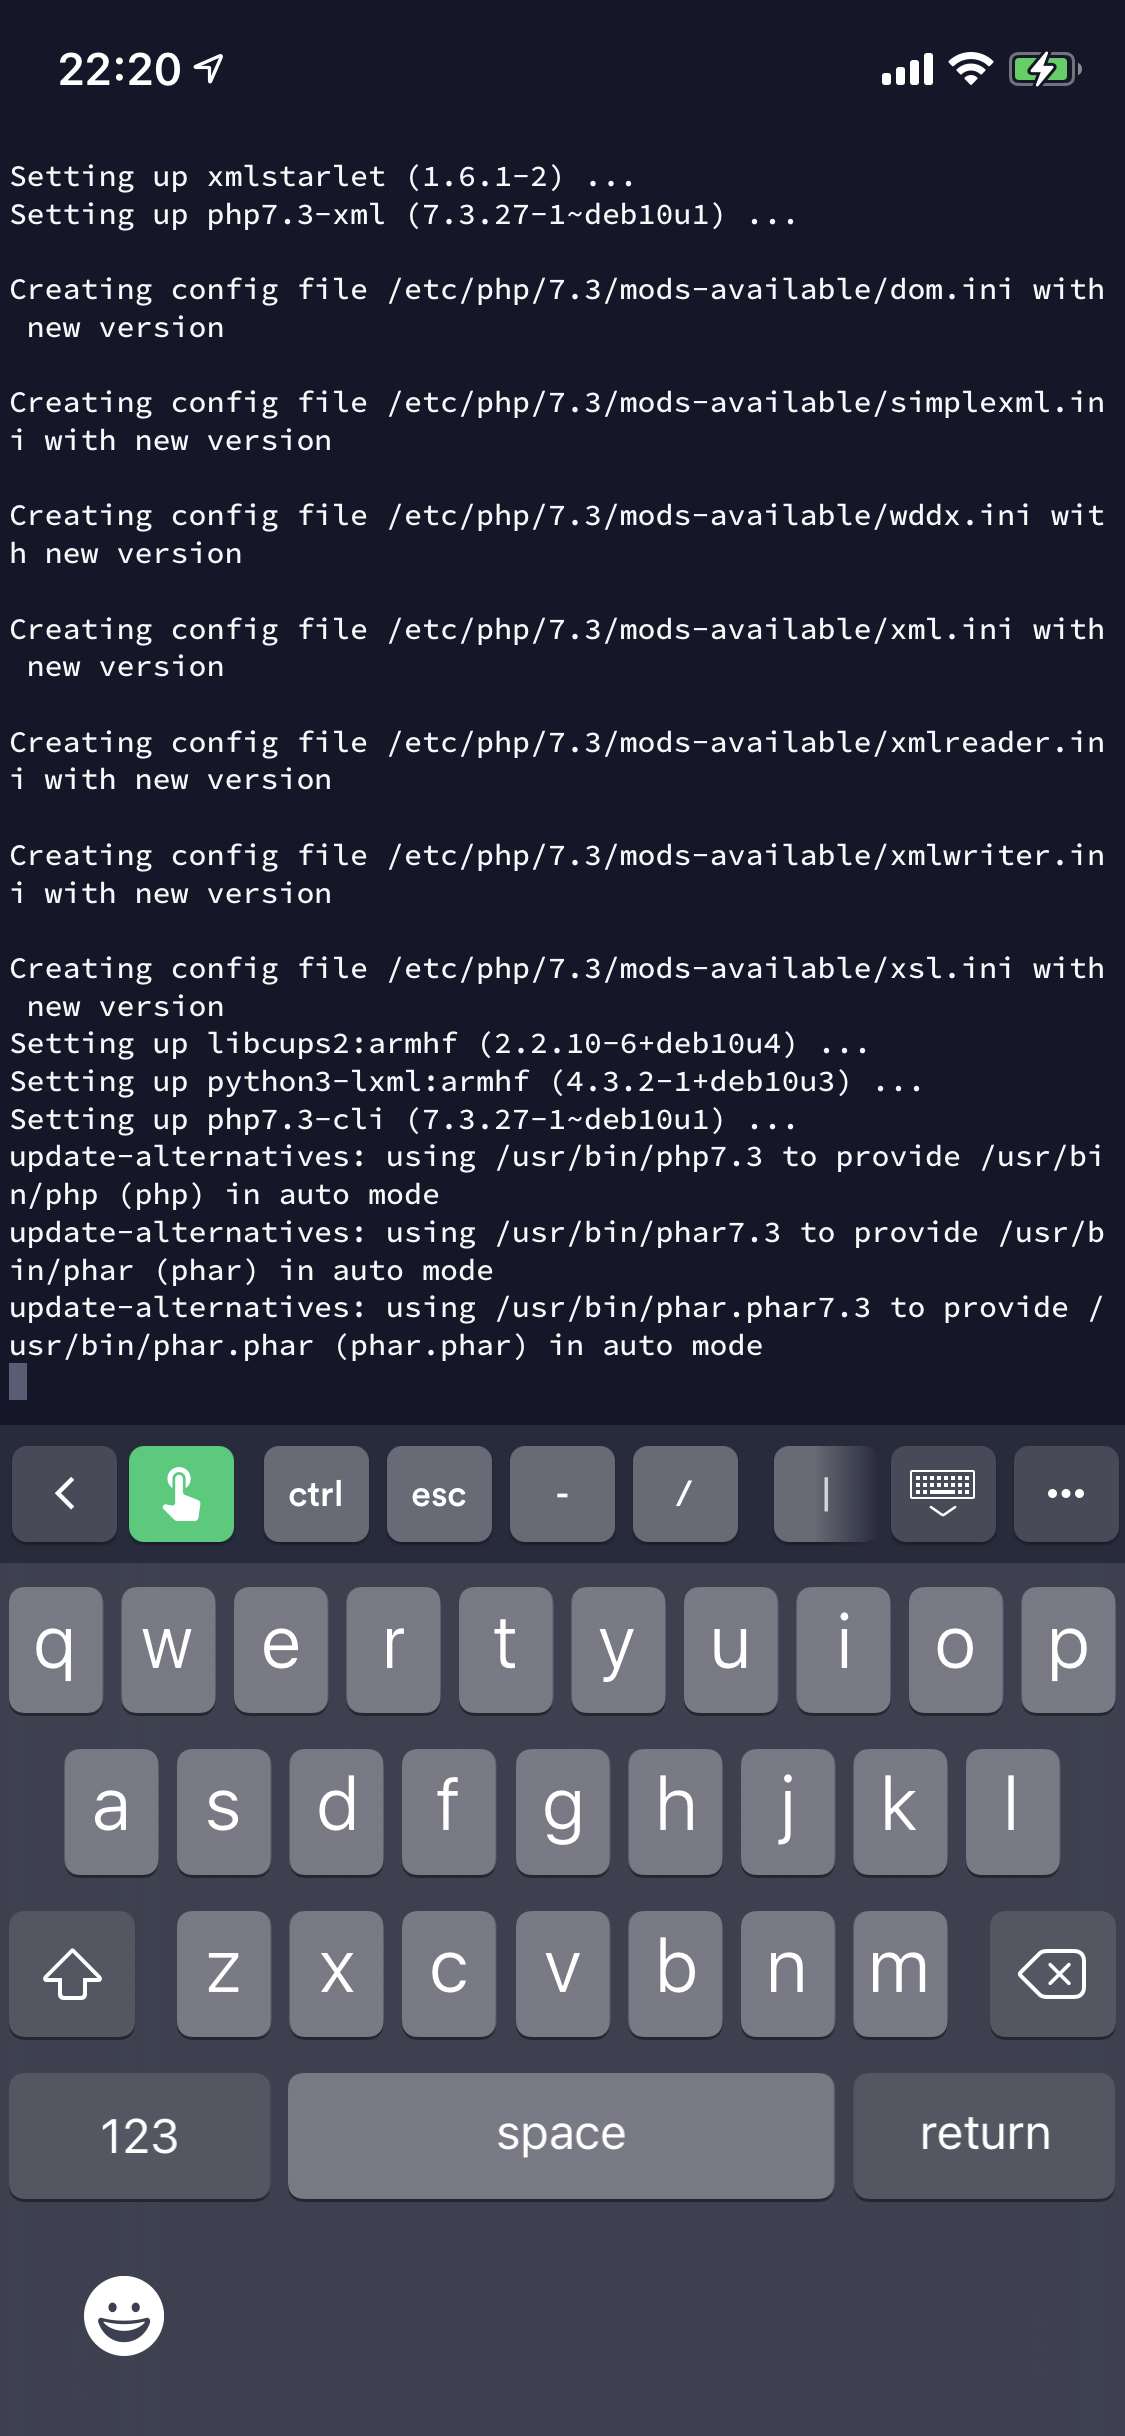
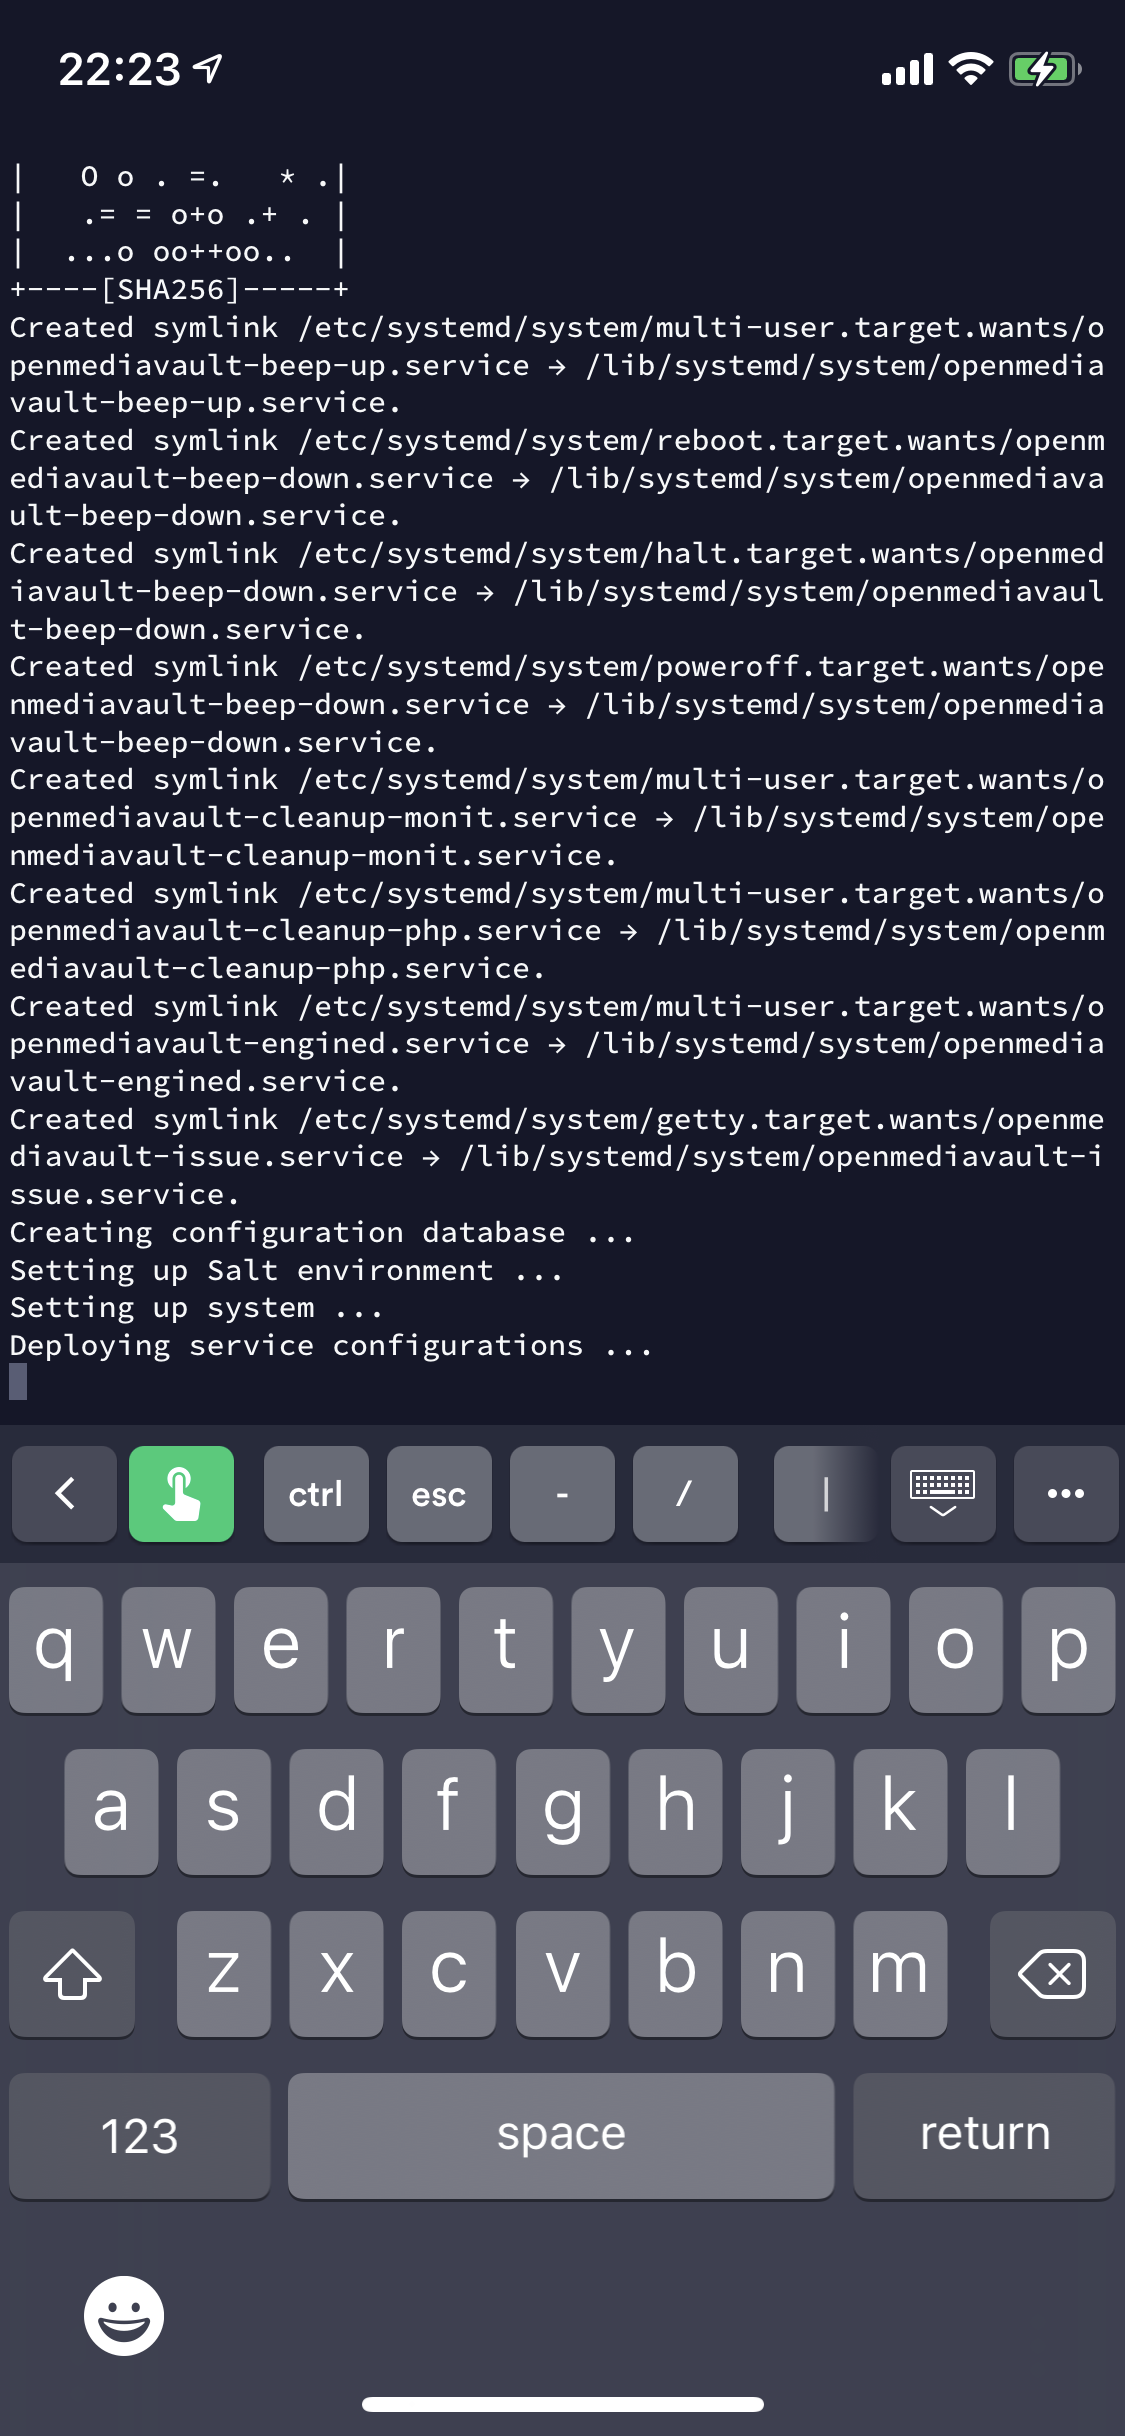
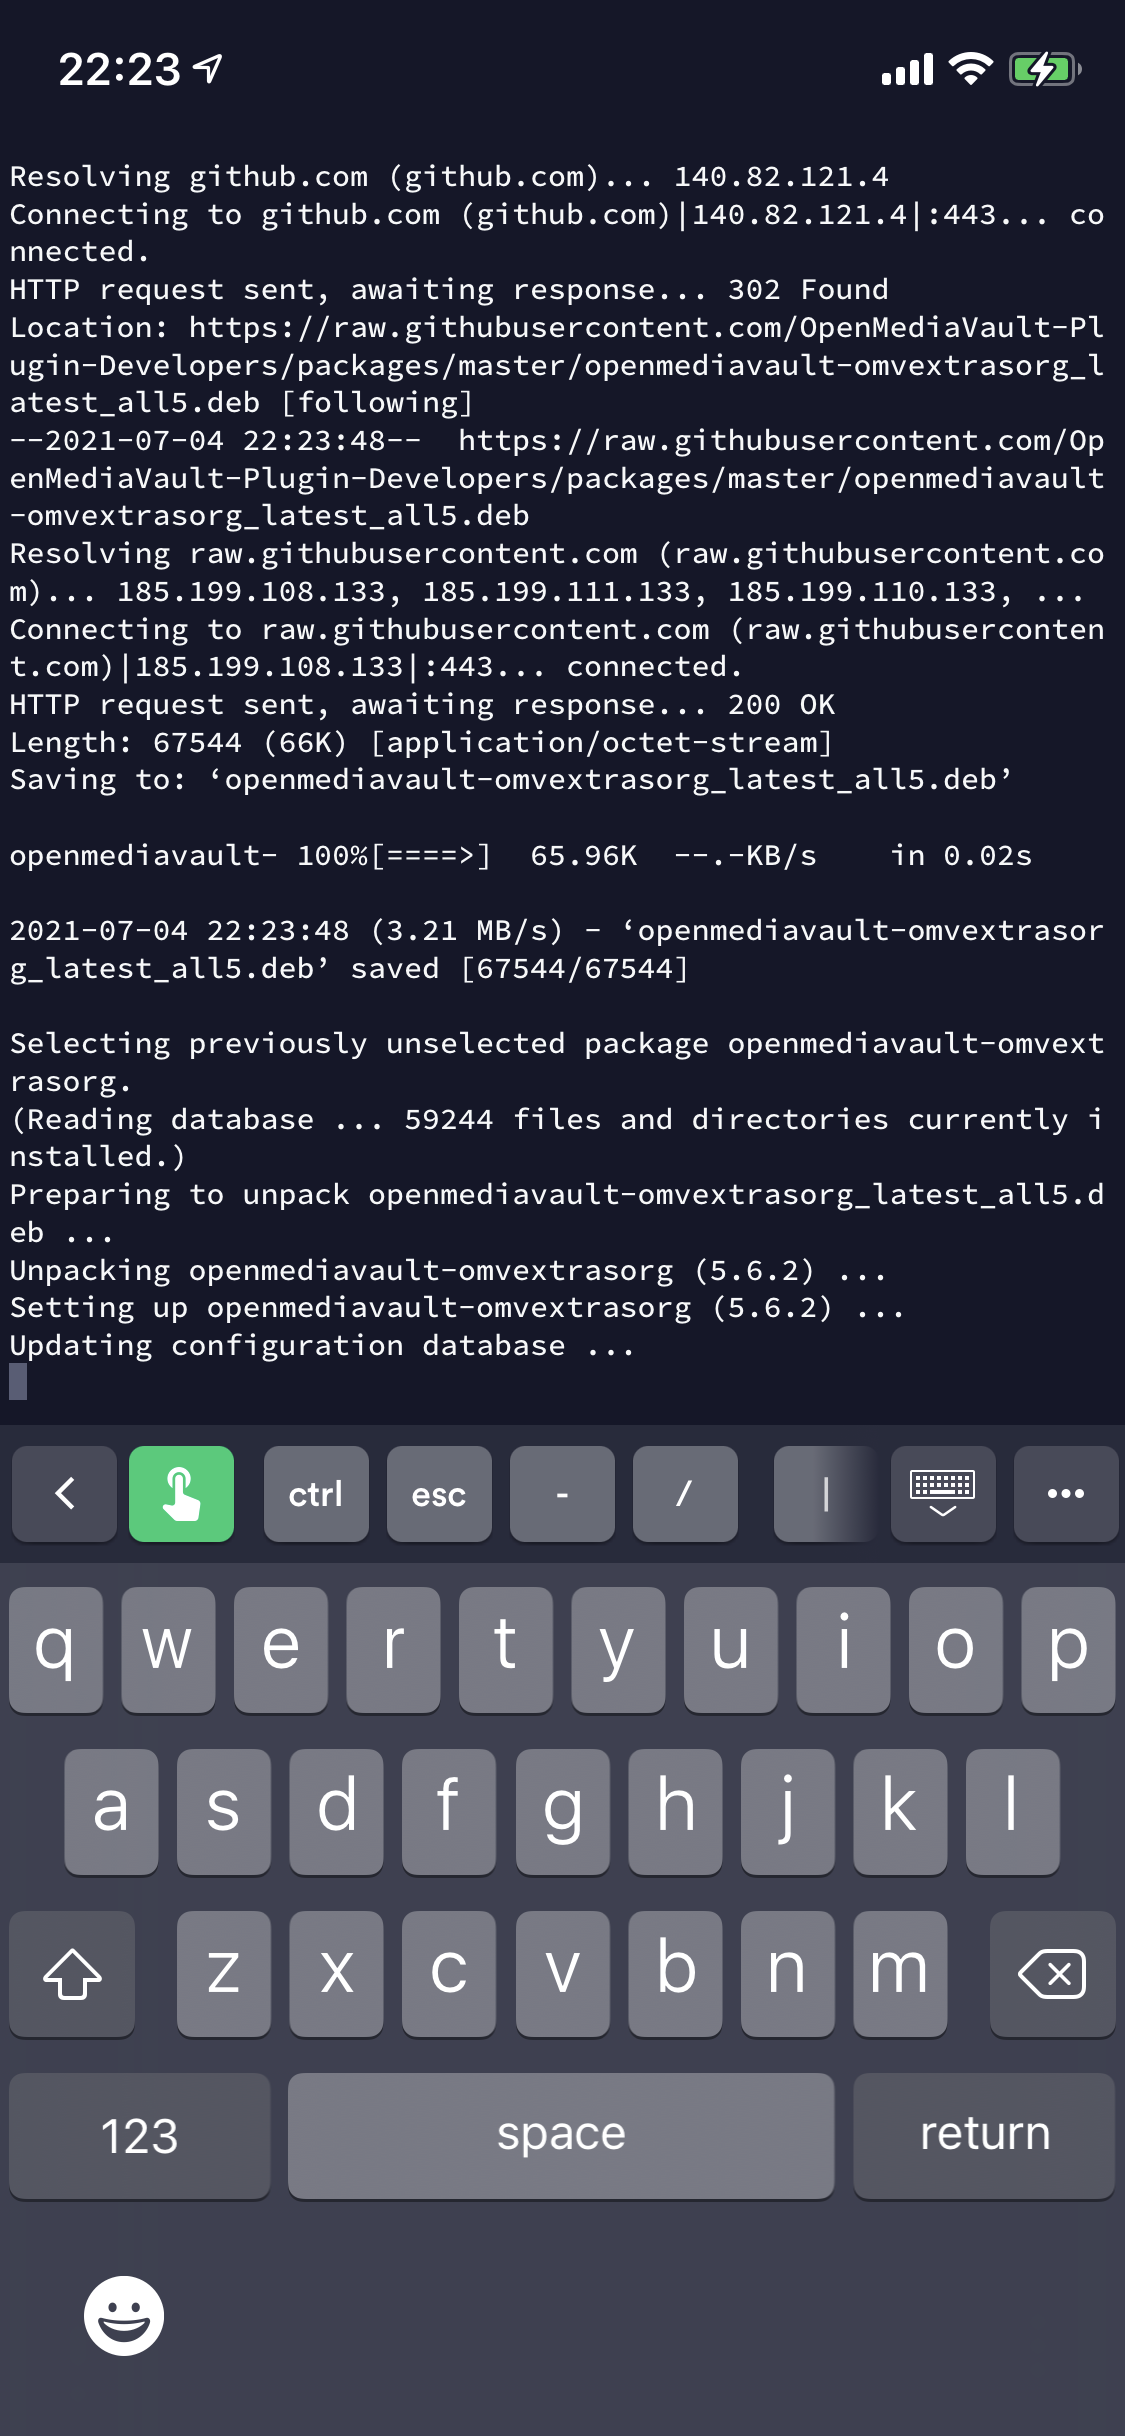
The following images are a snapshot of what the script was doing:
Check that the script is running under root or using sudo. Check that the systemd daemon is running.
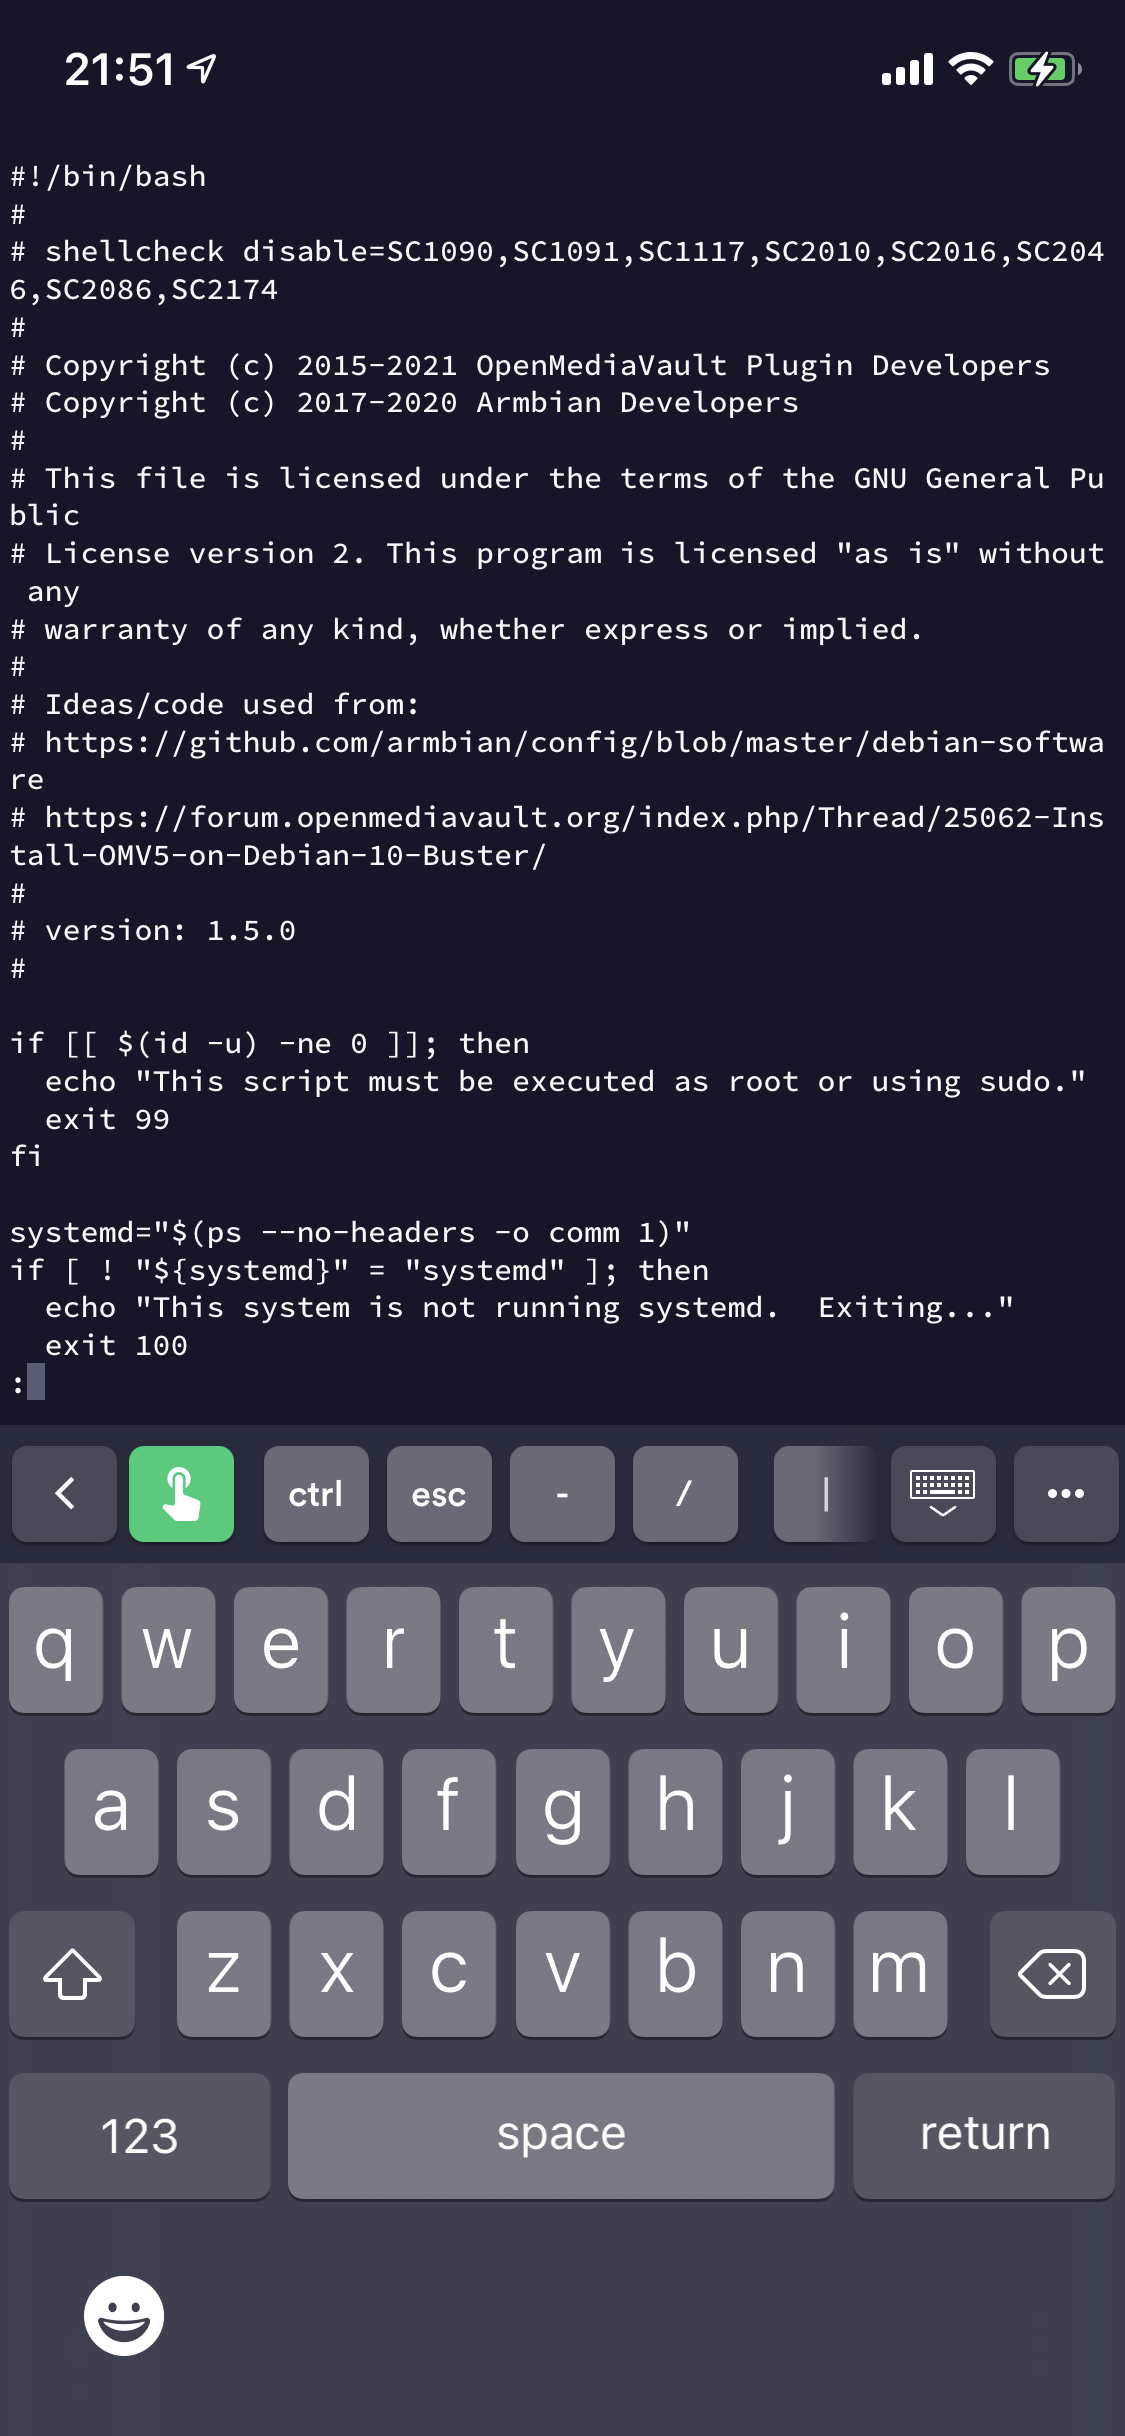
declare variables for configuration settings, code download paths.

Set environment variables and define help text for script.

Check and amend root directory permissions. Check IPv6 status and create IP configuration accordingly.

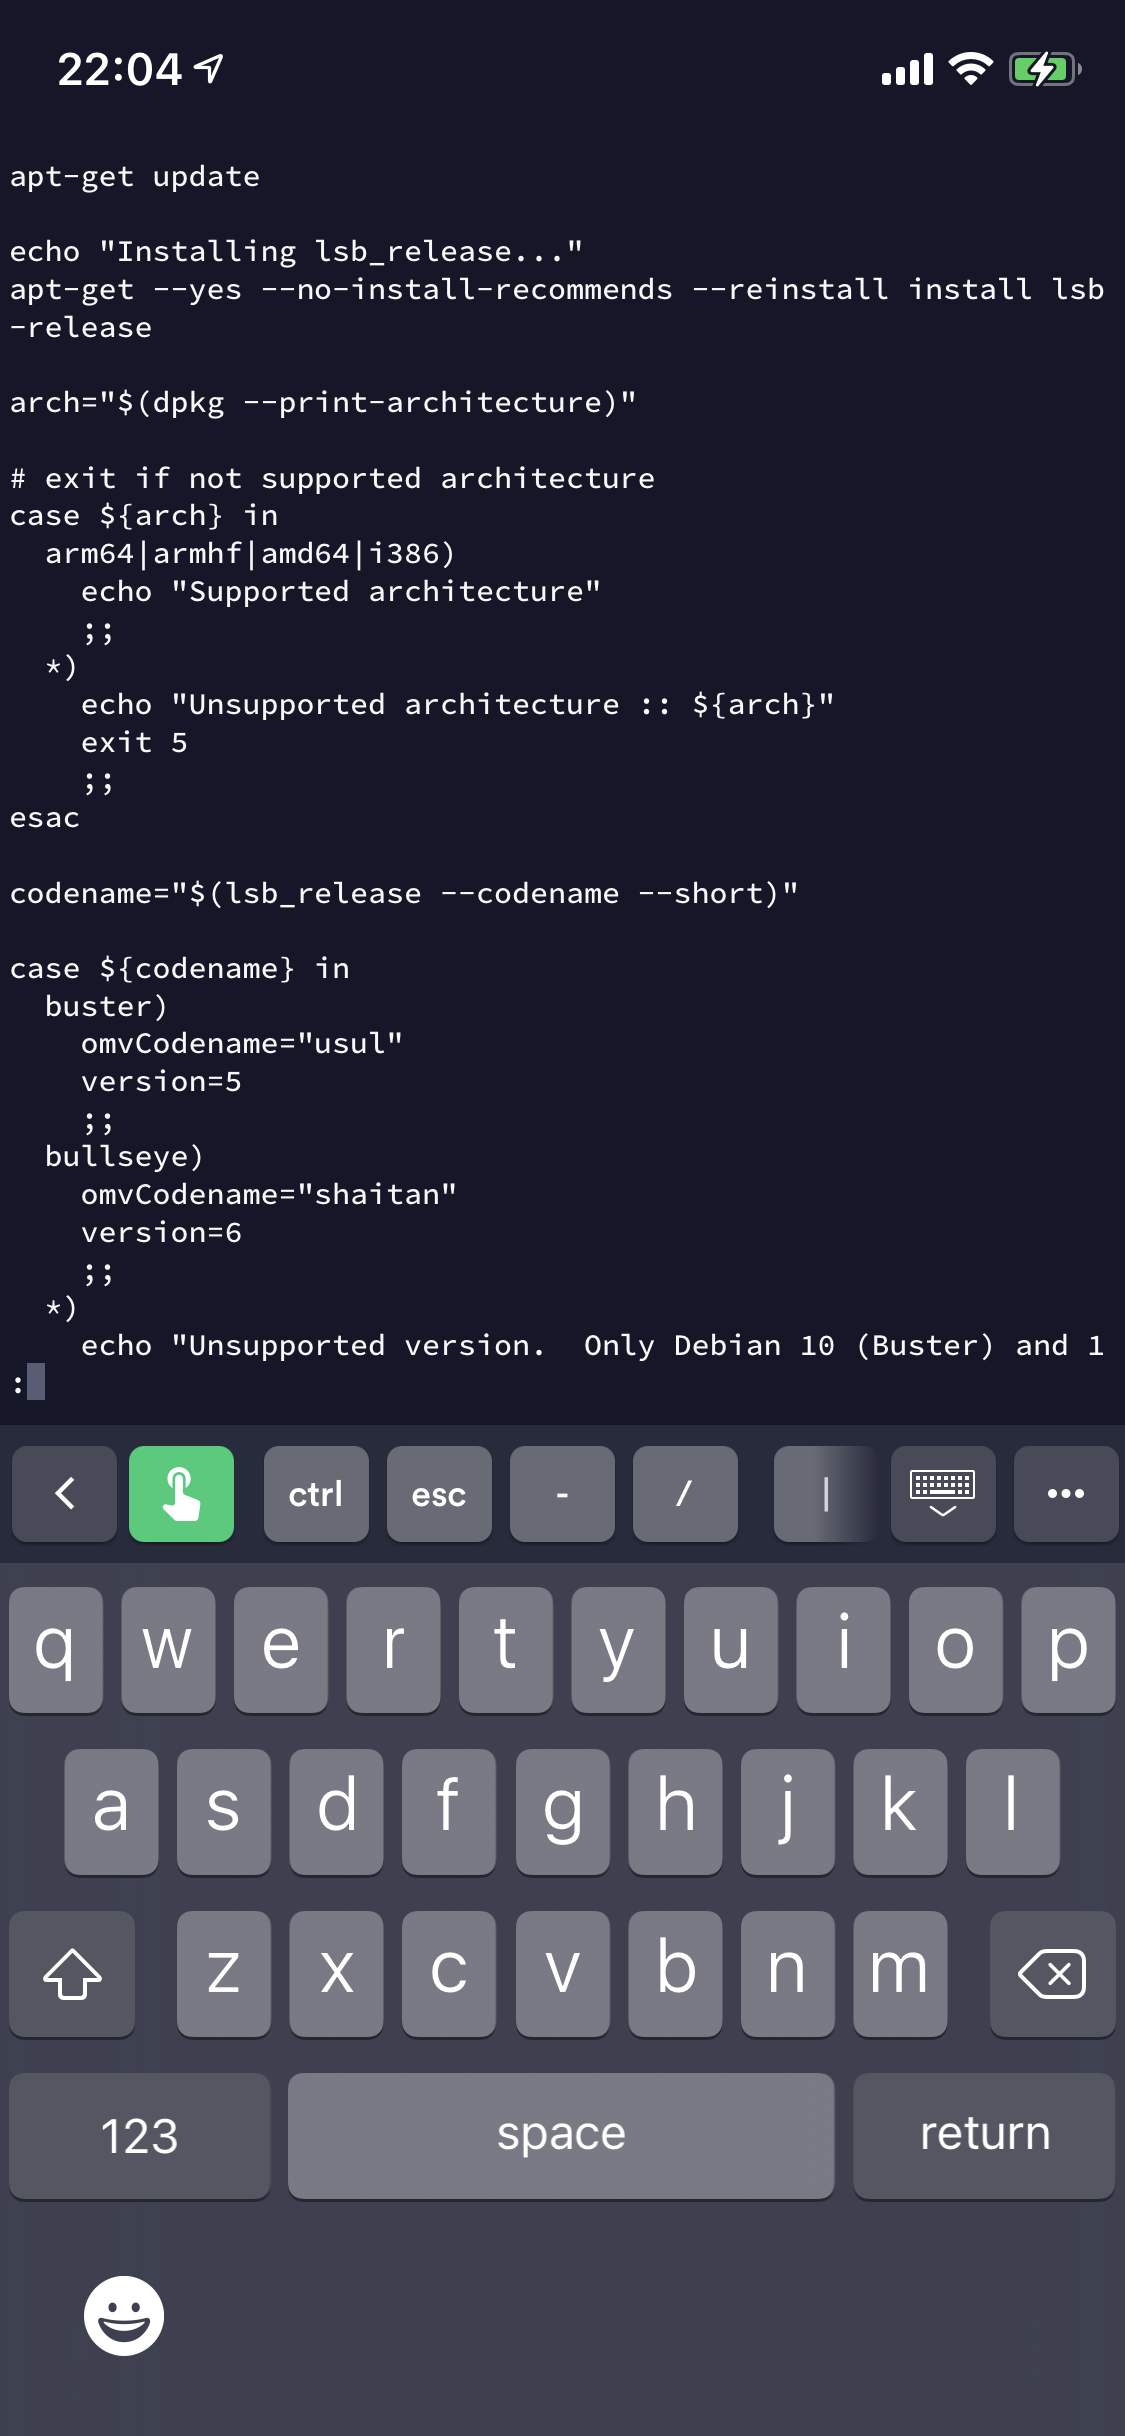
Update software repositories and install latest lsb release. Check for compatible CPU architecture (Arm, Amd64 or i386) and OS Version.
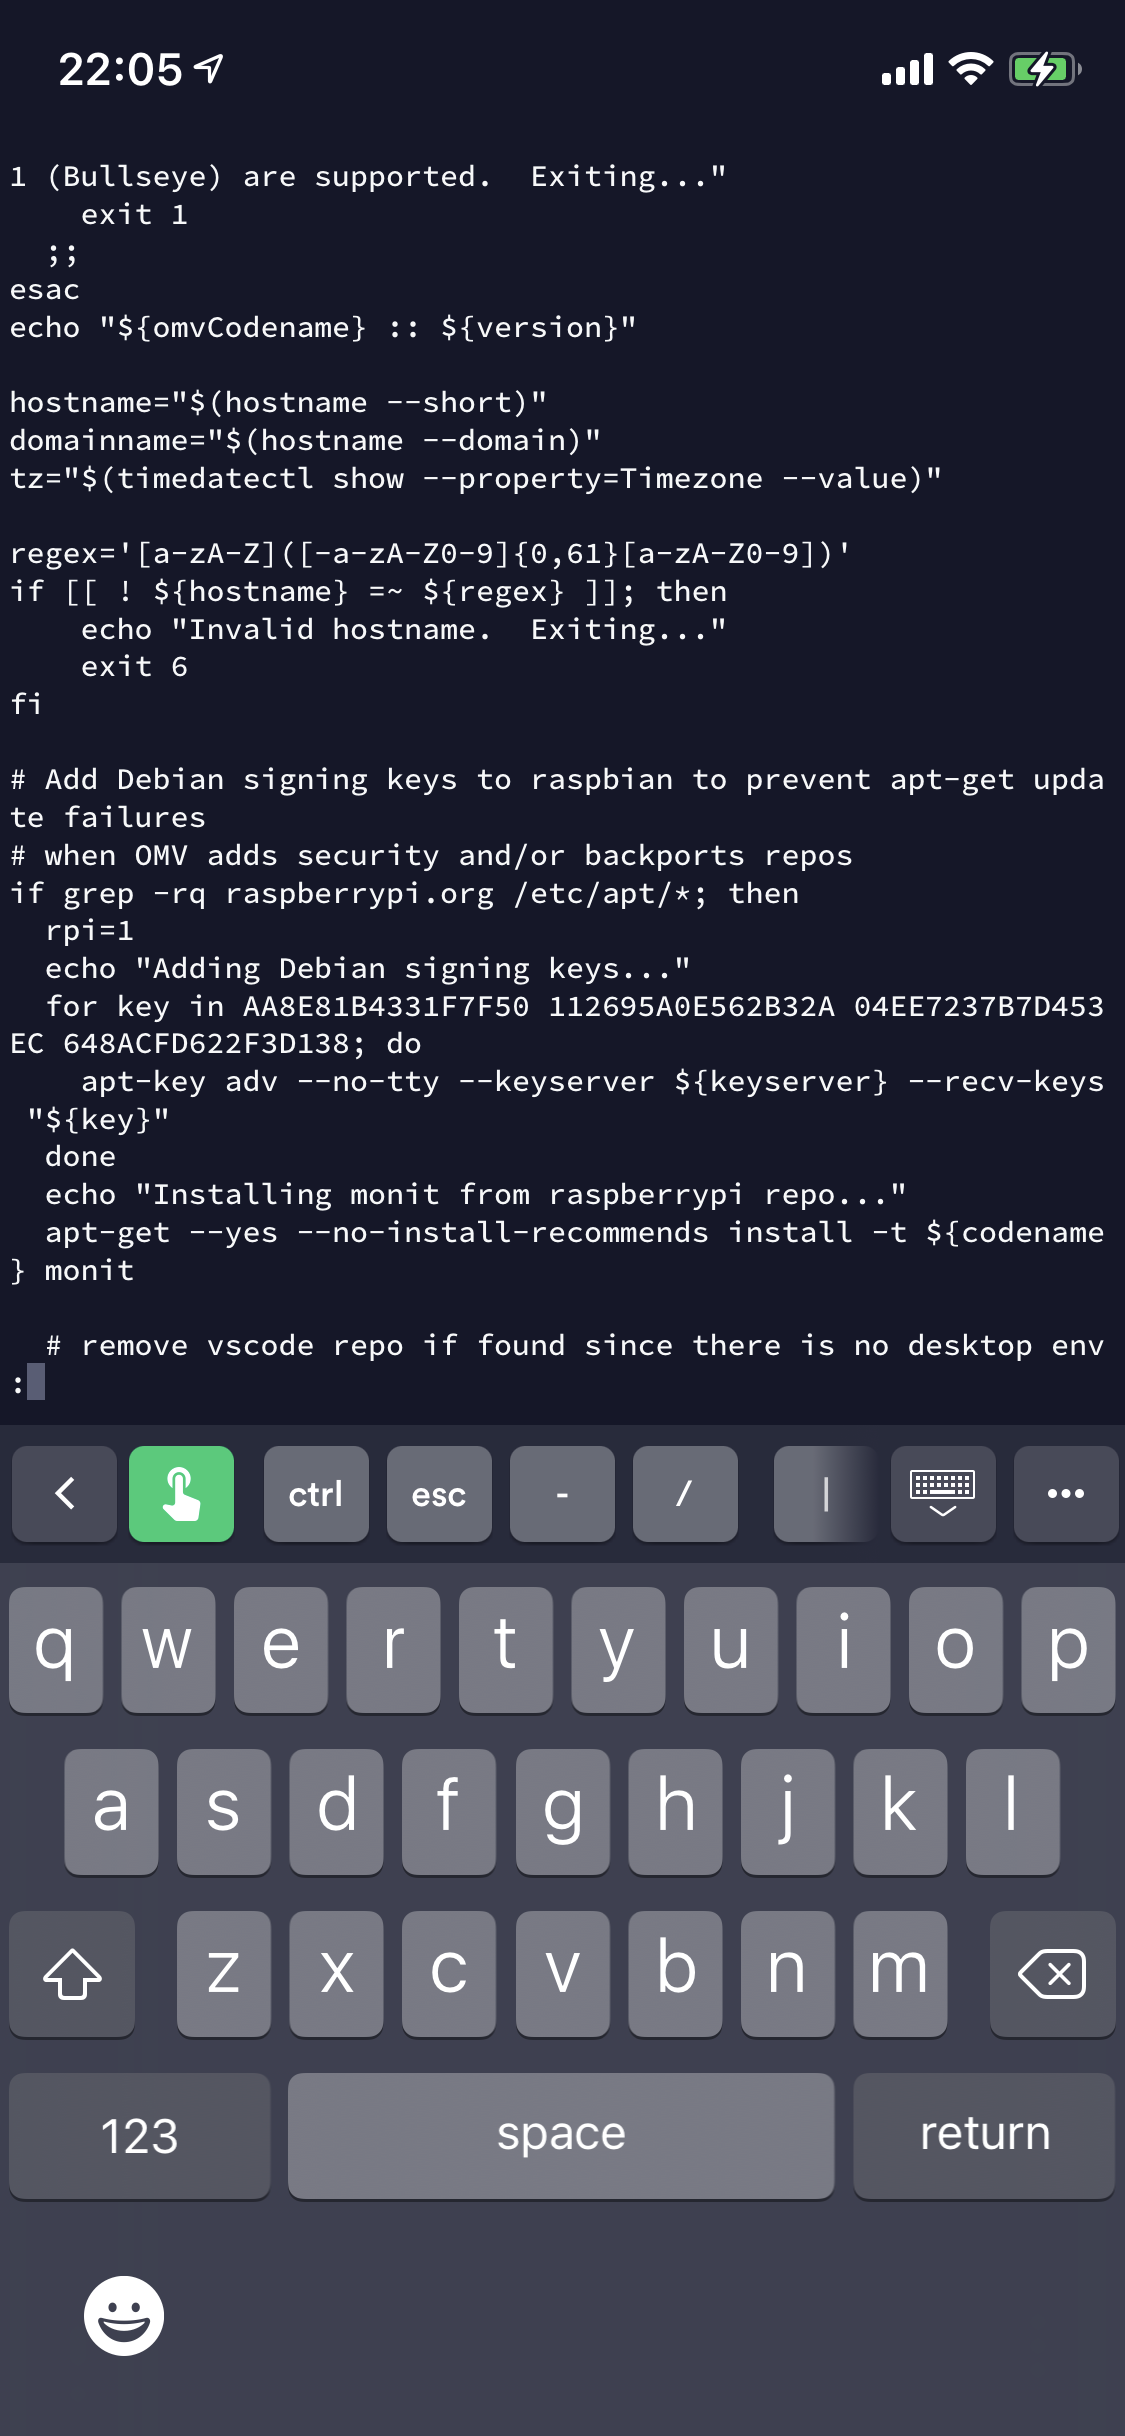
Check hostname, timezone. Add Debian software signing keys.
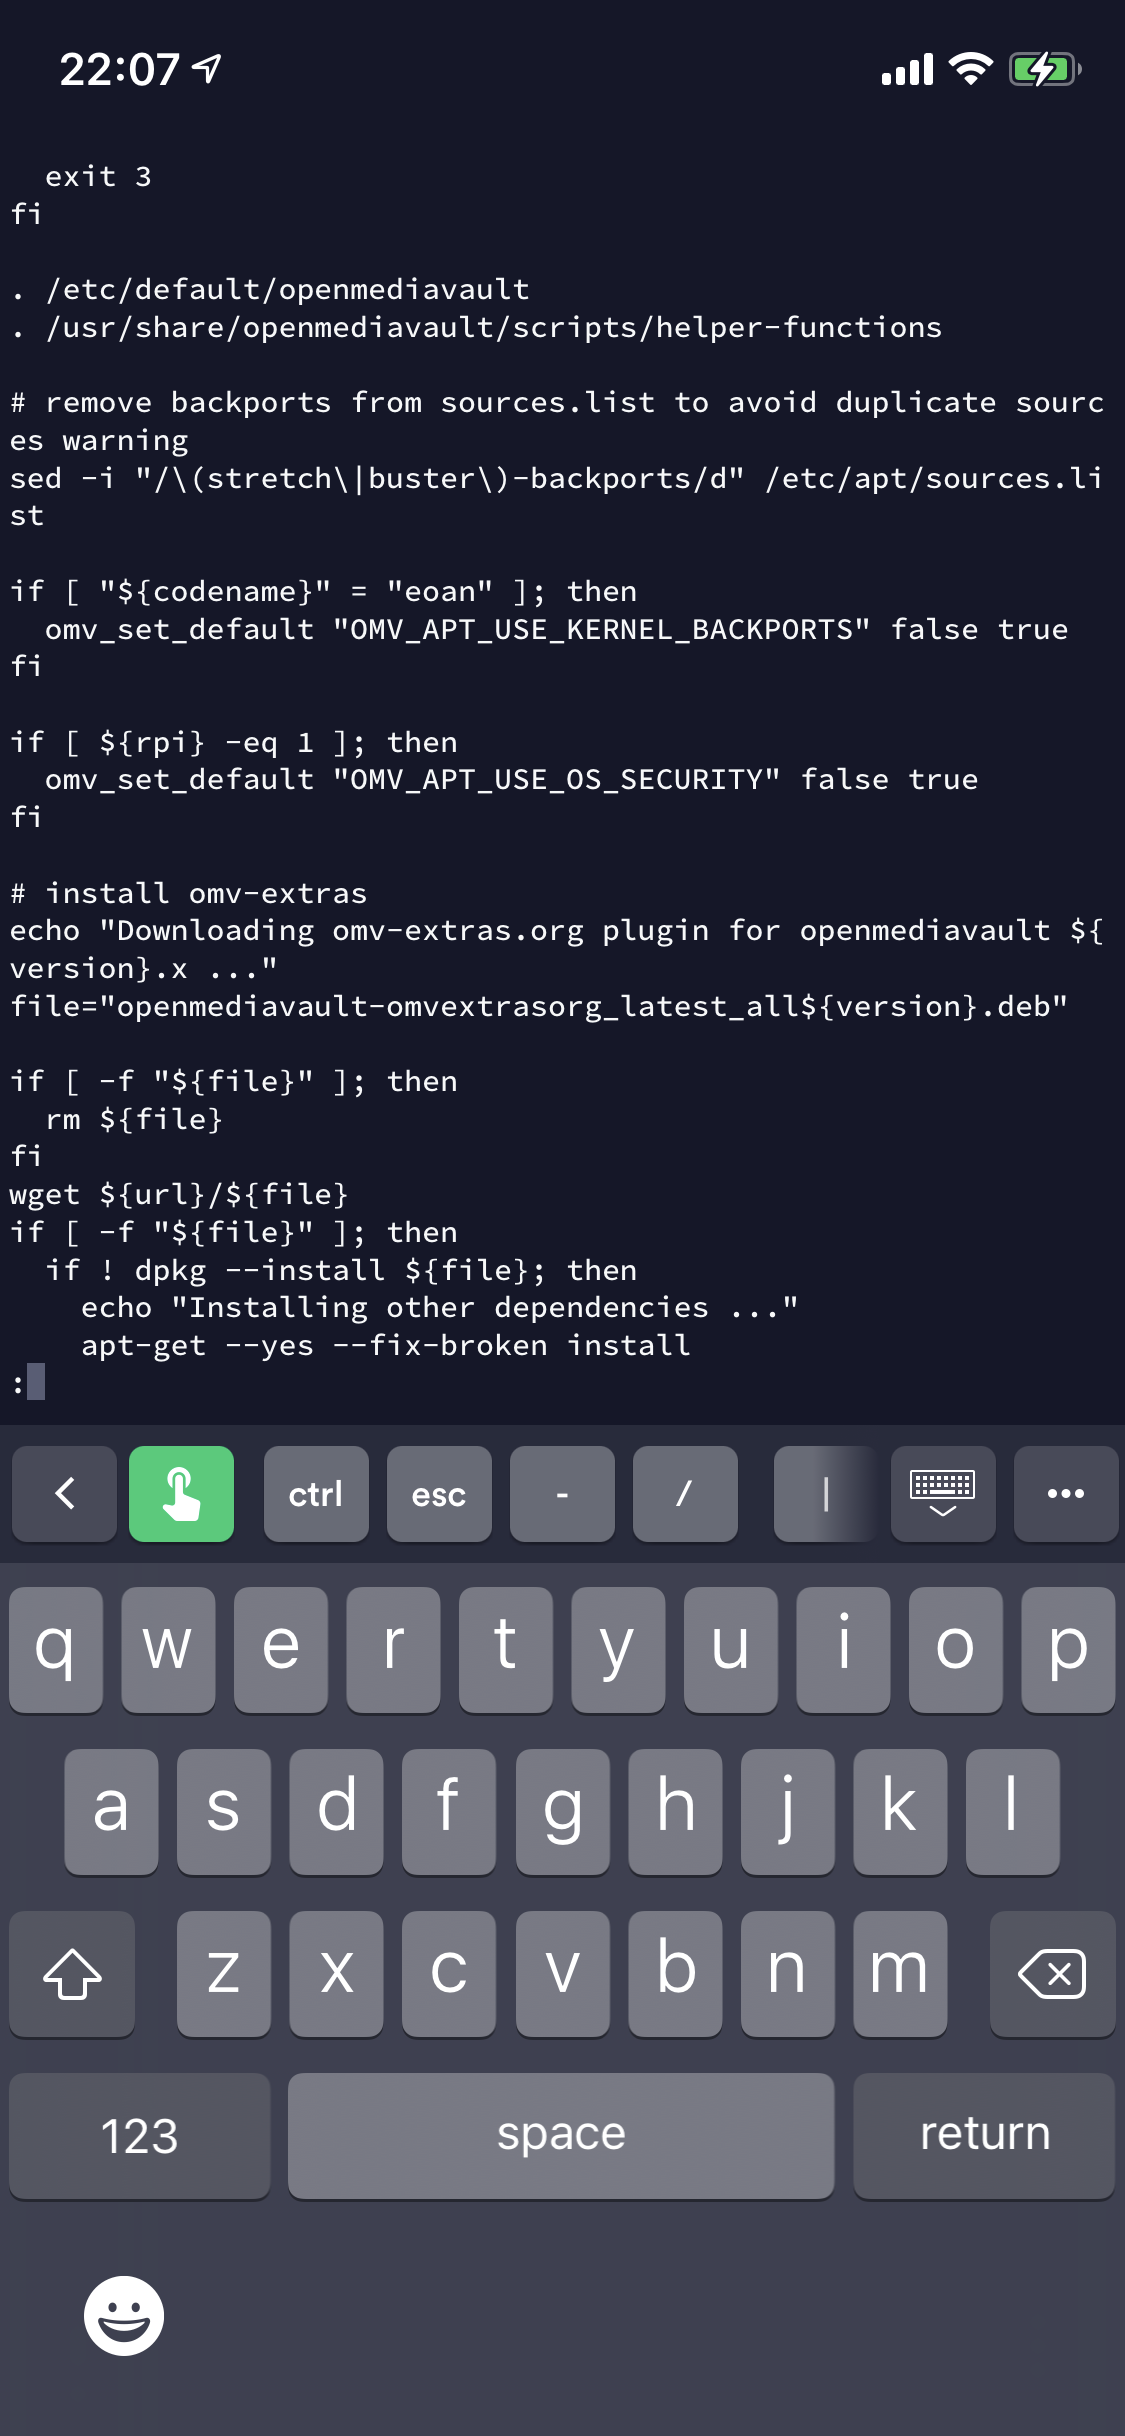
Install required OMV software and dependencies.


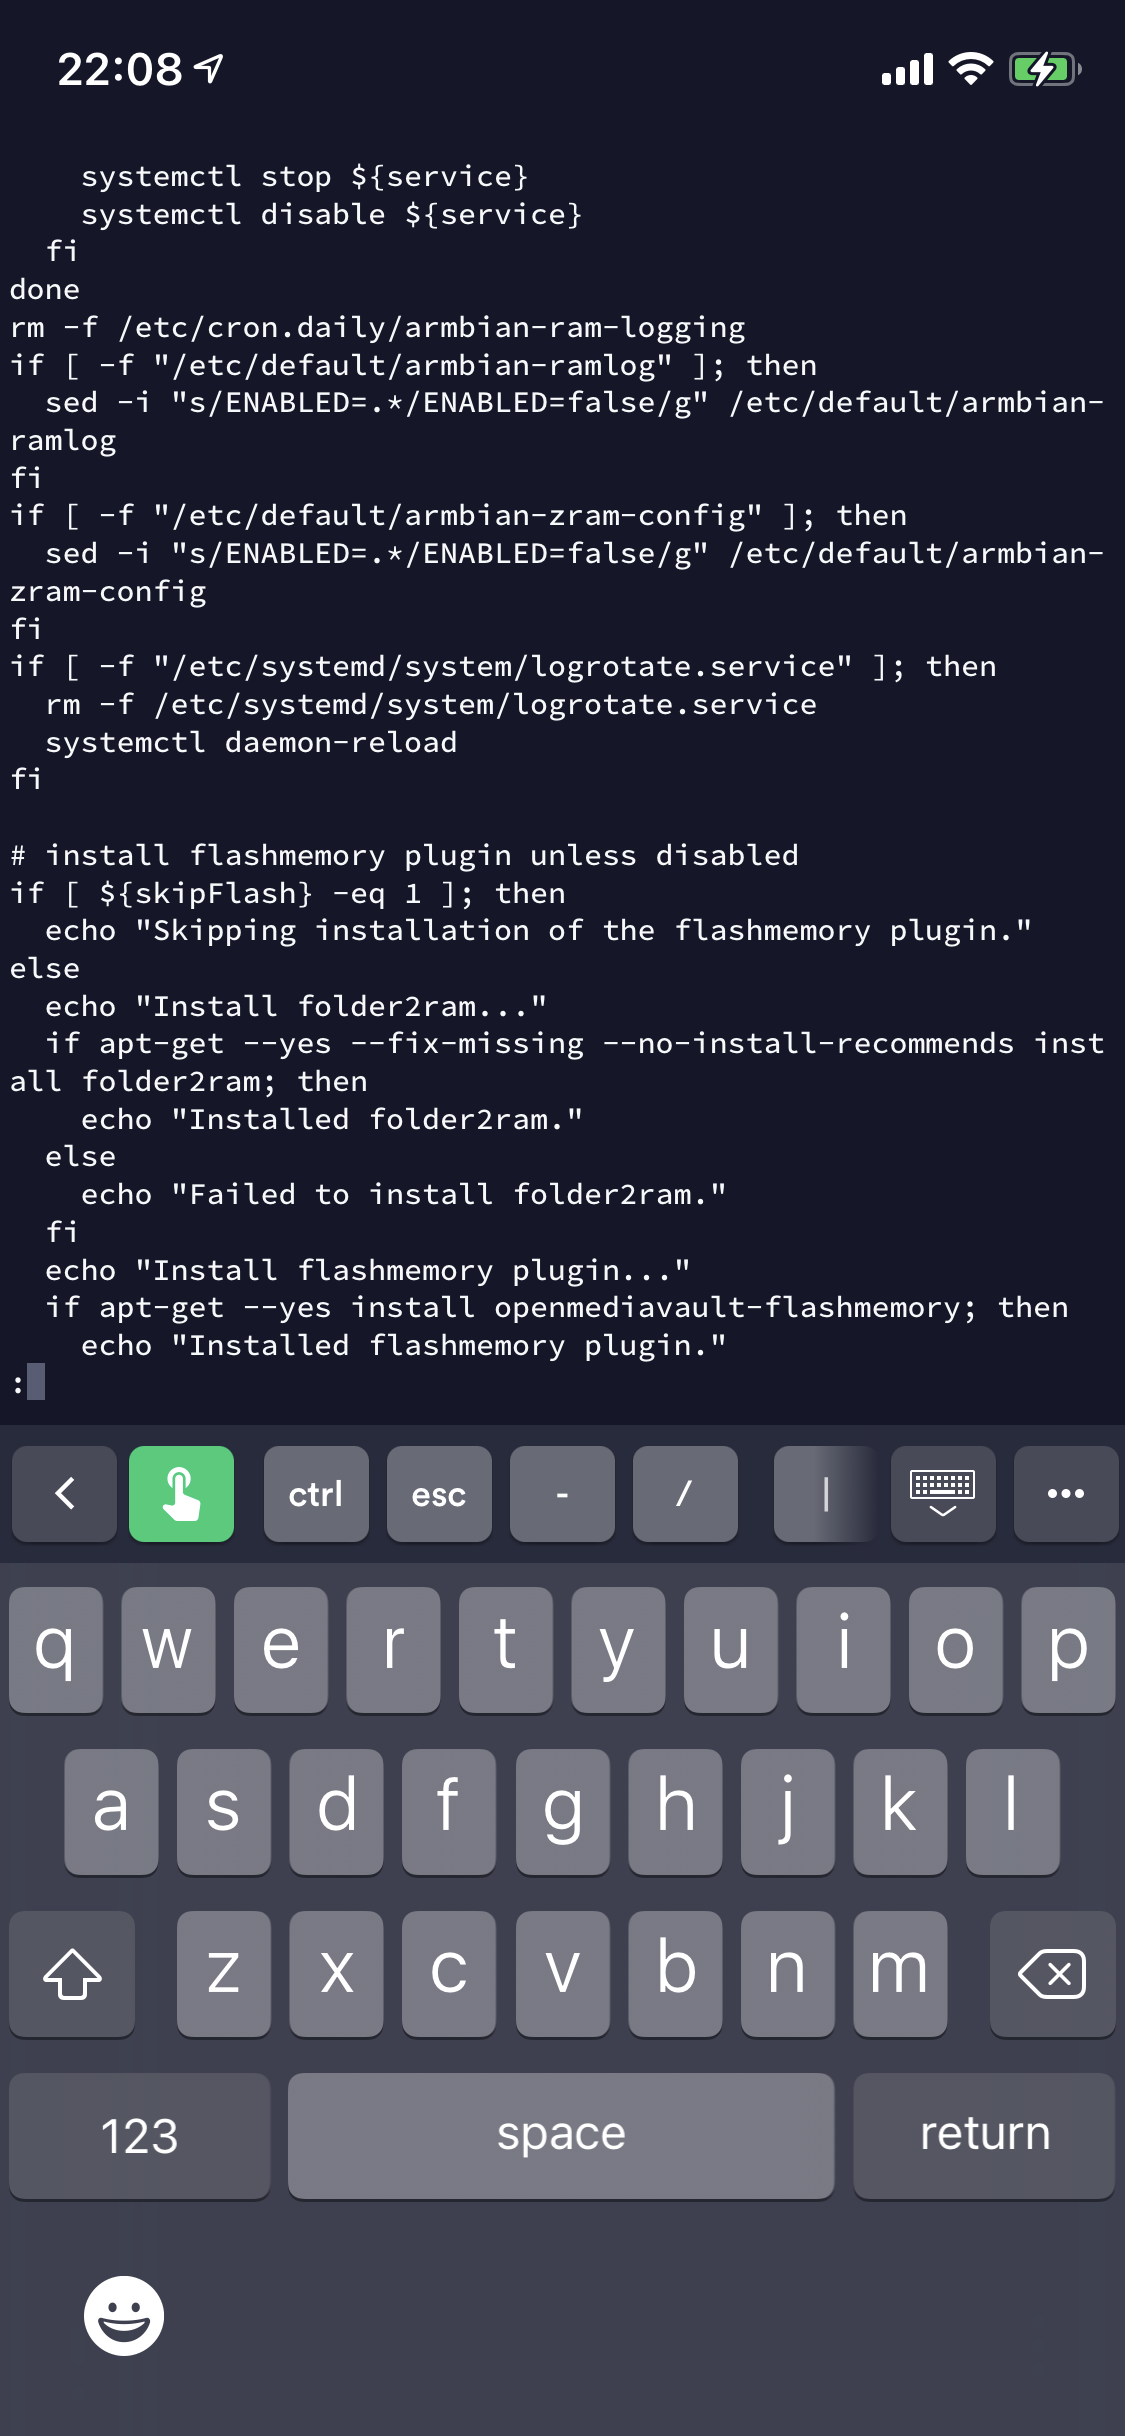
Disable Armbian log services.
Install folder2ram flashmemory plugin to improve performance.
Change default settings for SSH, time sync and DNS.
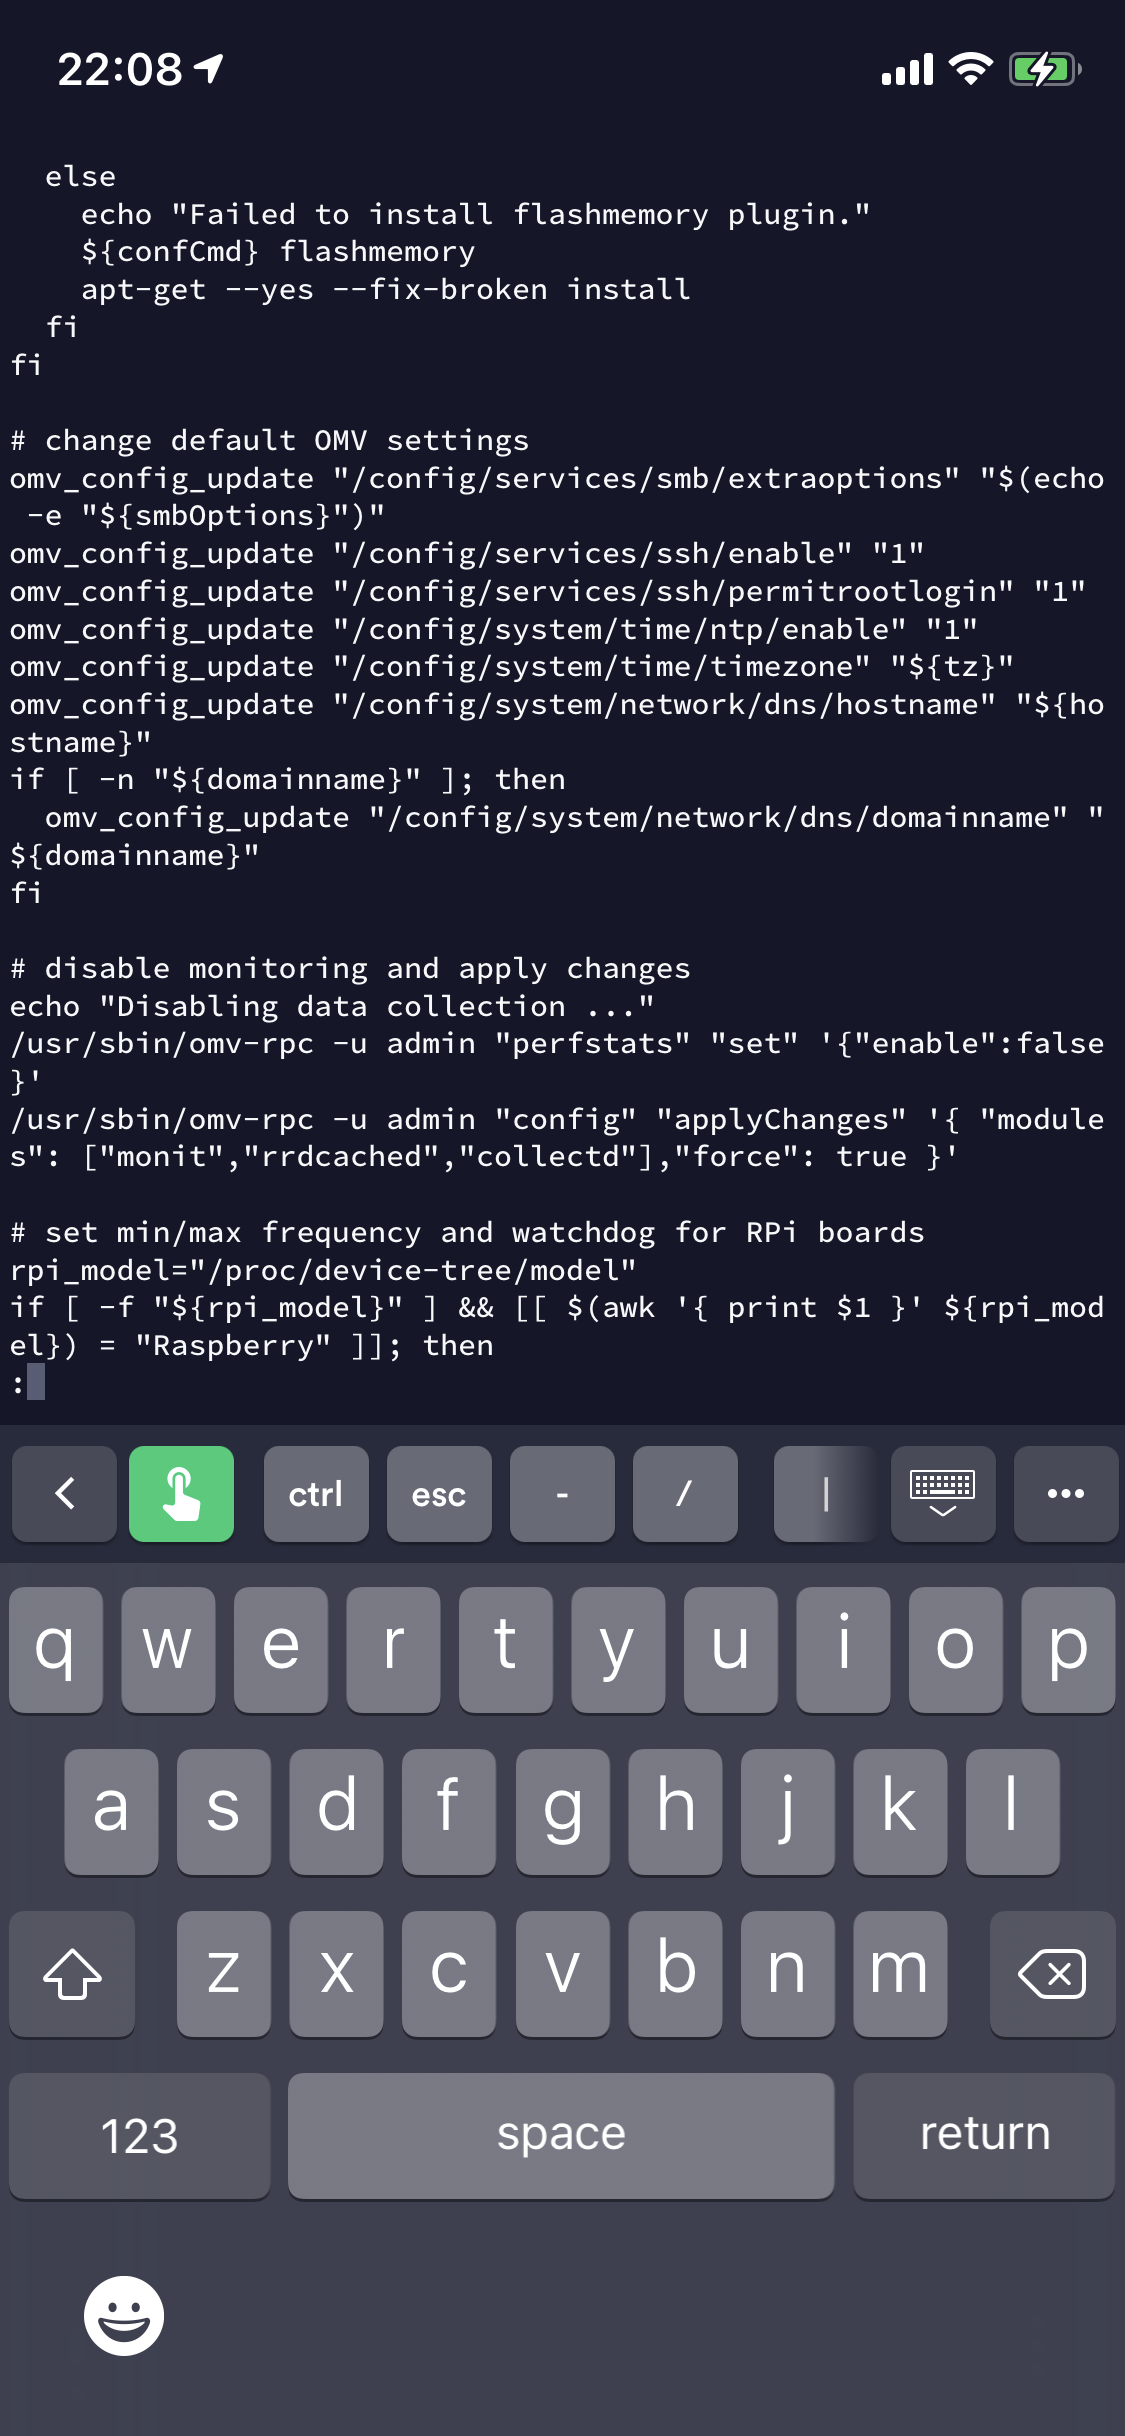
More changes to OMV default settings around CPU performance/limits.
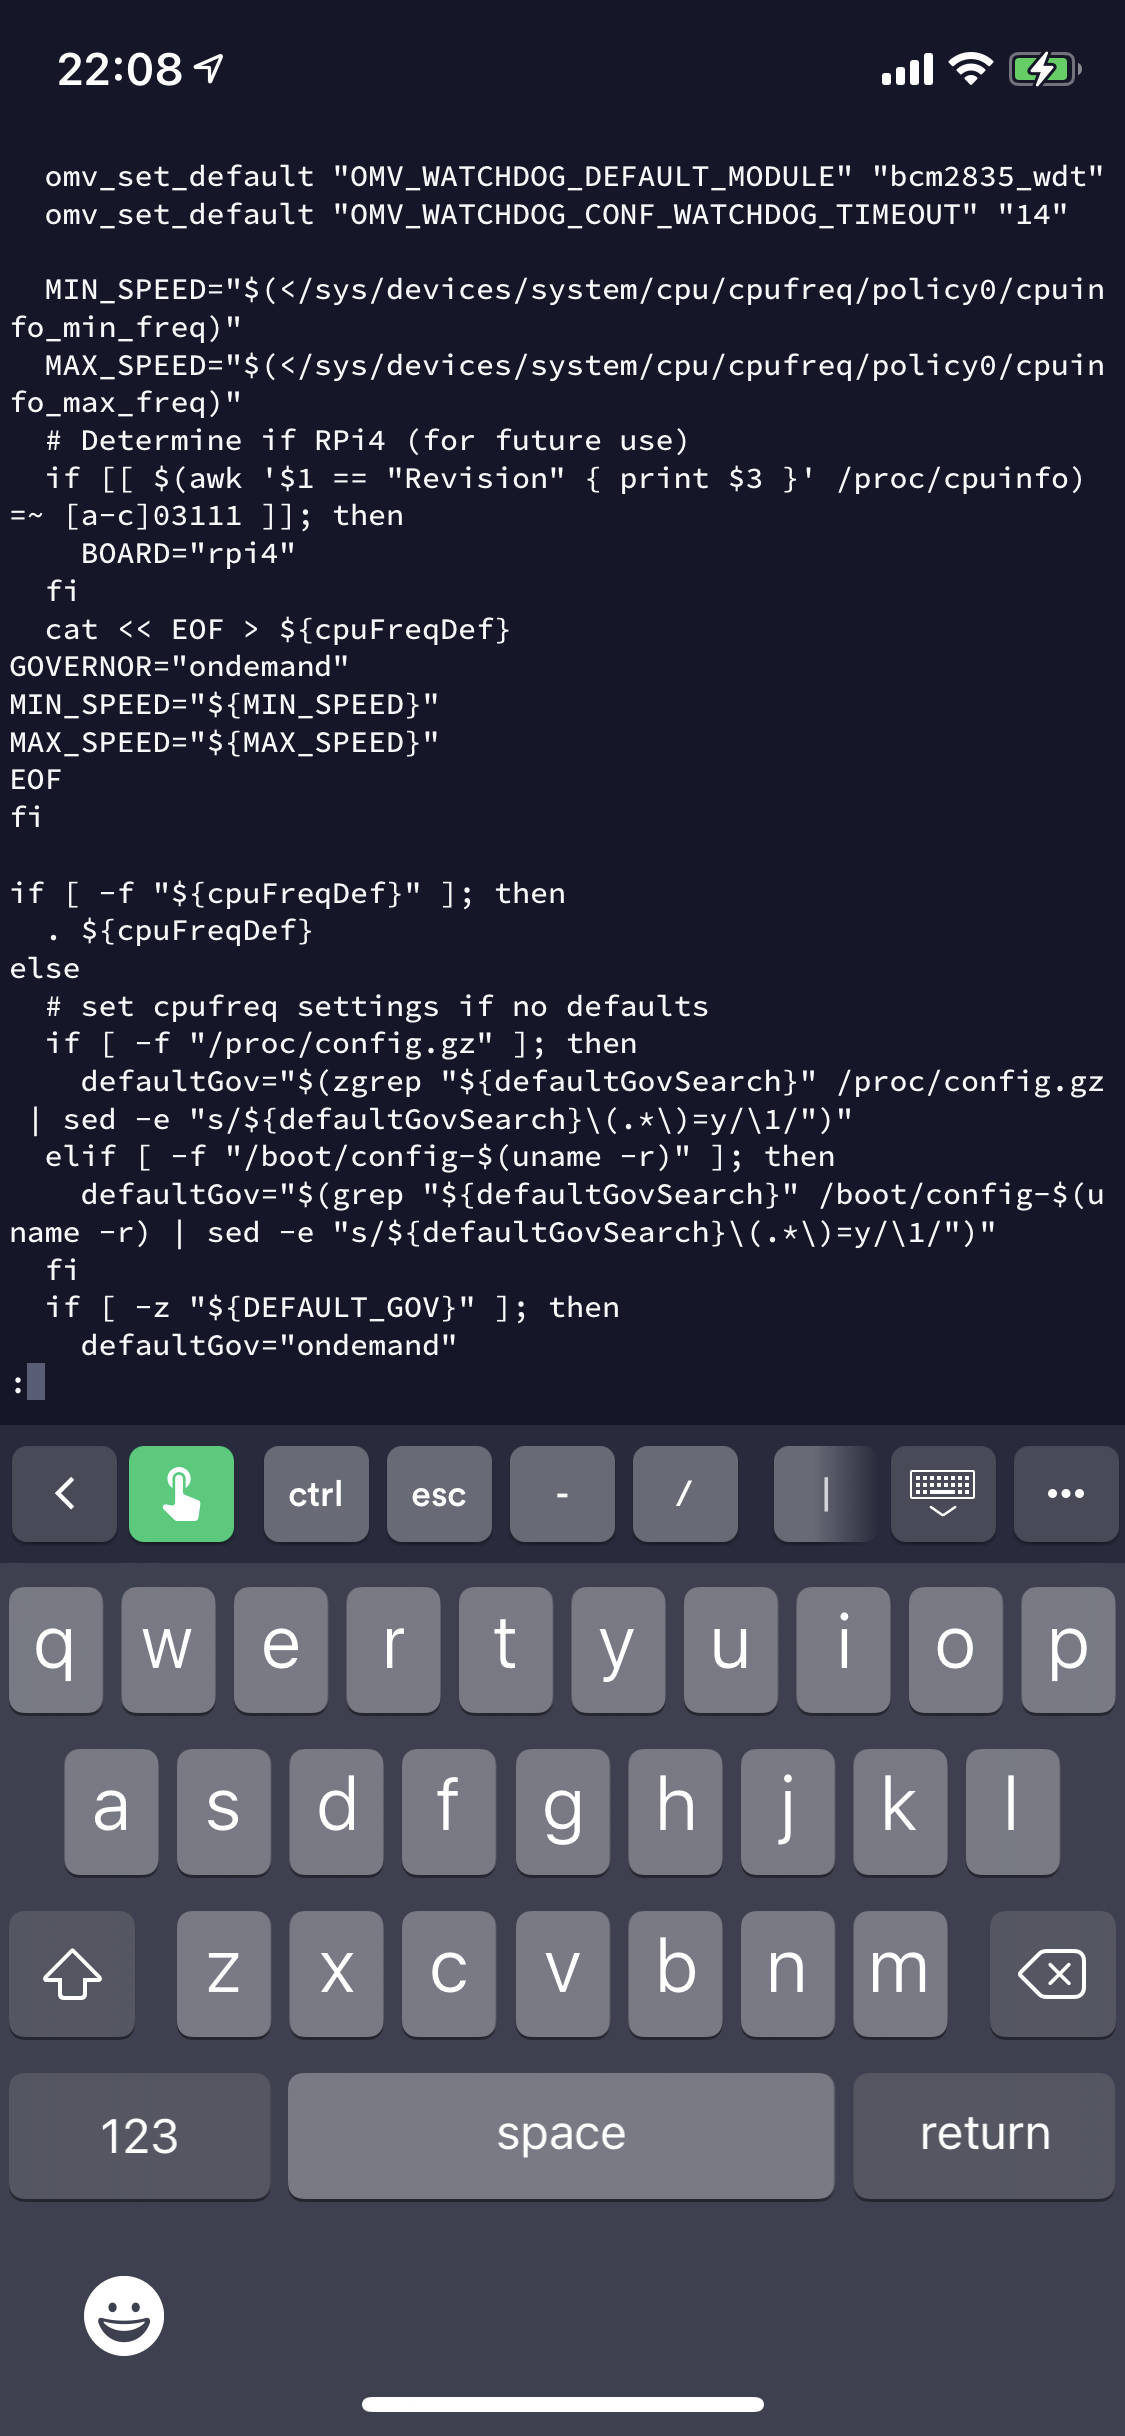
Update config for nginx, samba, ssh, flashmemory, chrony, timezone, monit, rrdcached, collectd, cpufrequtils, apt, watchdog, php and IPv4.
Disable proftpd, setup cron schedules for maintenance and performance.
Enable SSH for pi user.

Network configuration.
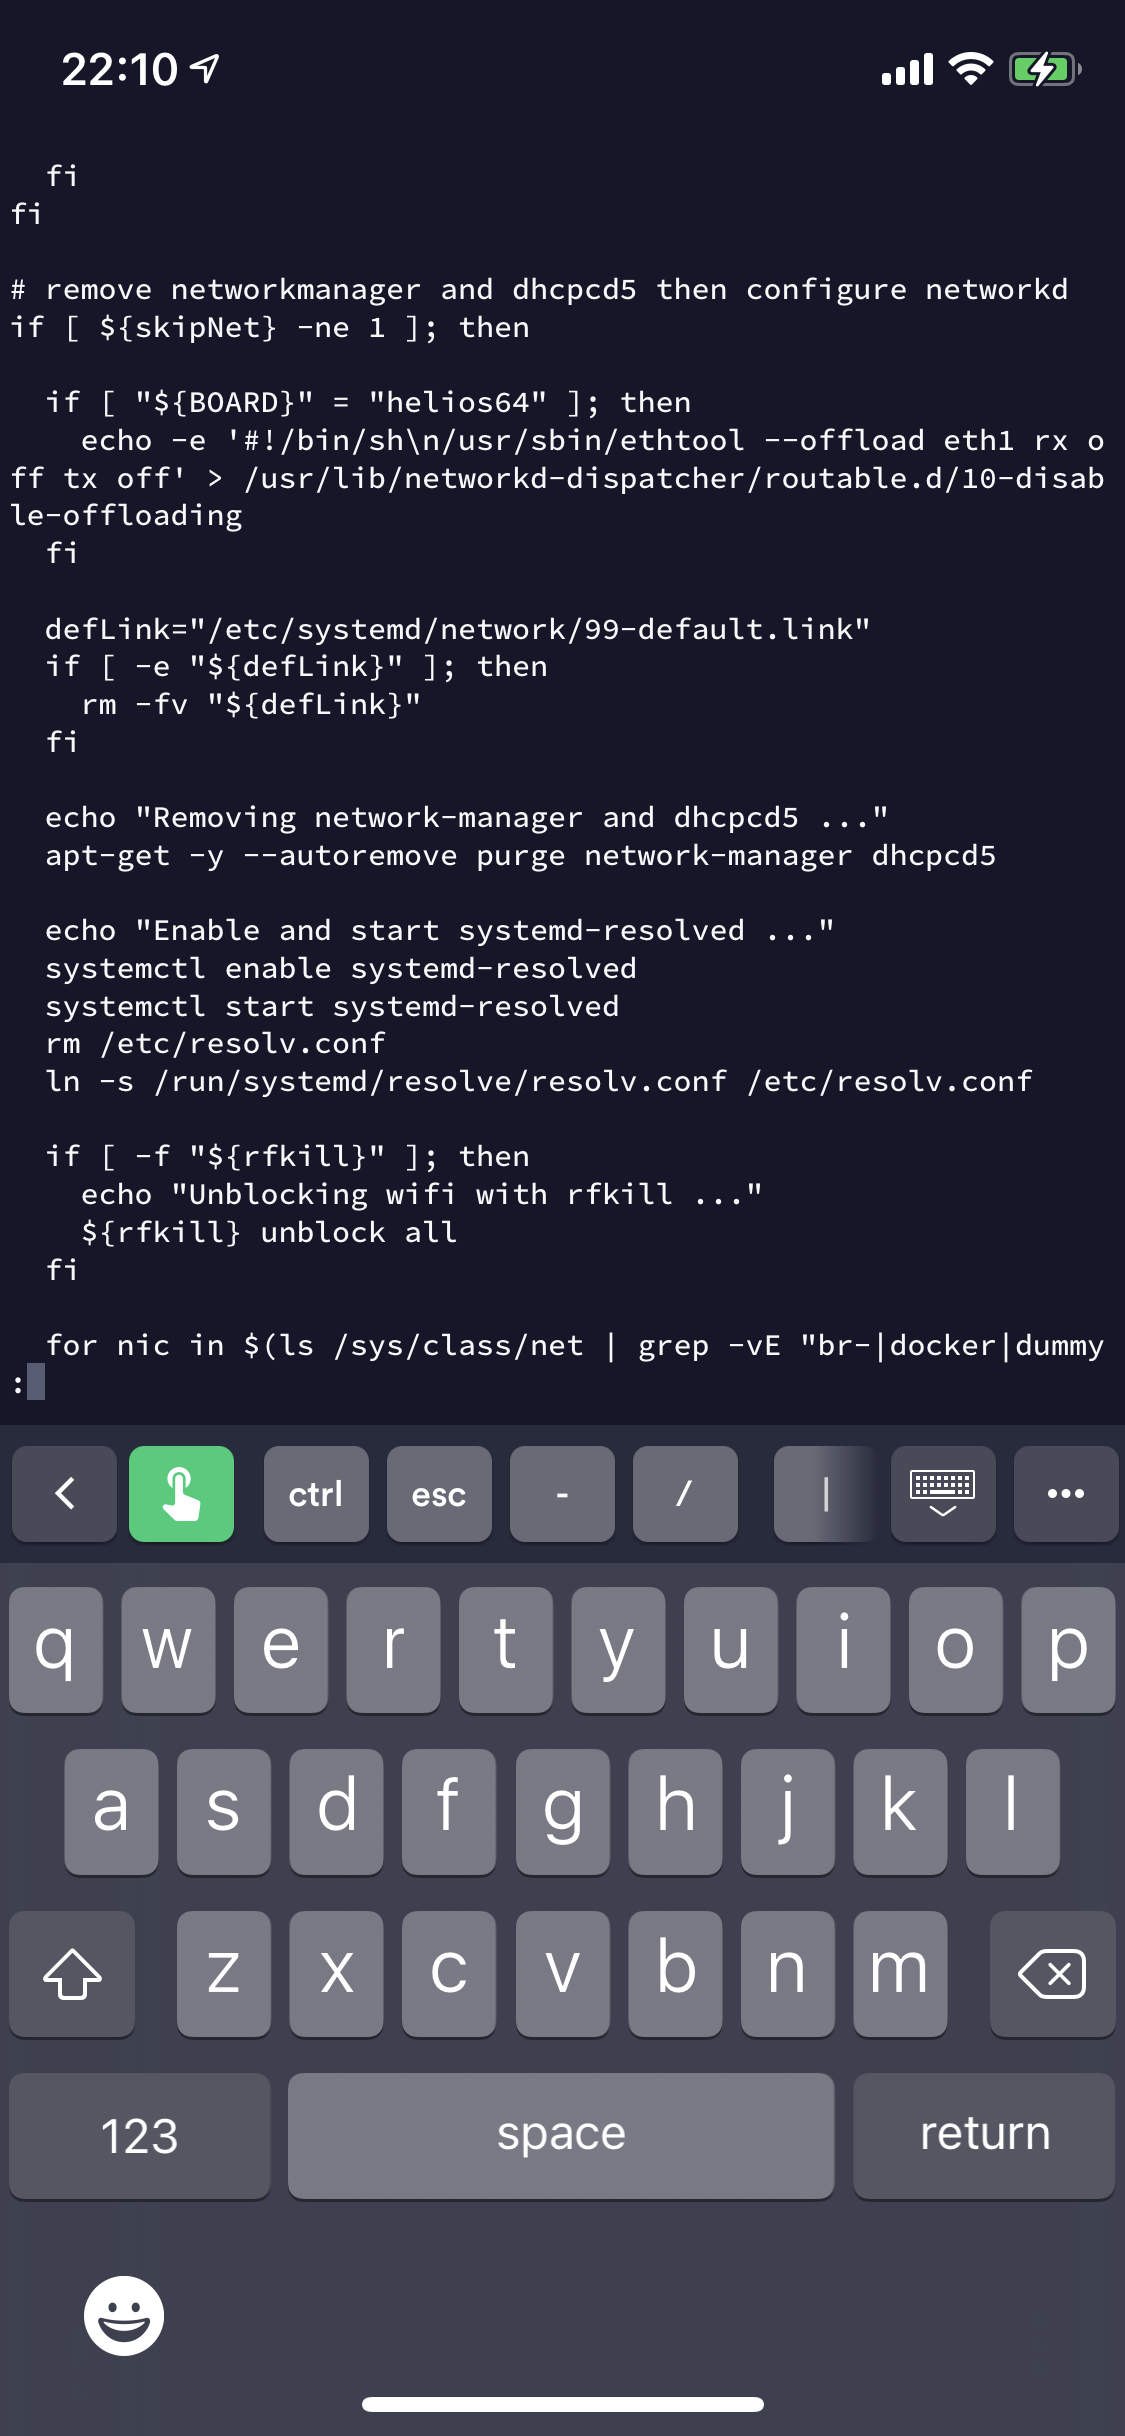
More network configuration including Wifi.
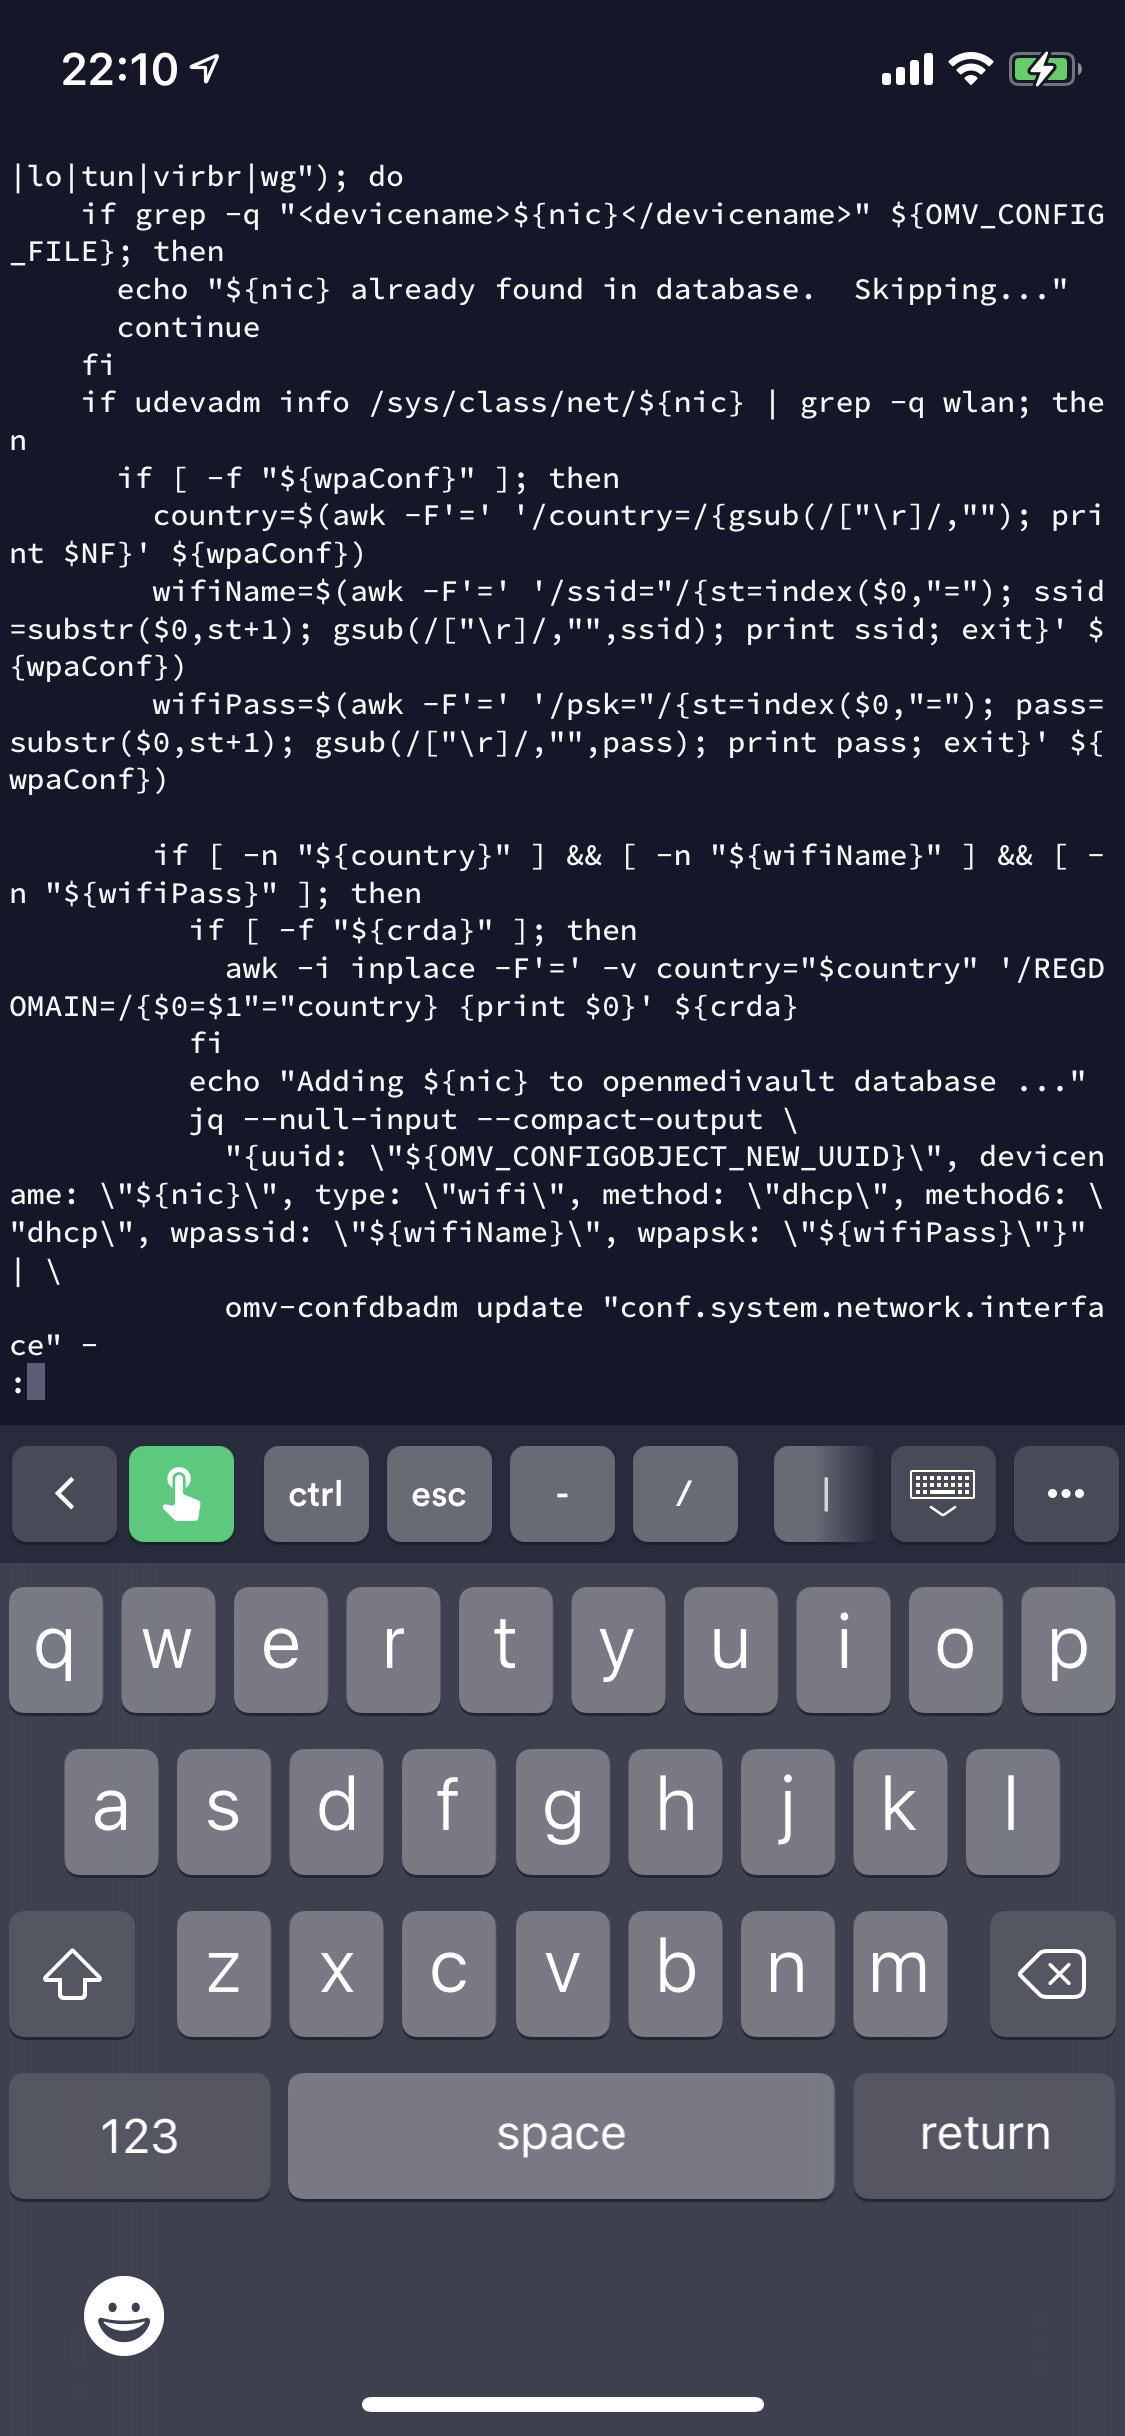
Update OMV database with NIC details.
Finalise config and reboot the Pi.

So, nothing there that concerns me - though I would probably amend to create a new user, remove pi user etc if not already done seperately as I advised in my previous post.
Running the installation script
Enter the following commands:
mv install install.sh Rename the script
chmod +x install.sh Add execute permissions to the script
sudo sh install.sh Run the script under sudo

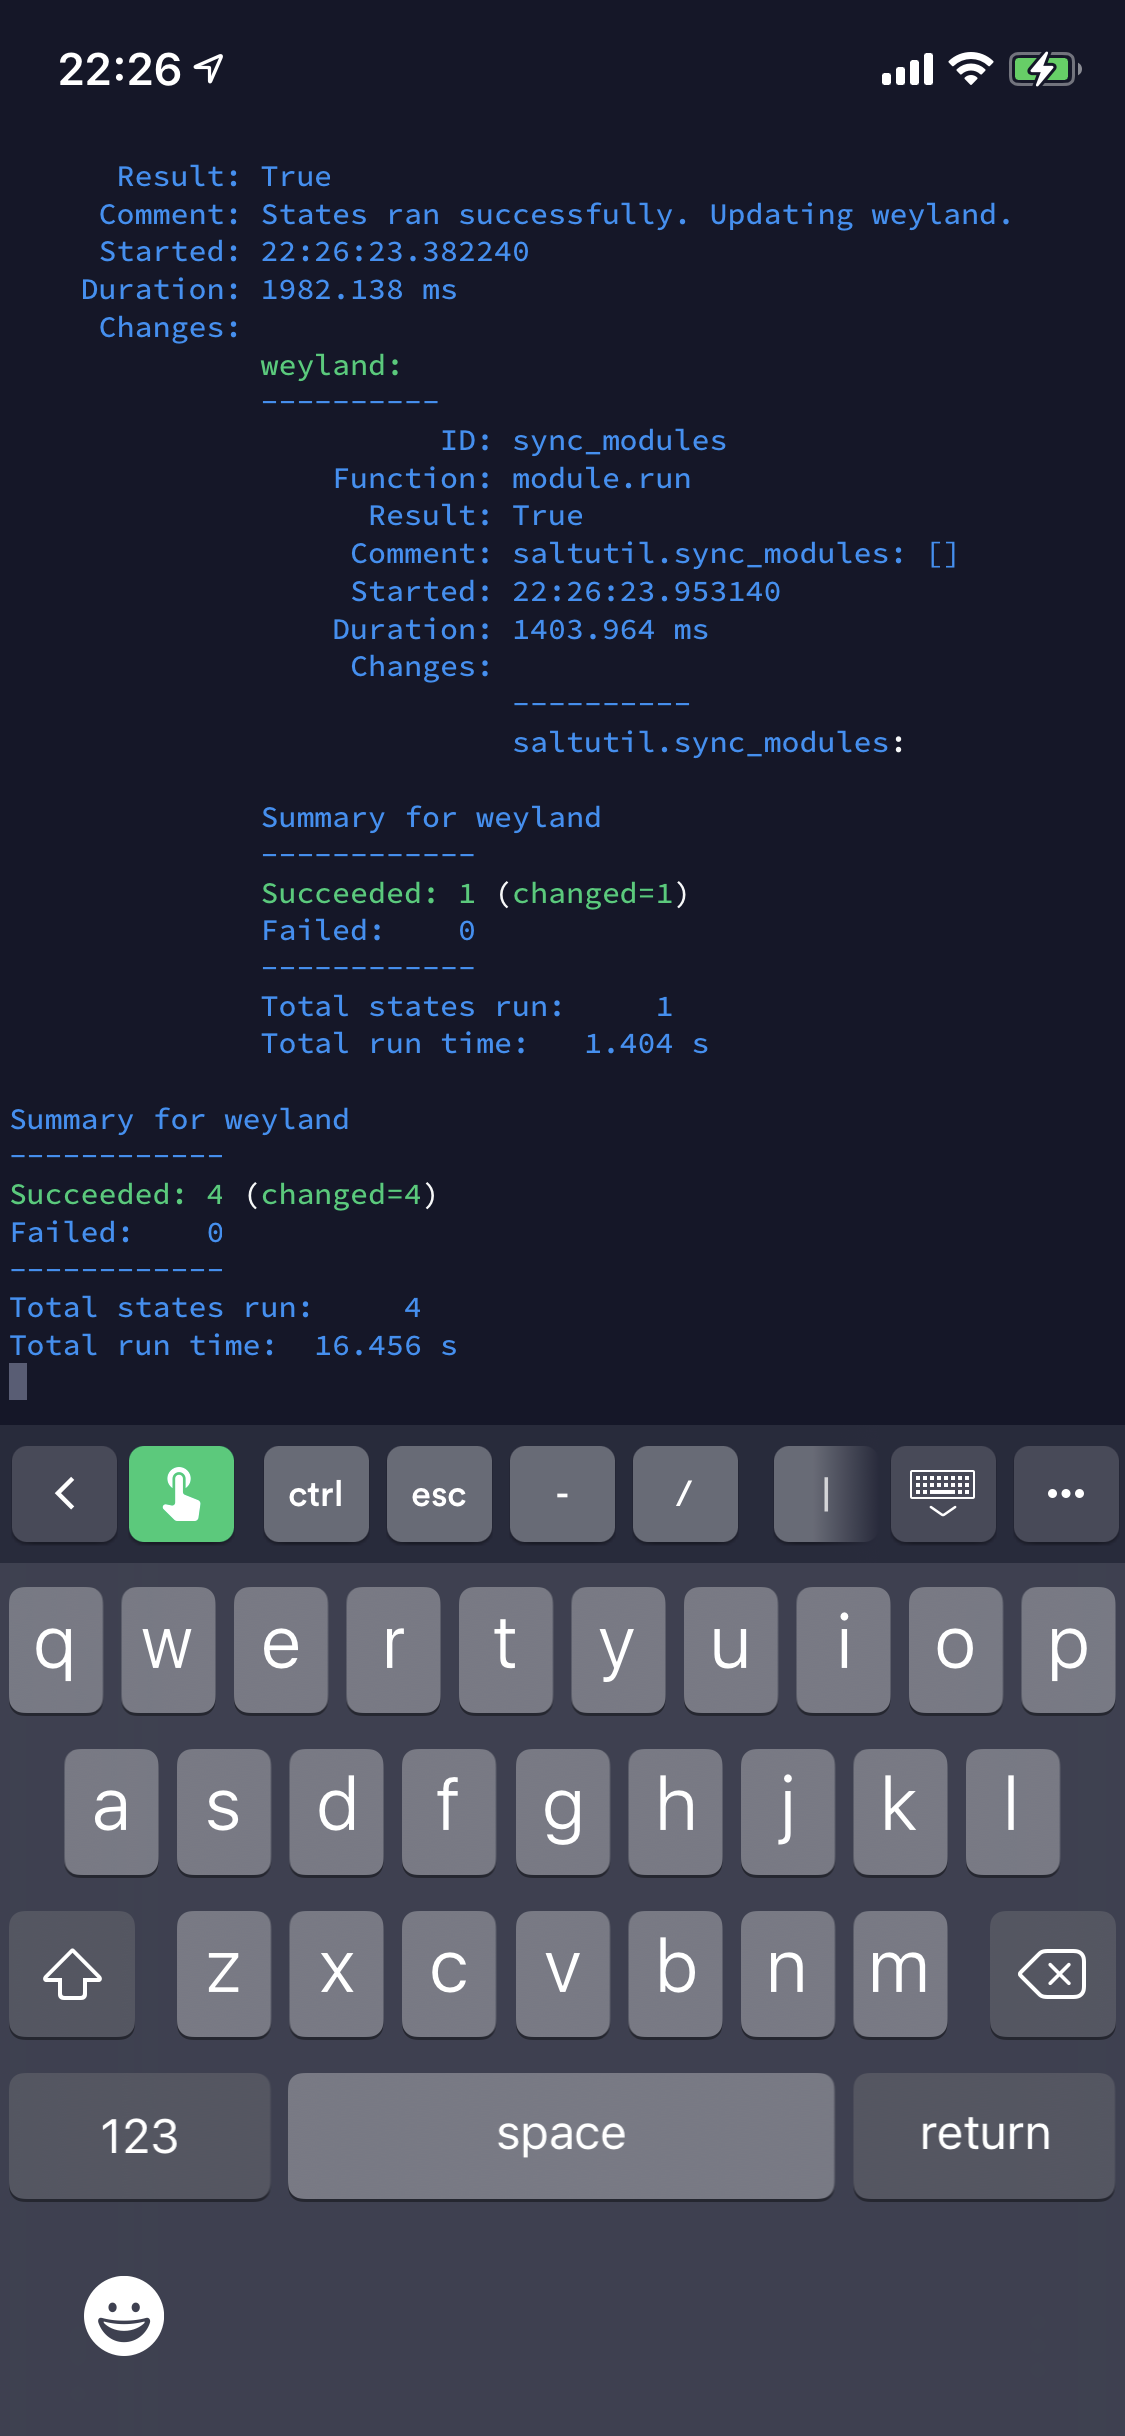
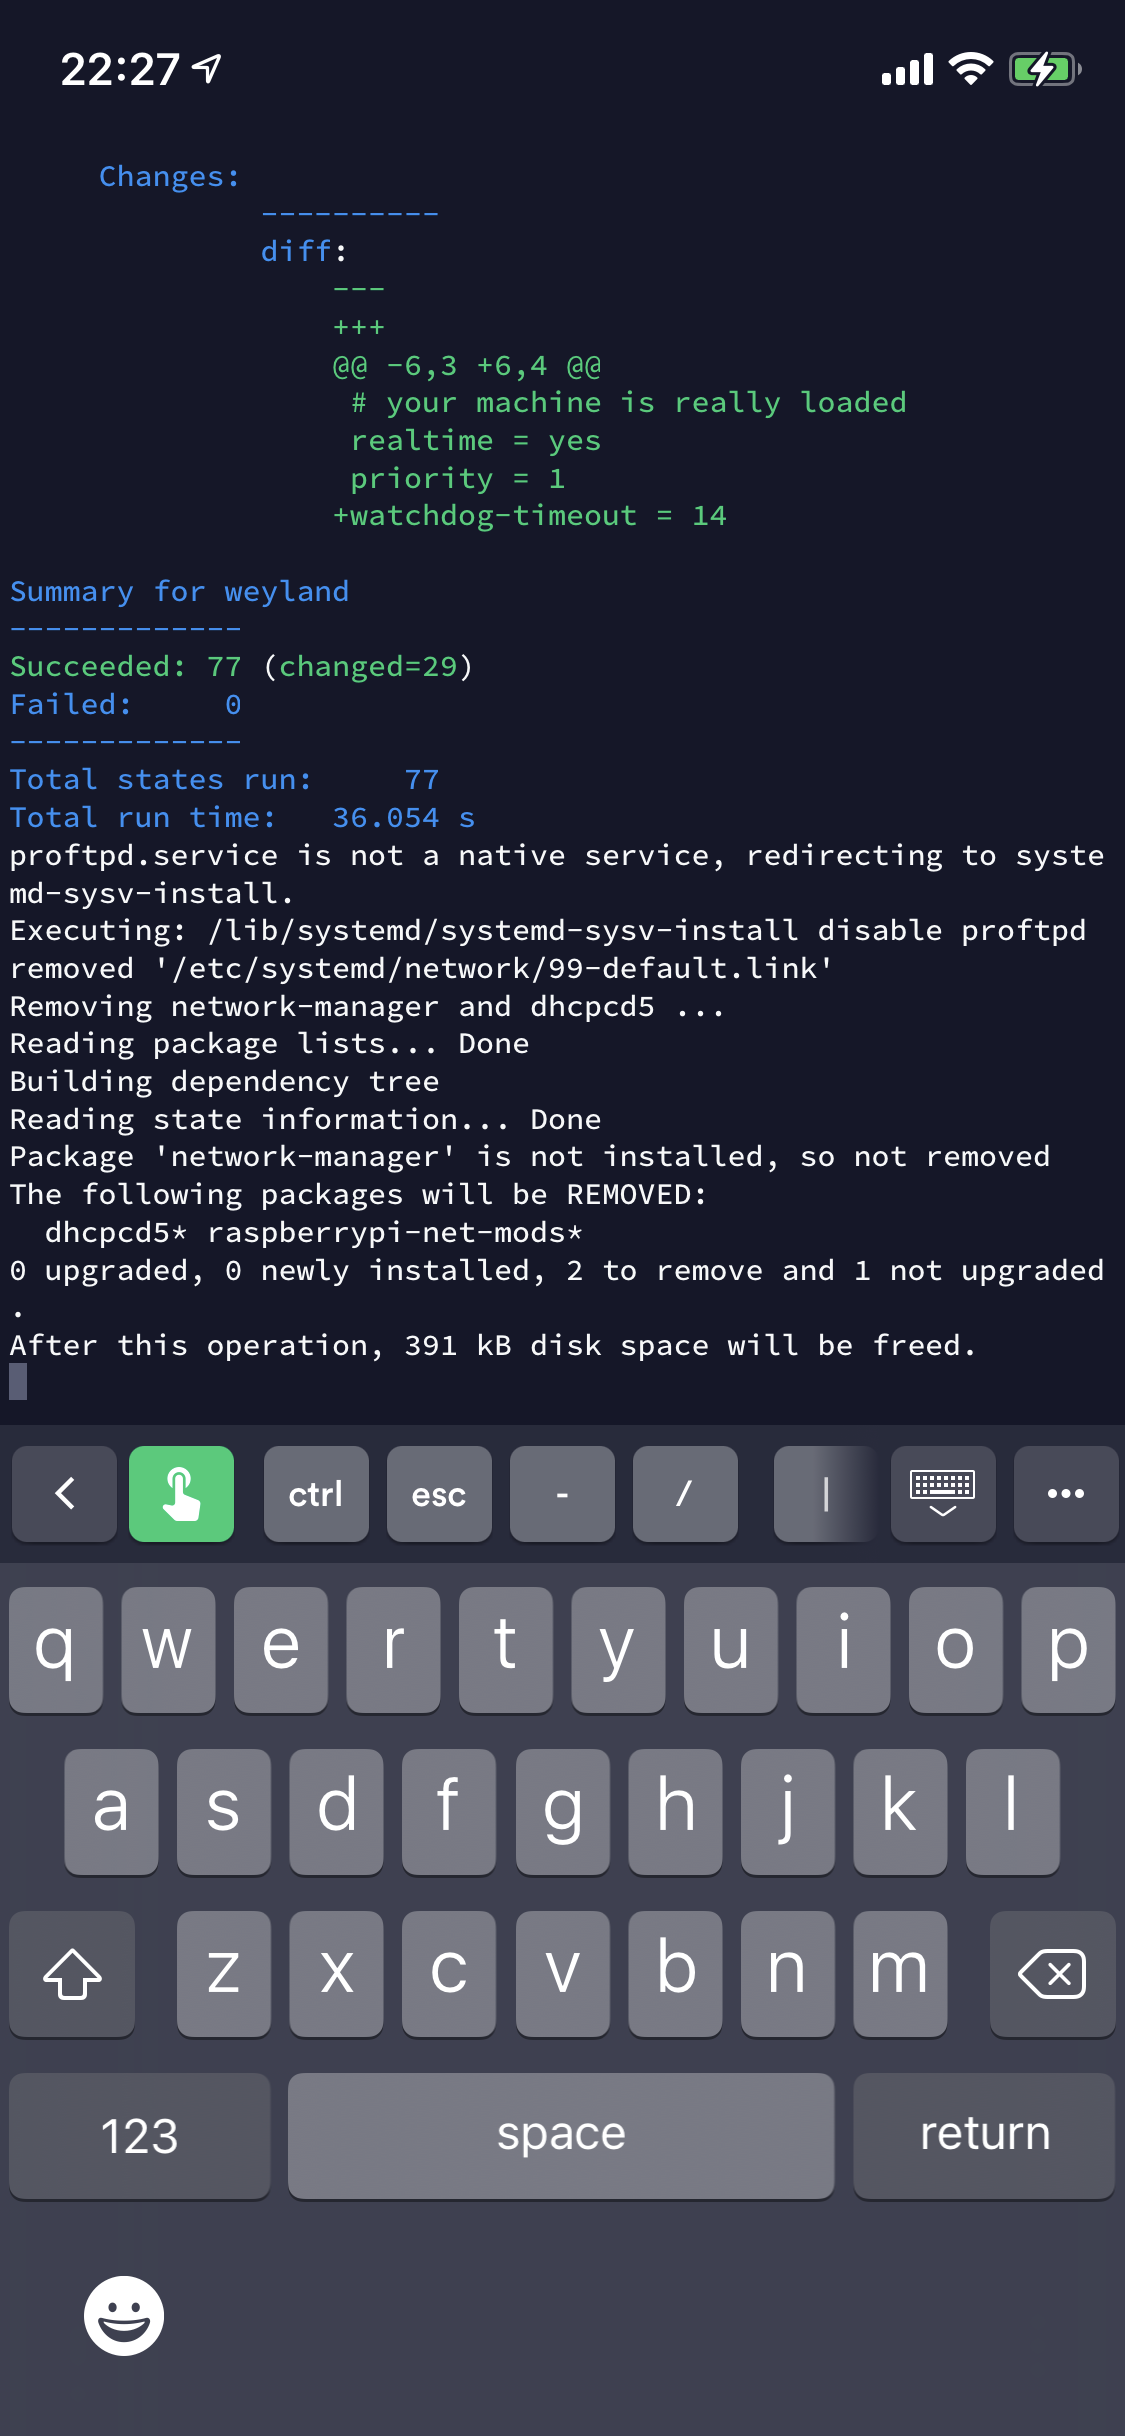
Script progressing through:


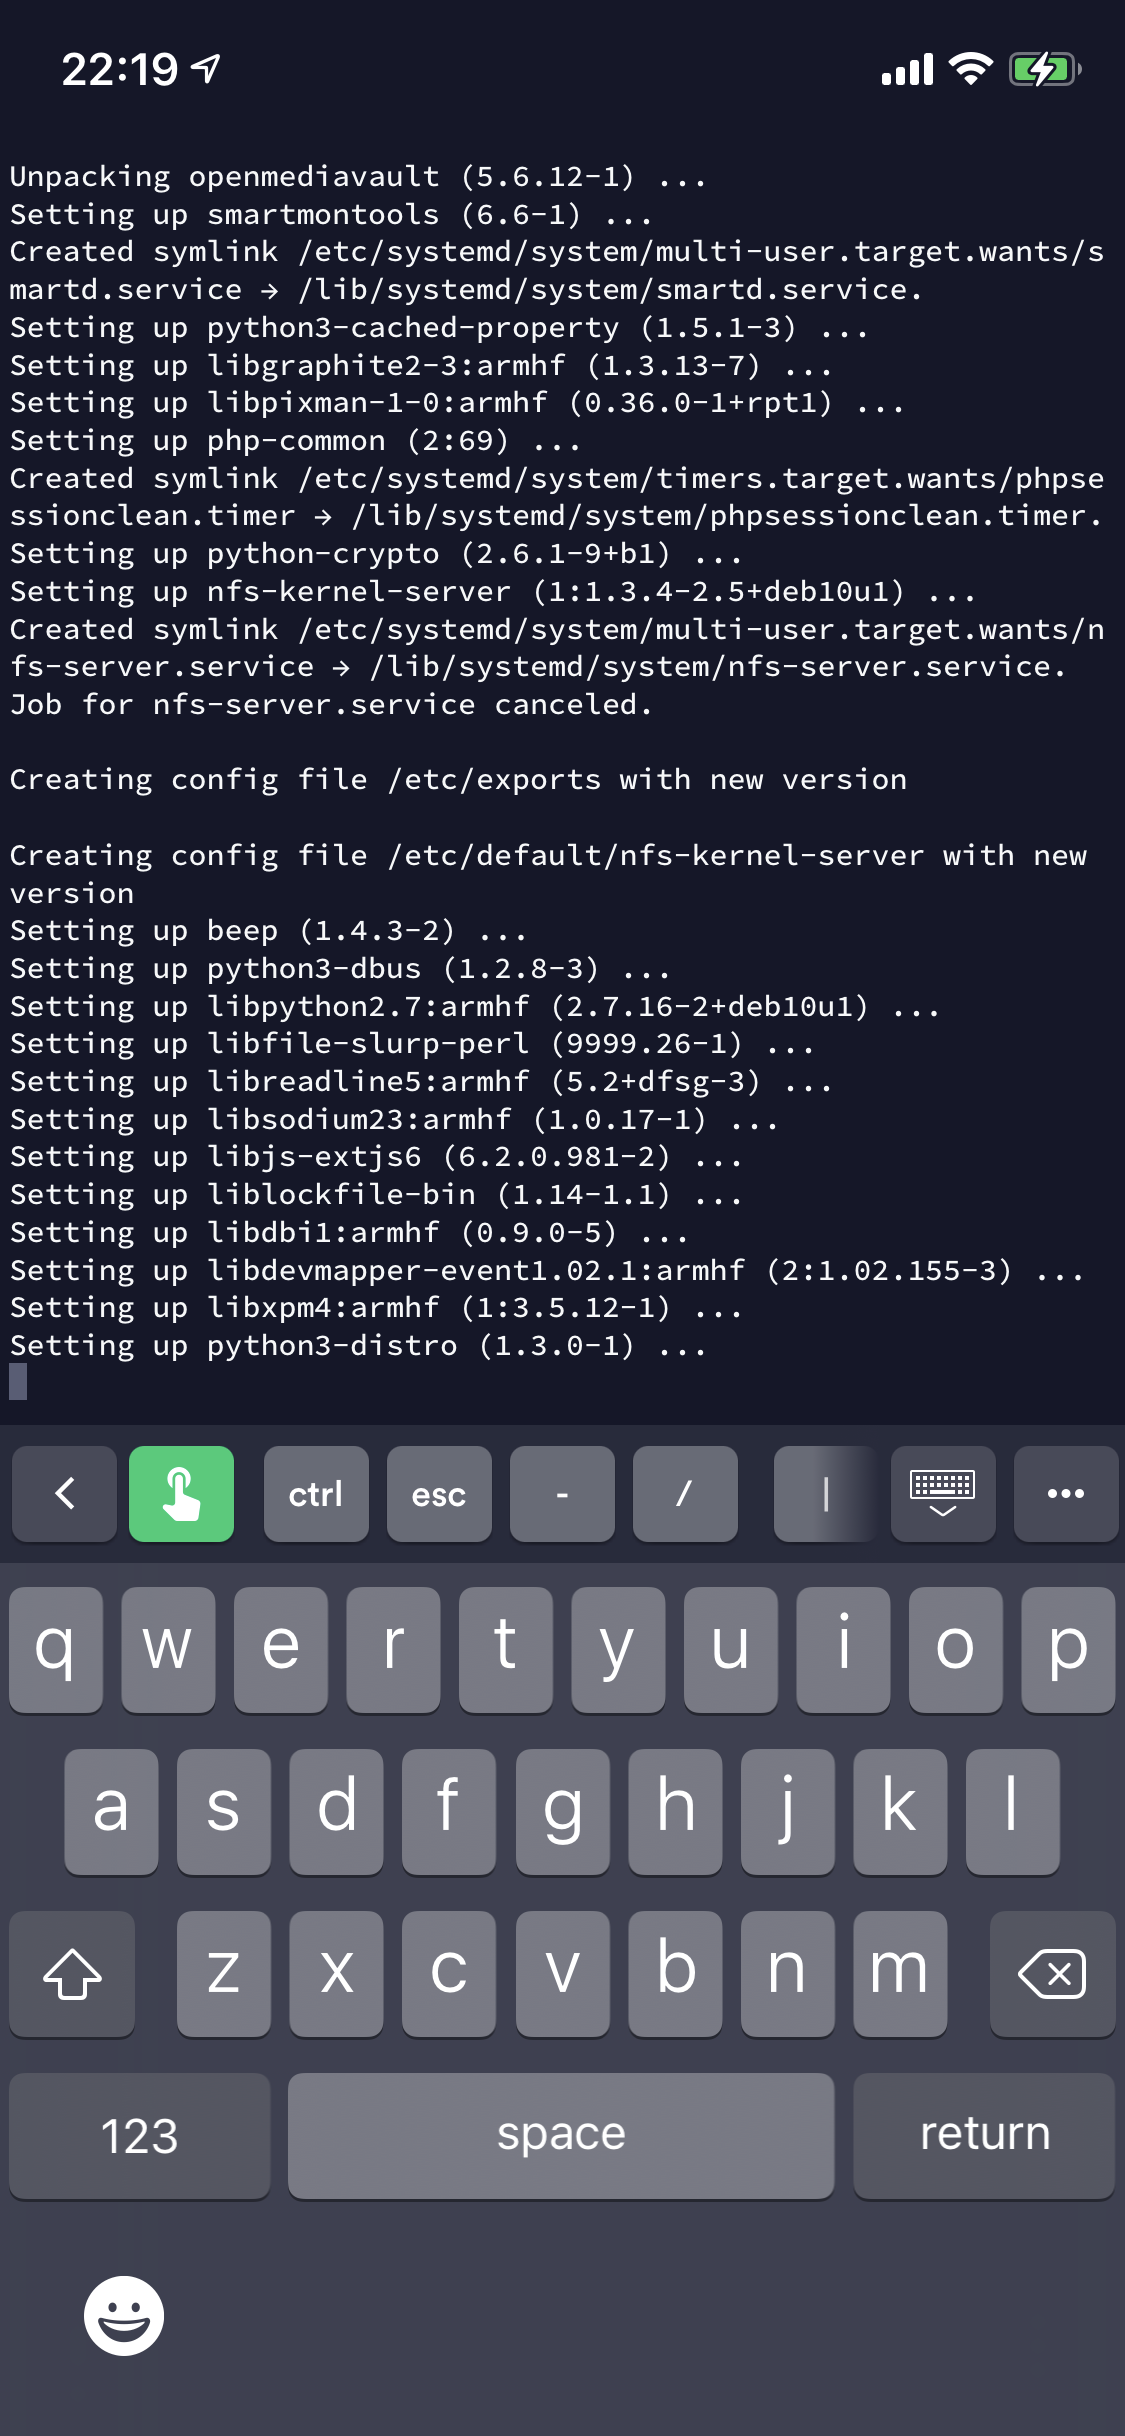
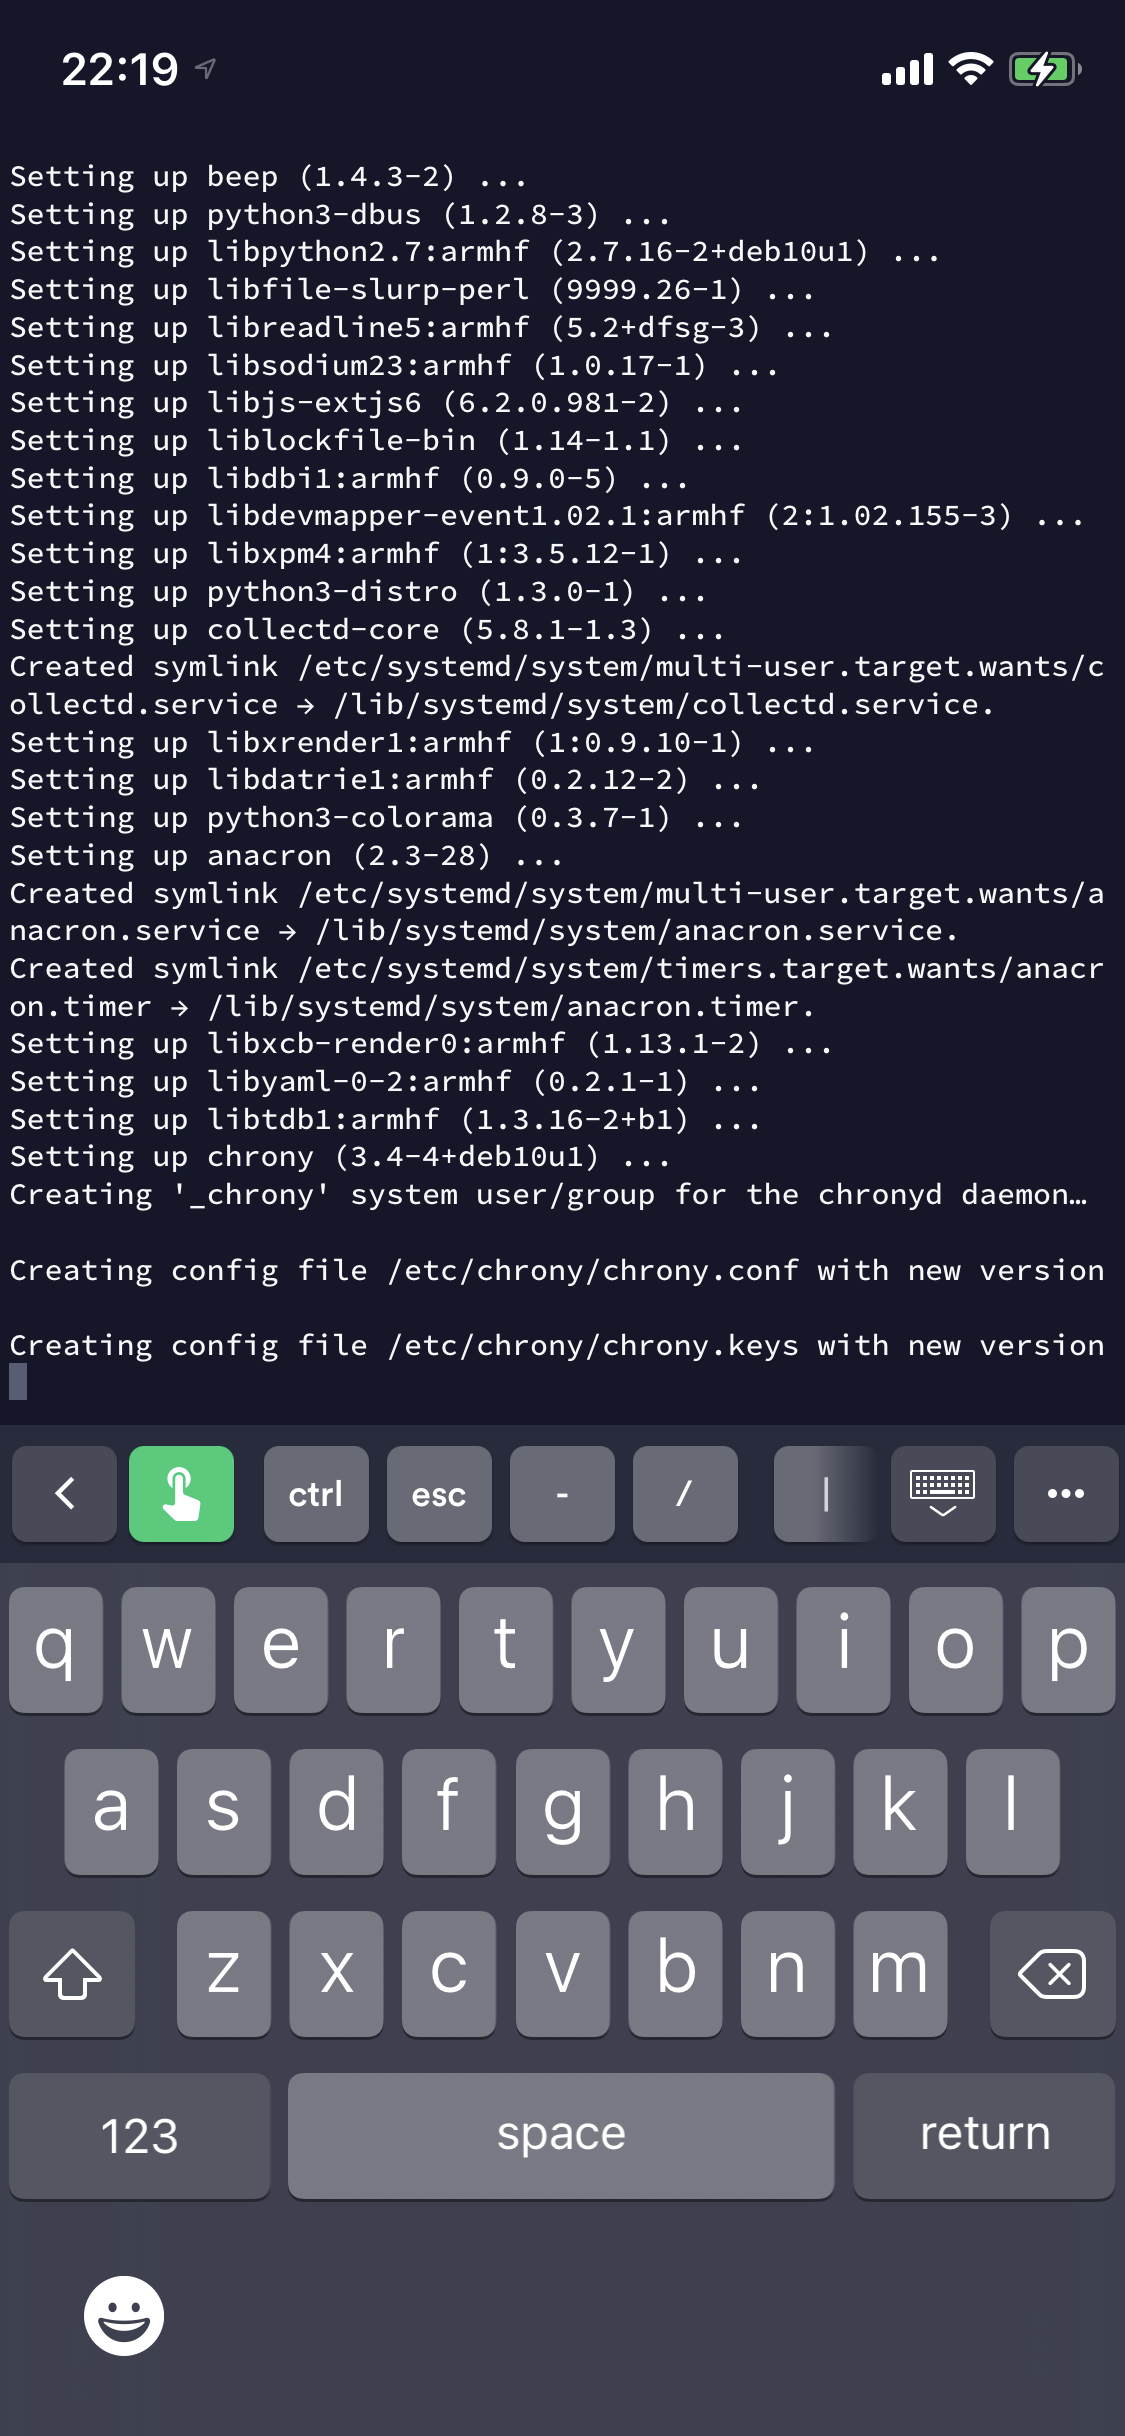
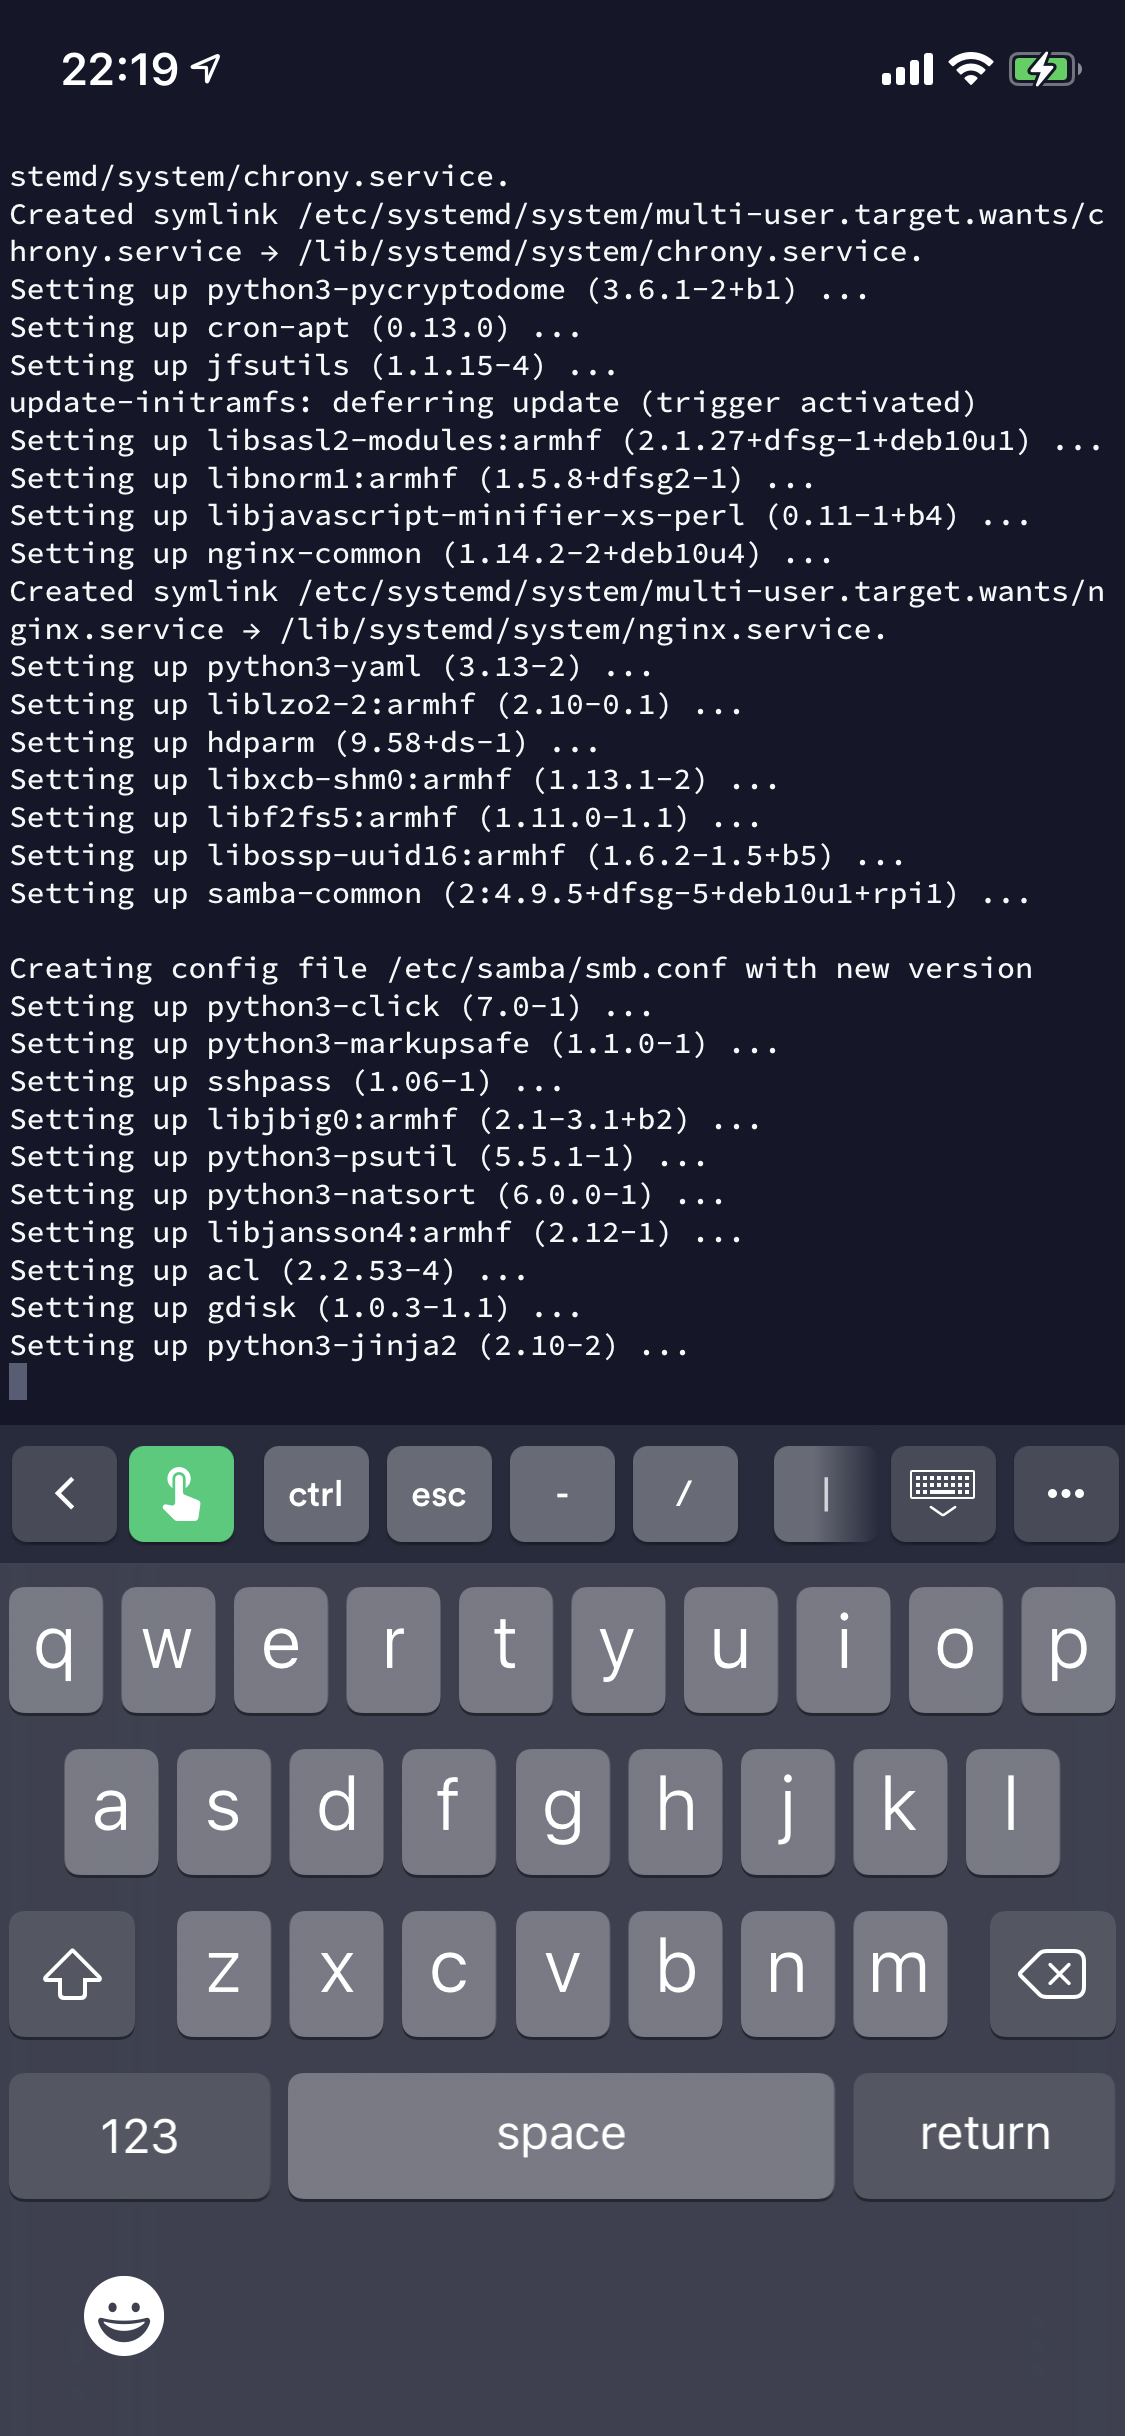
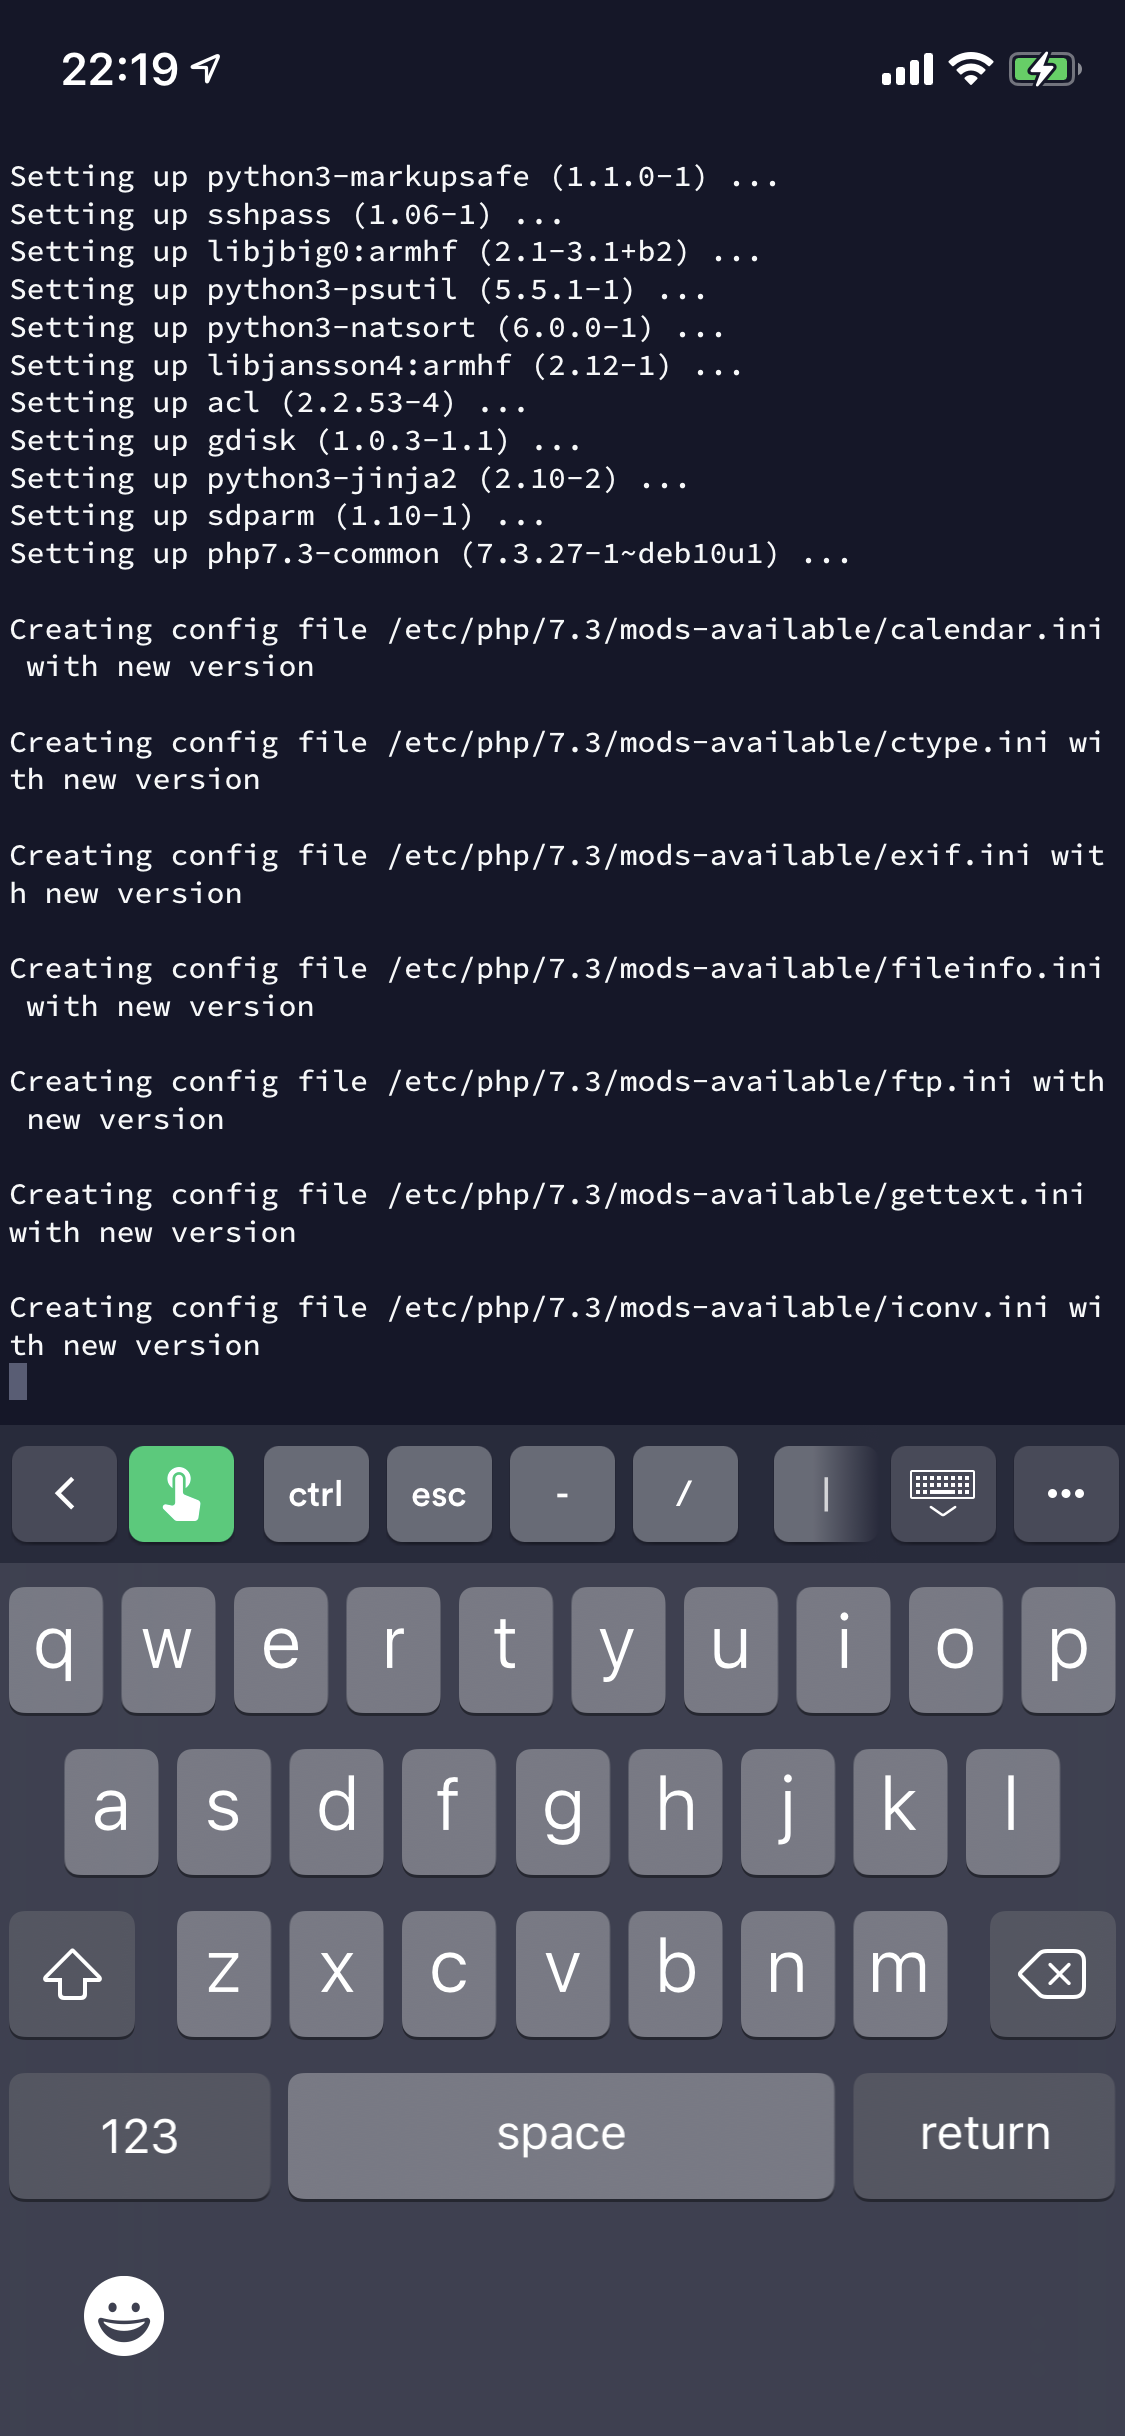


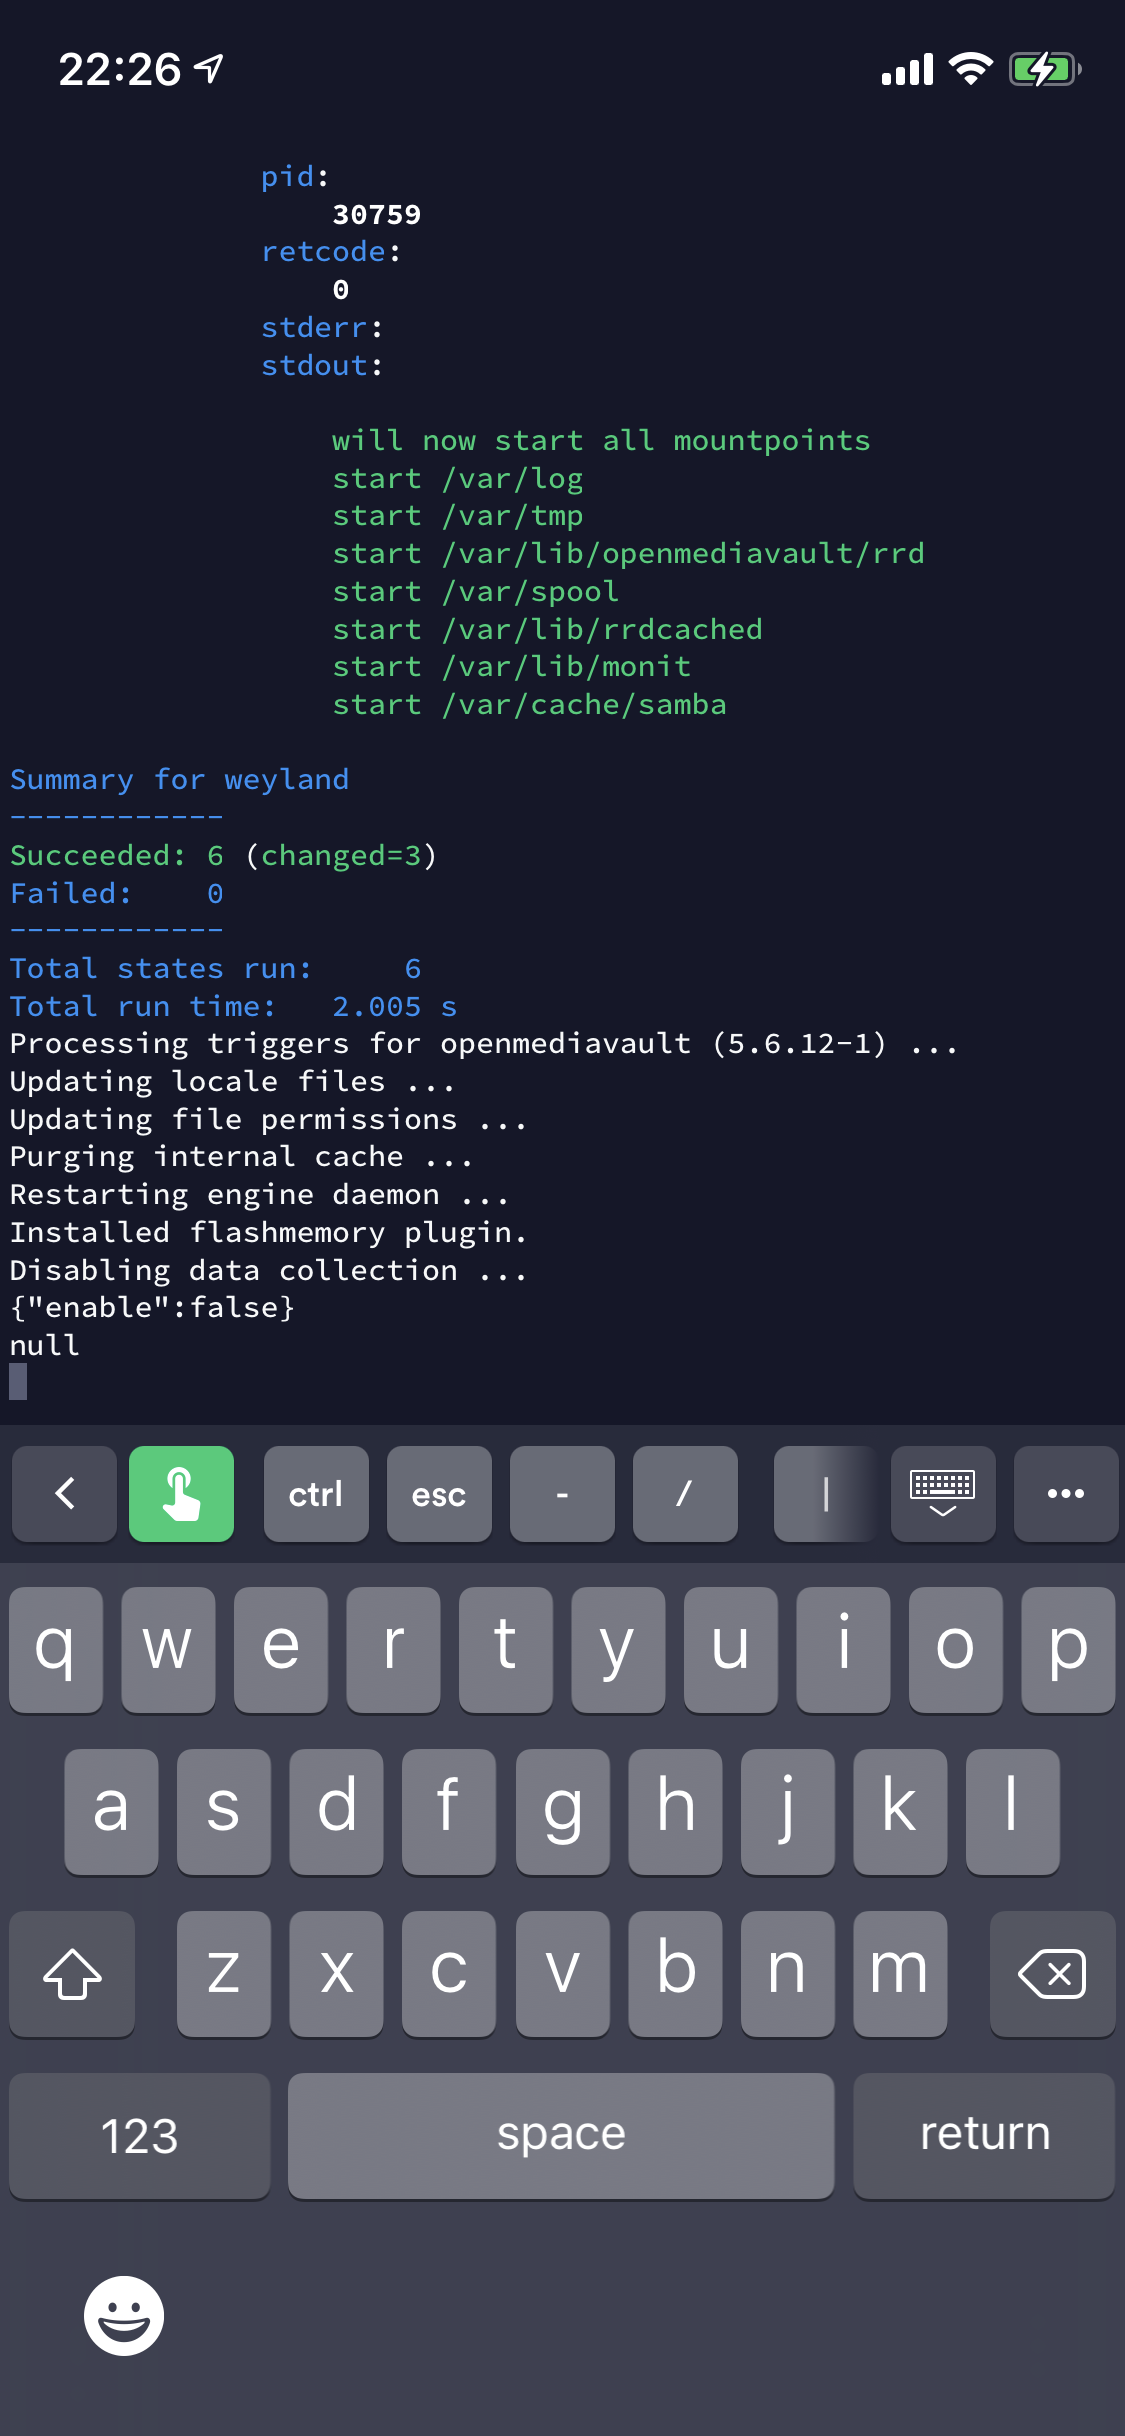
The script may take up to 30 minutes to complete depending on your internet connection, your hardware and many other factors - in my case it was much less - maybe 5-10 minutes.
You’ll know when the script is complete when you lose connection as part of the reboot.
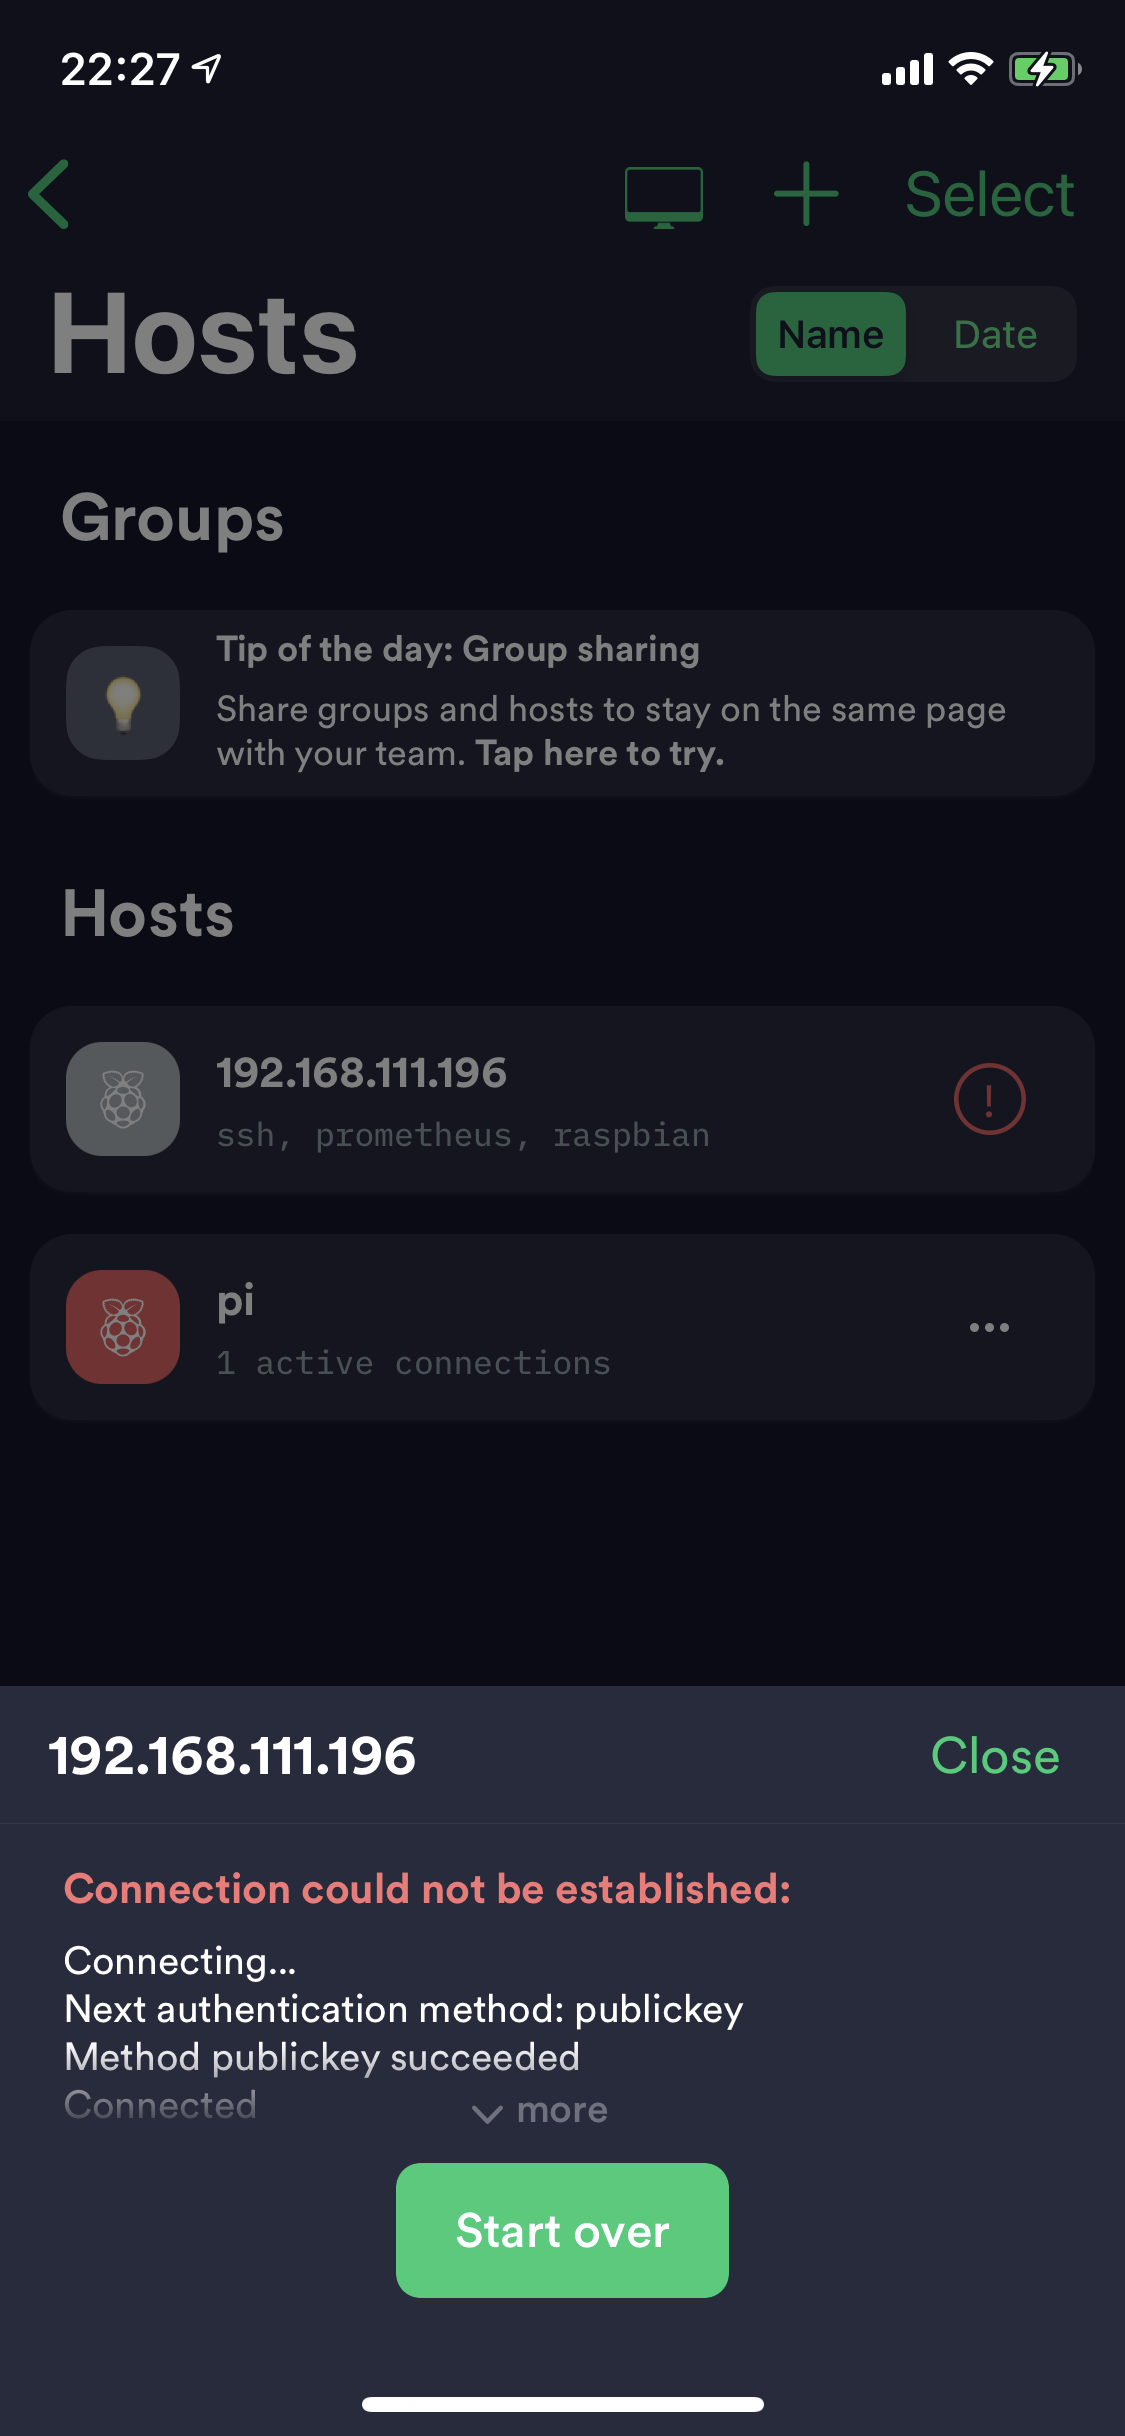
First Login
When you reconnect you will see a login screen for OMV (this will look different on a desktop, this is the mobile browser view):
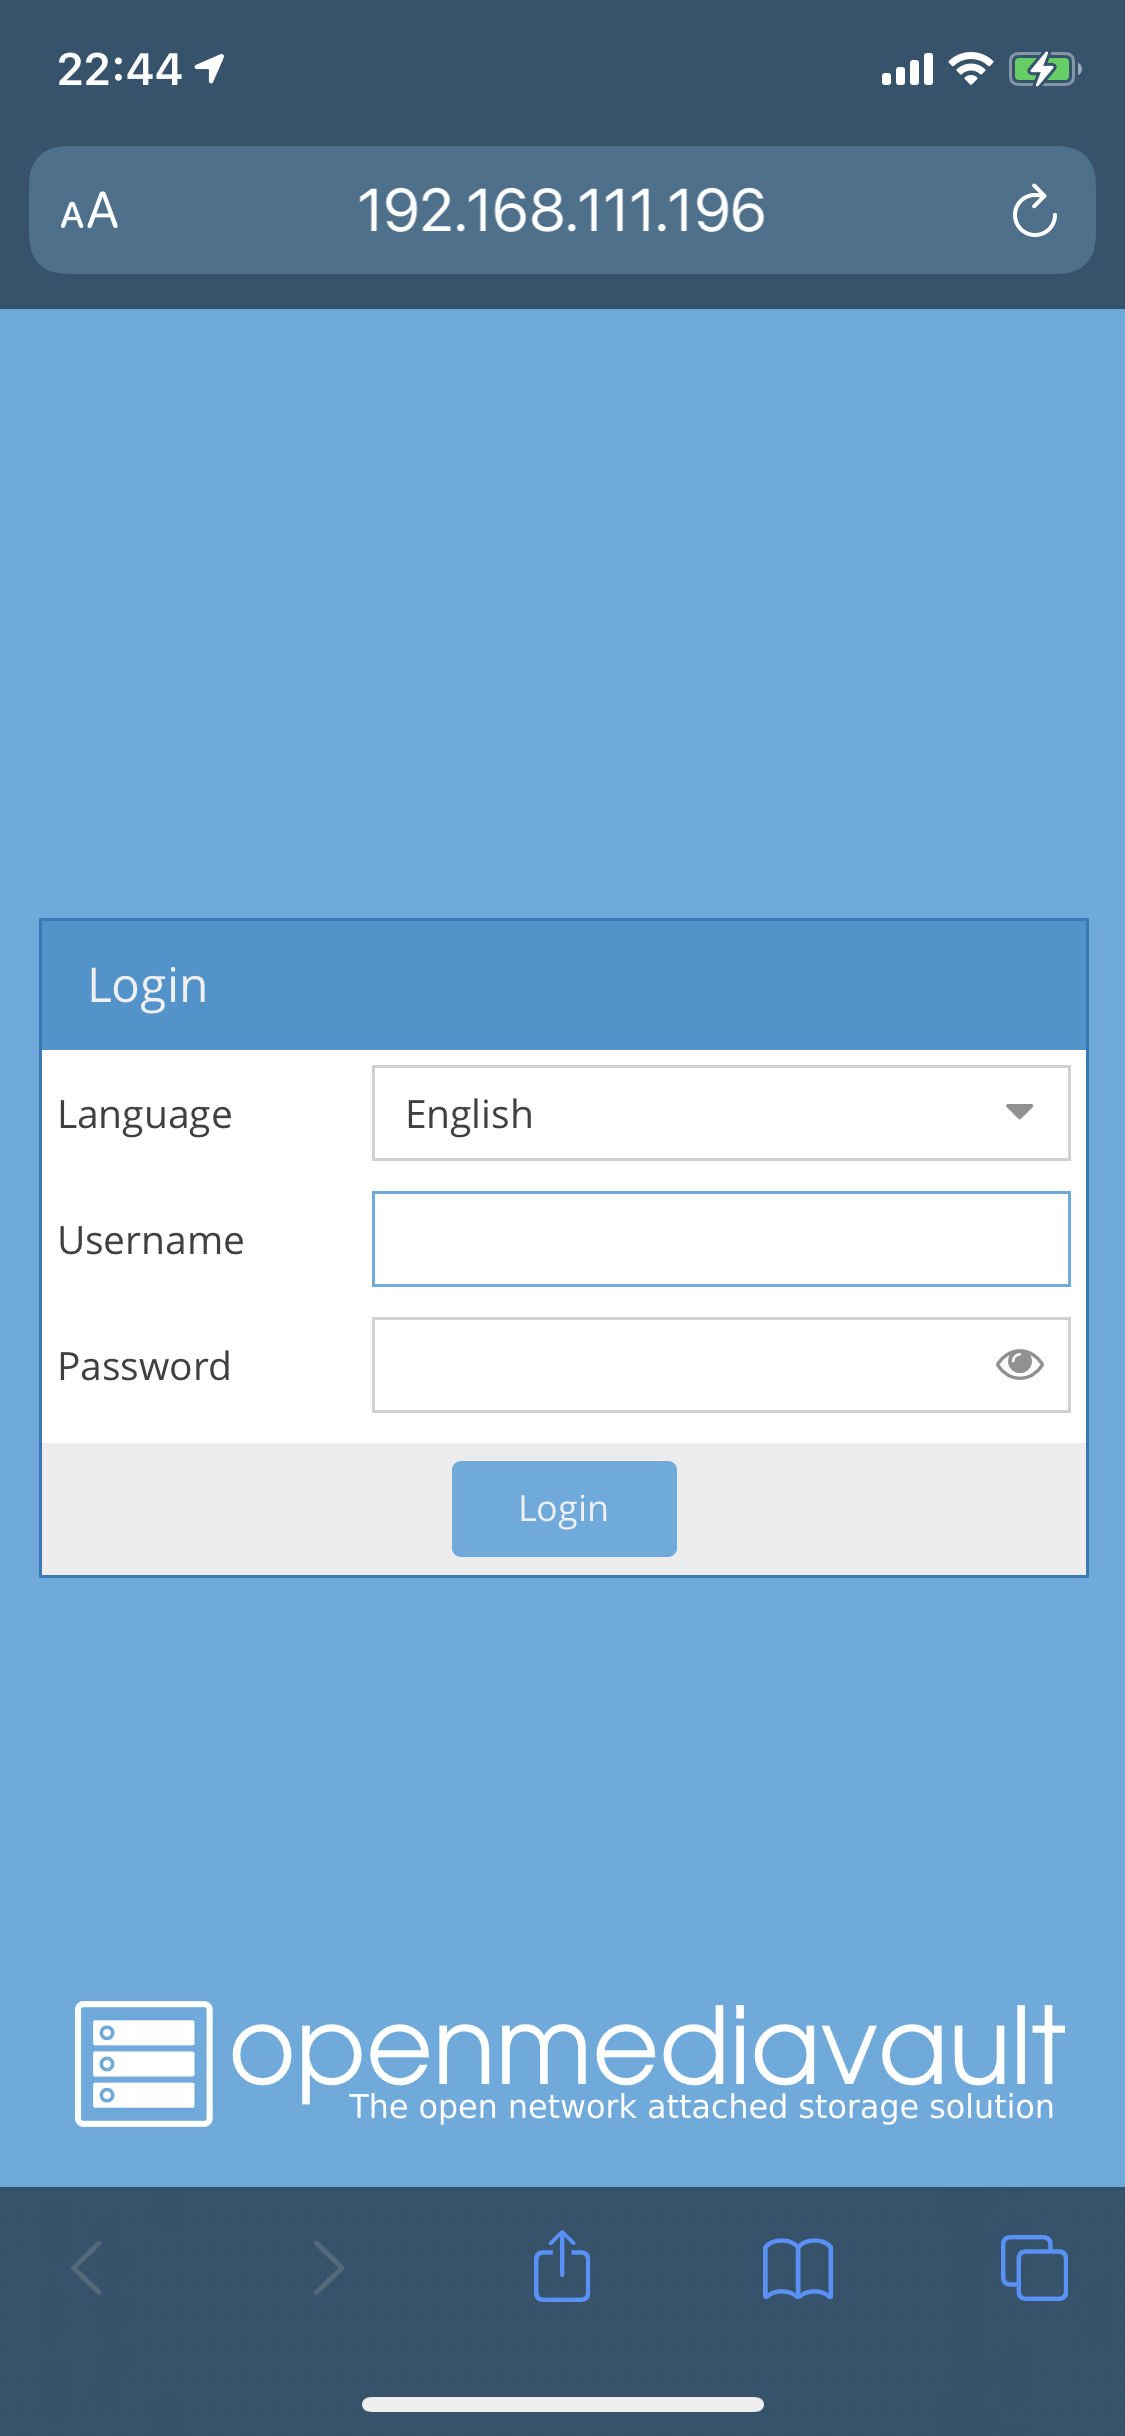
Login with the default username and password:
| Field | Value |
|---|---|
| Username | admin |
| Password | openmediavault |
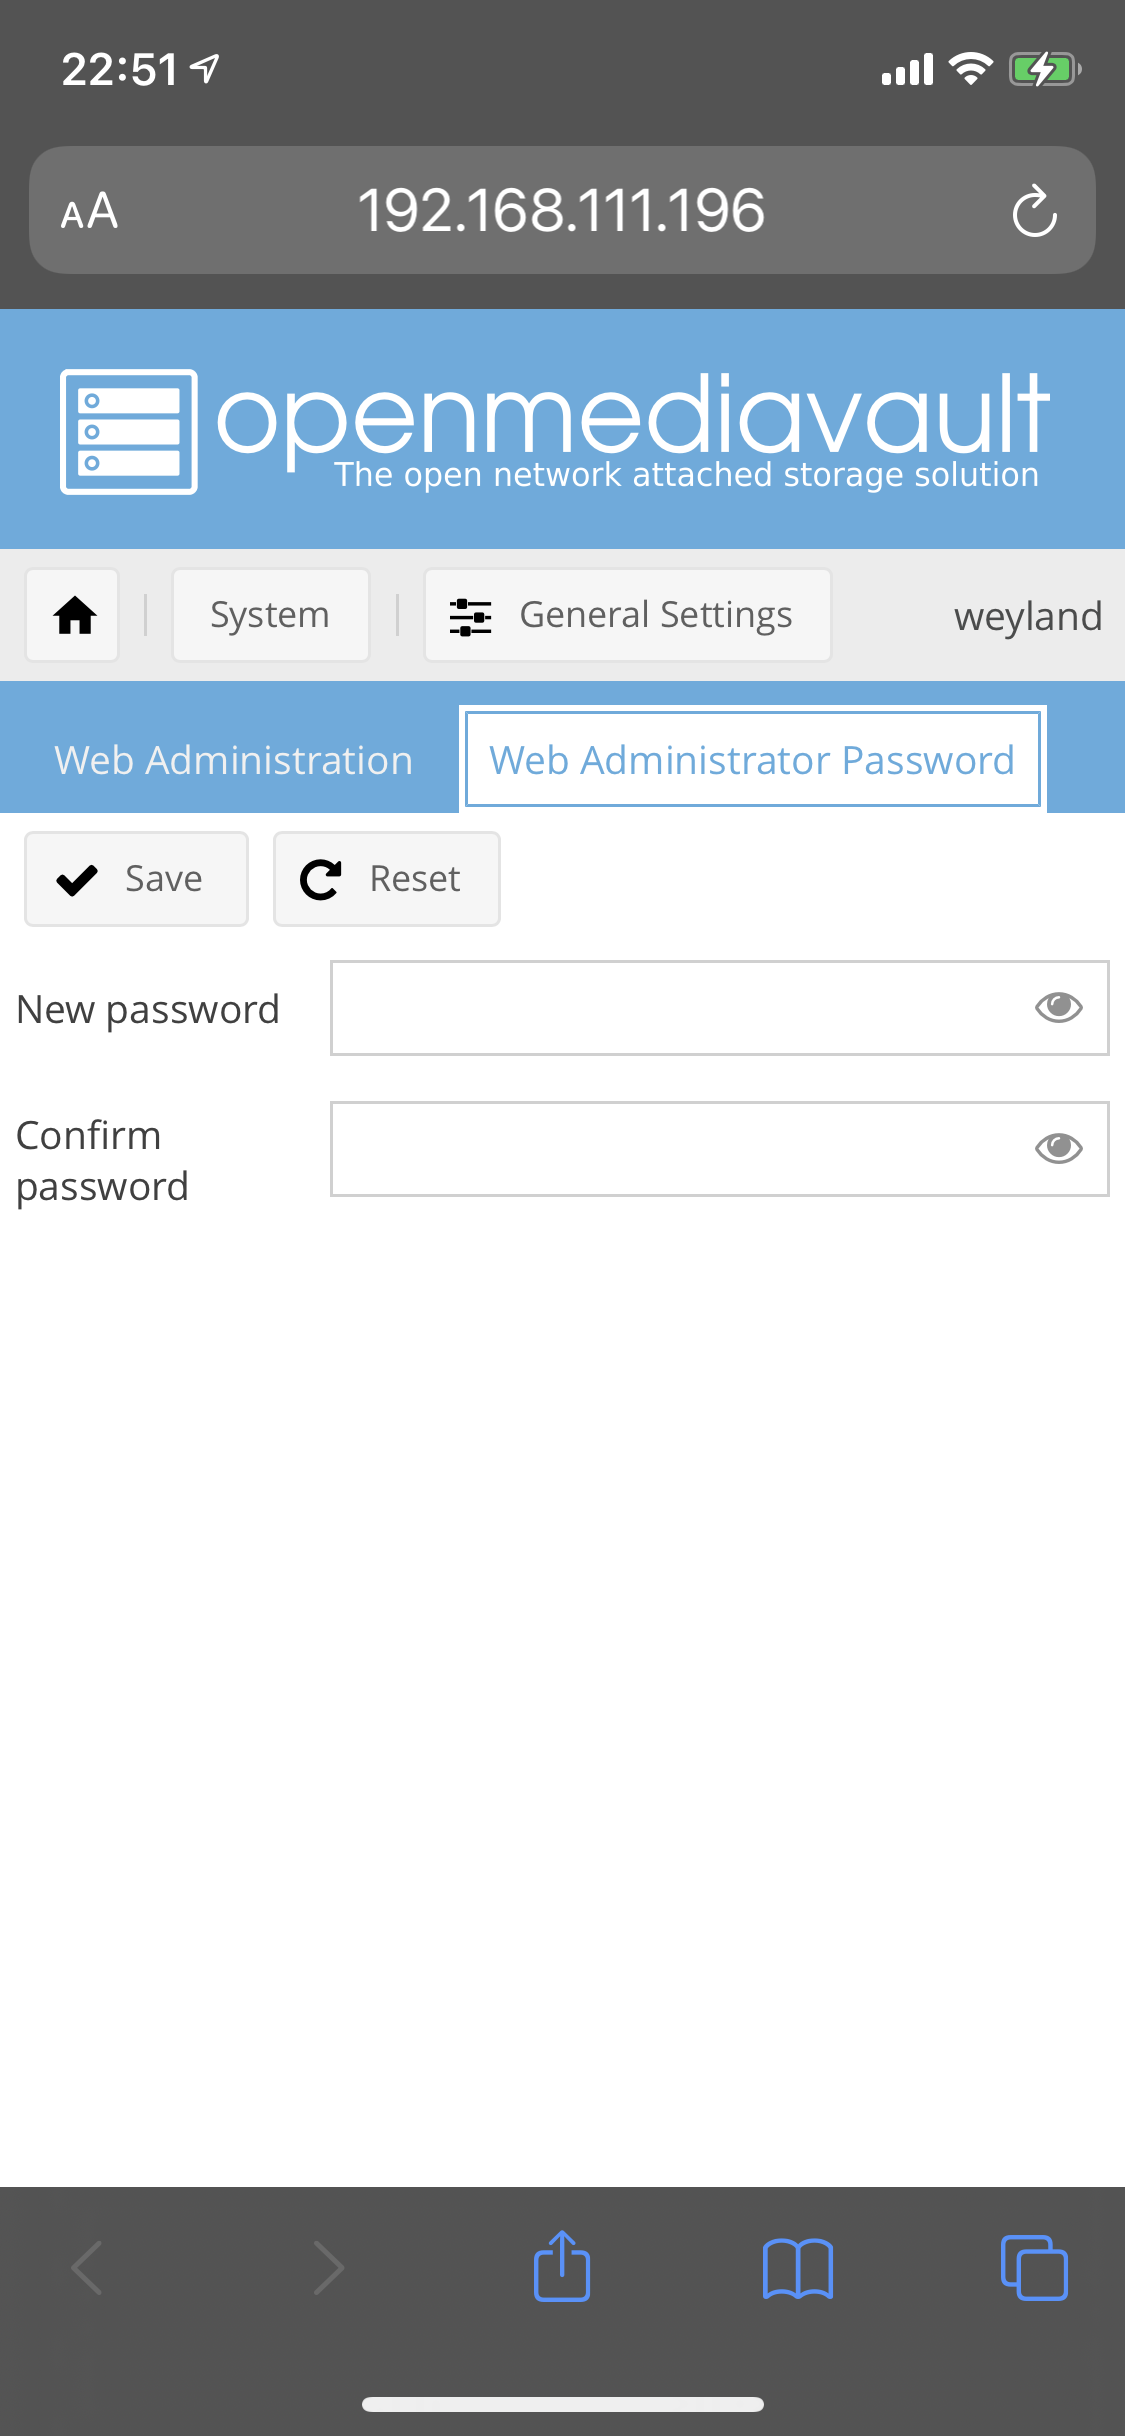
I would advise following the guide here to add a new administrative user and/or change the password of the default admin user.
The getting started guide is really useful, but what follows below is a quick walkthrough of some of the features and screens.
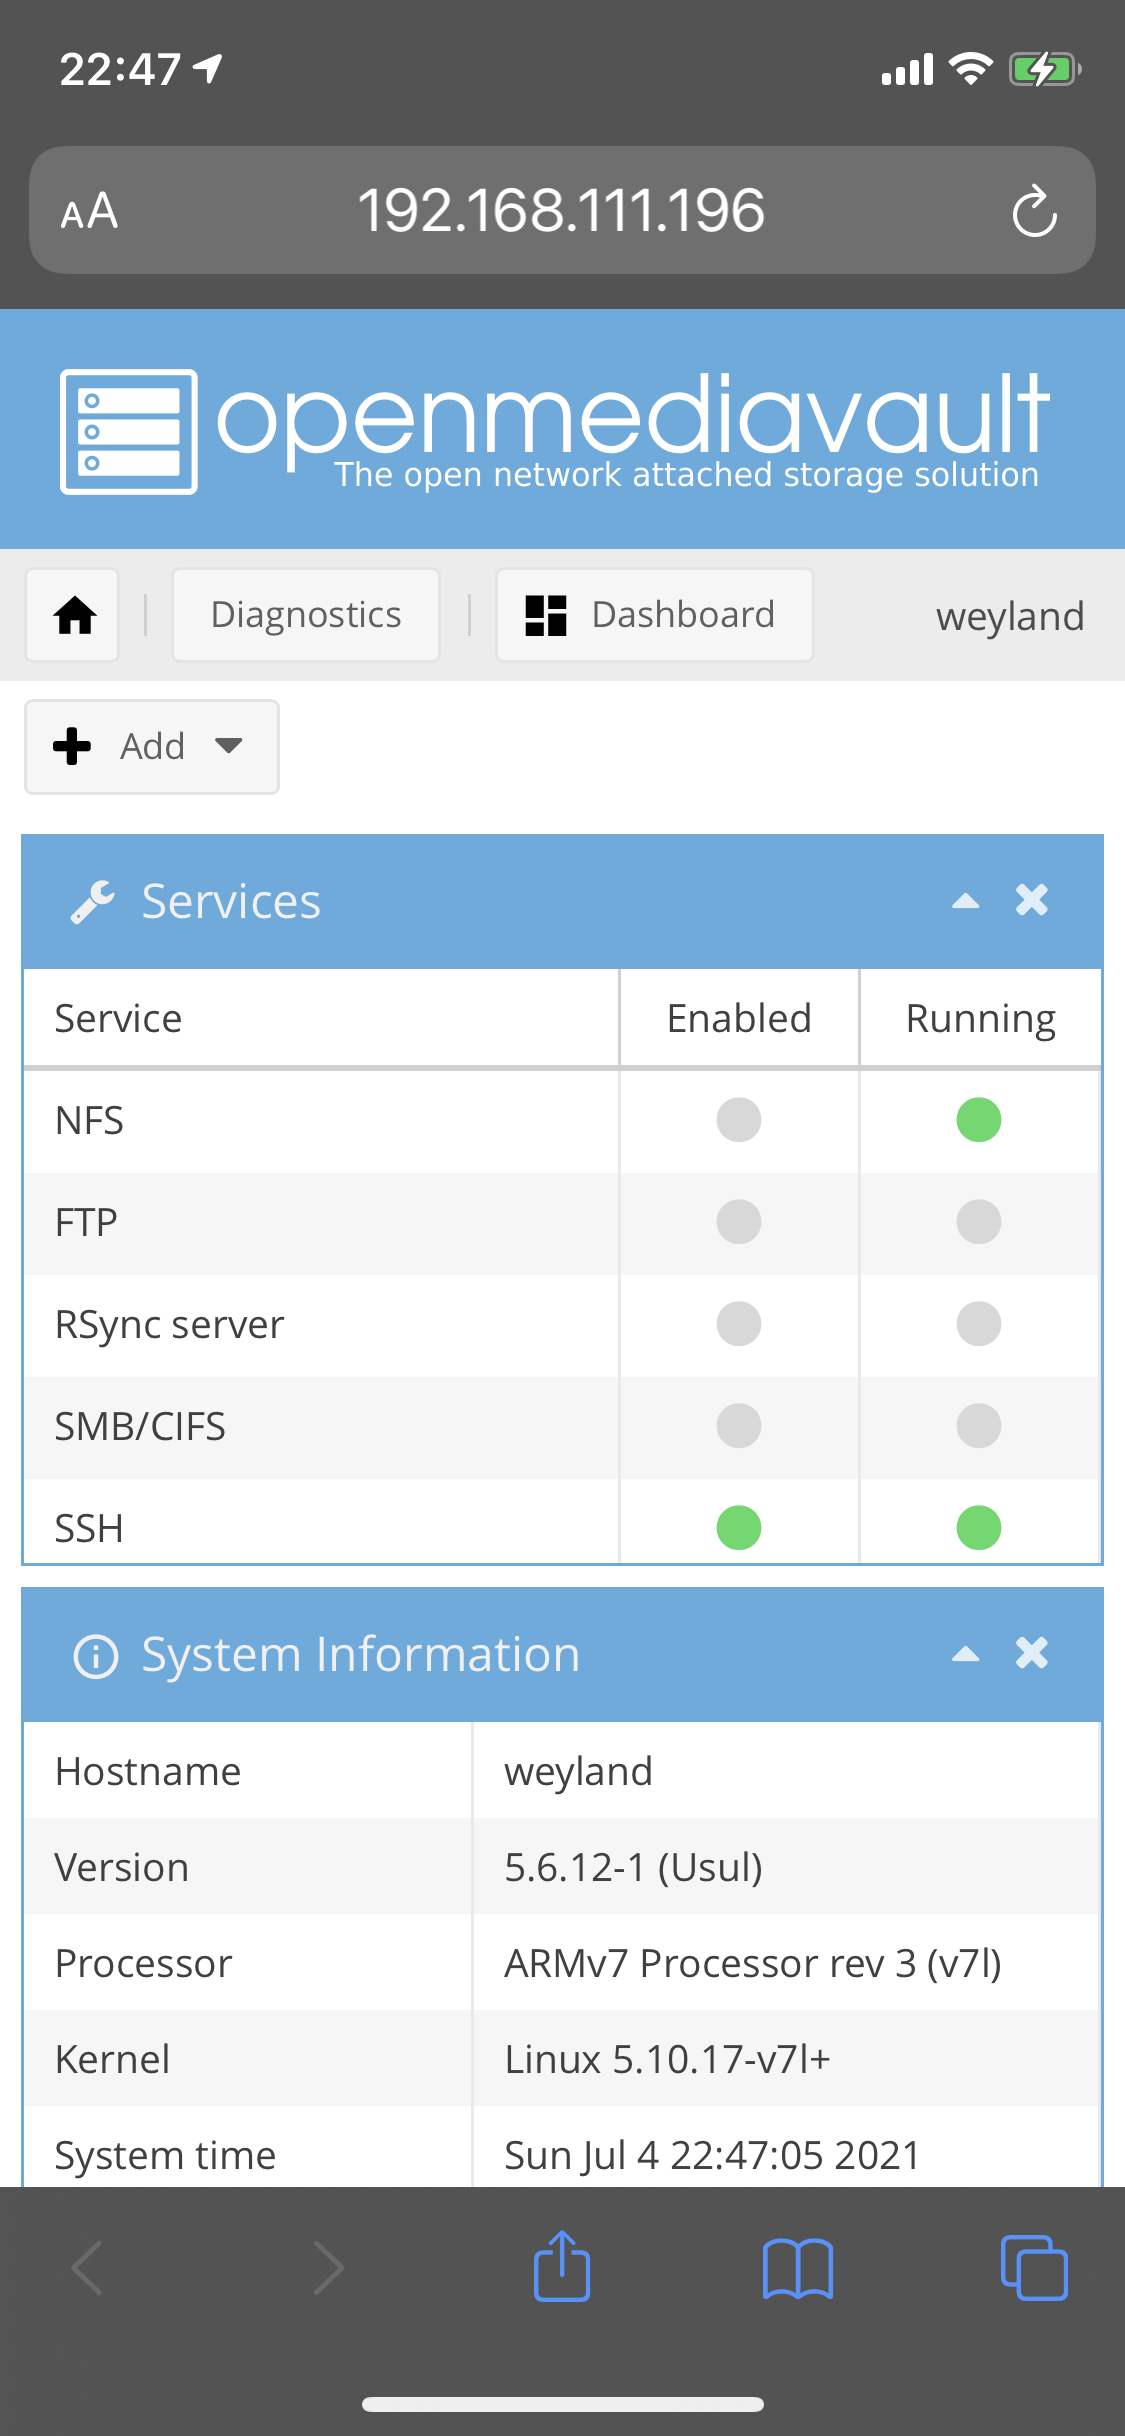
Home Screen, showing status of services and system/version information
Web Admin password change
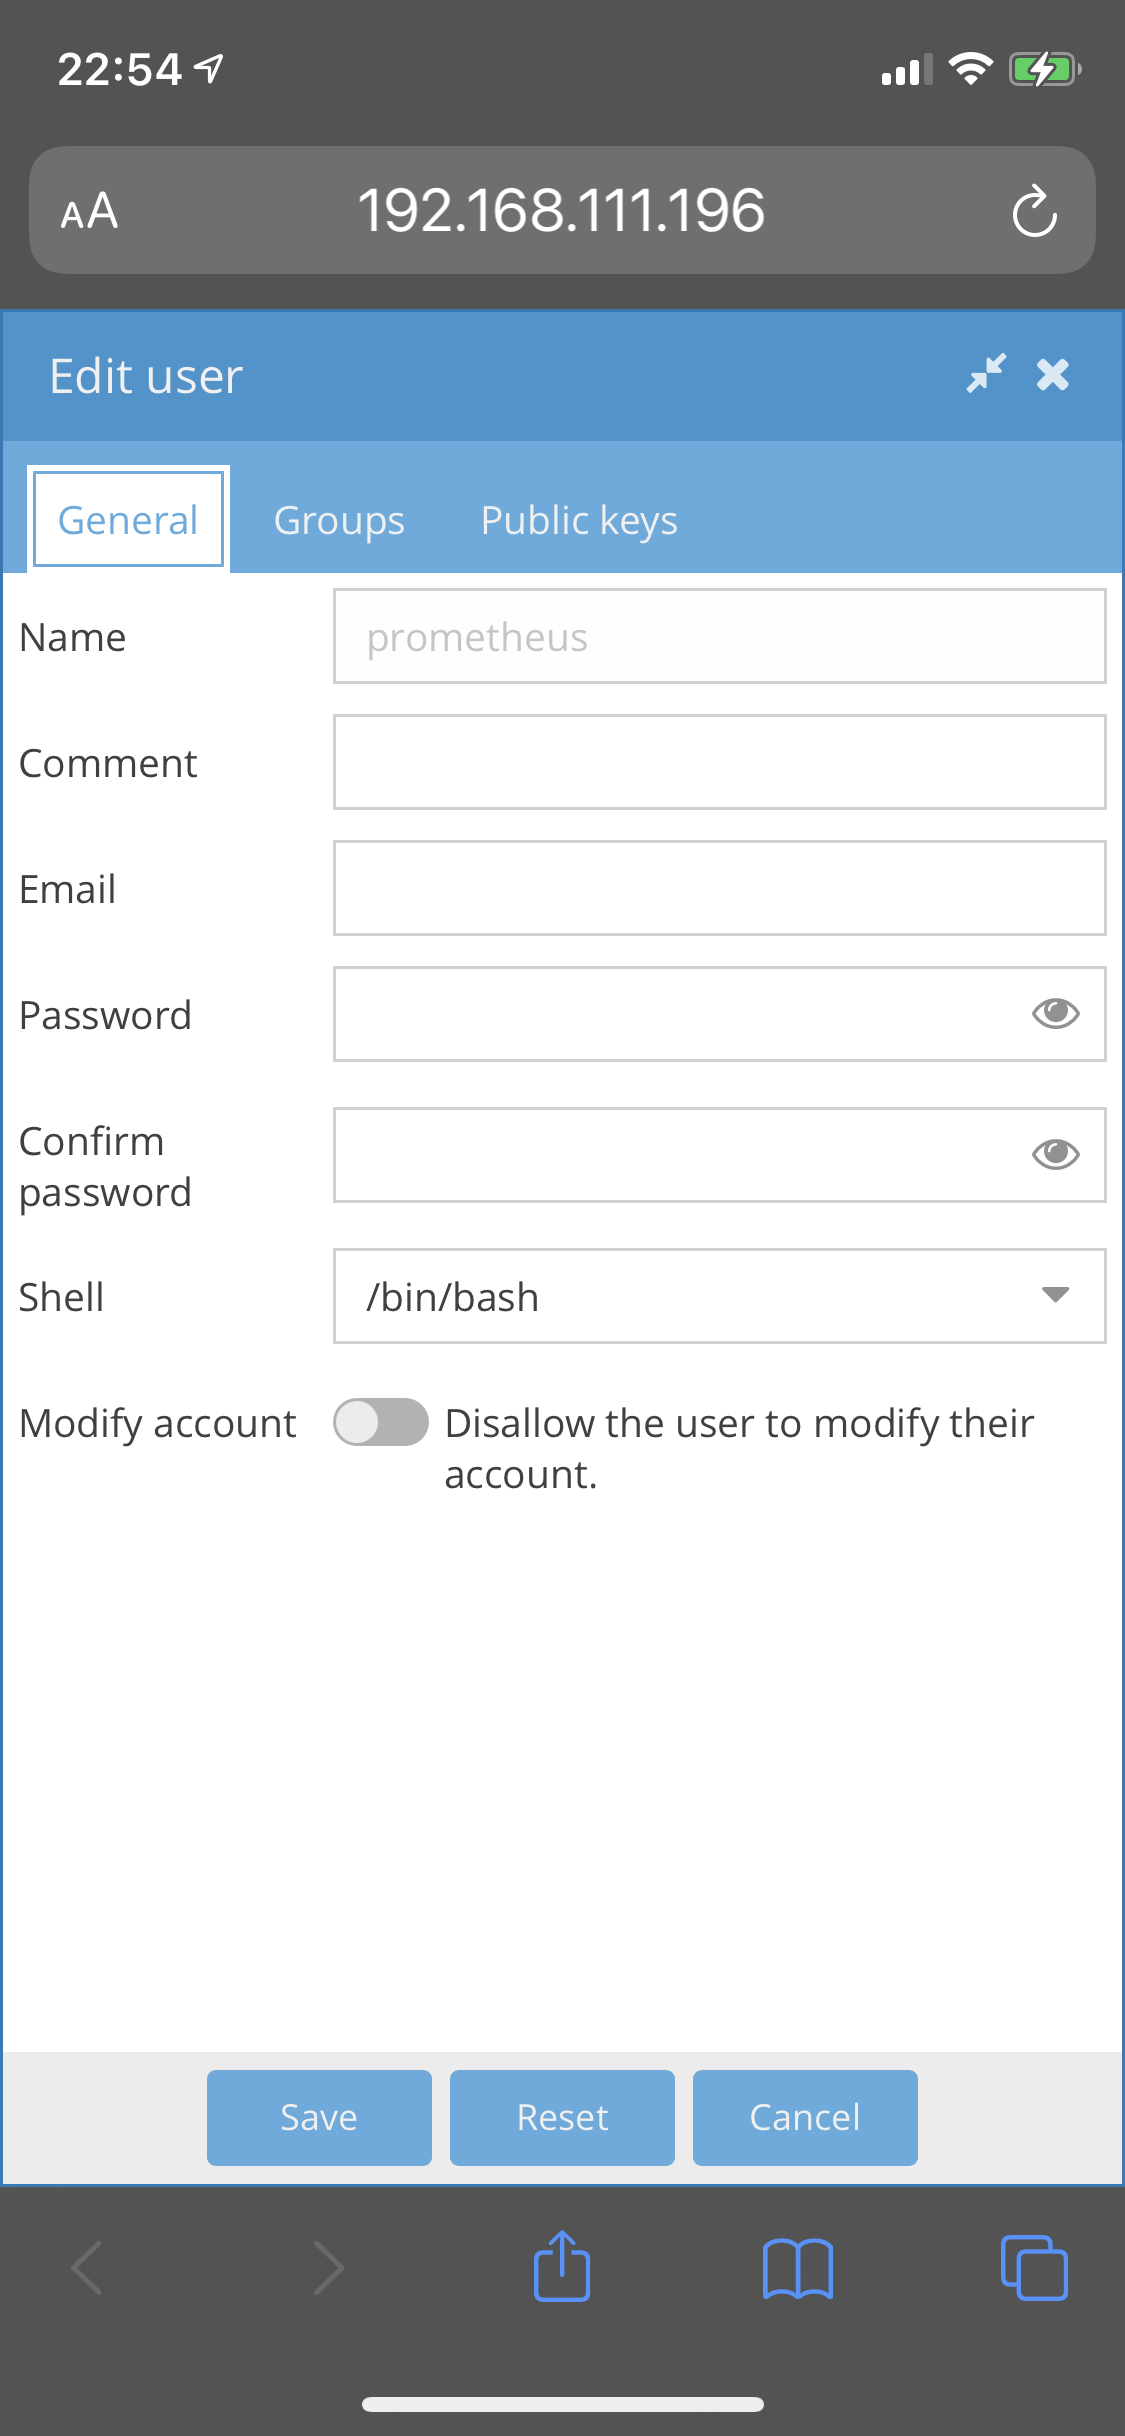
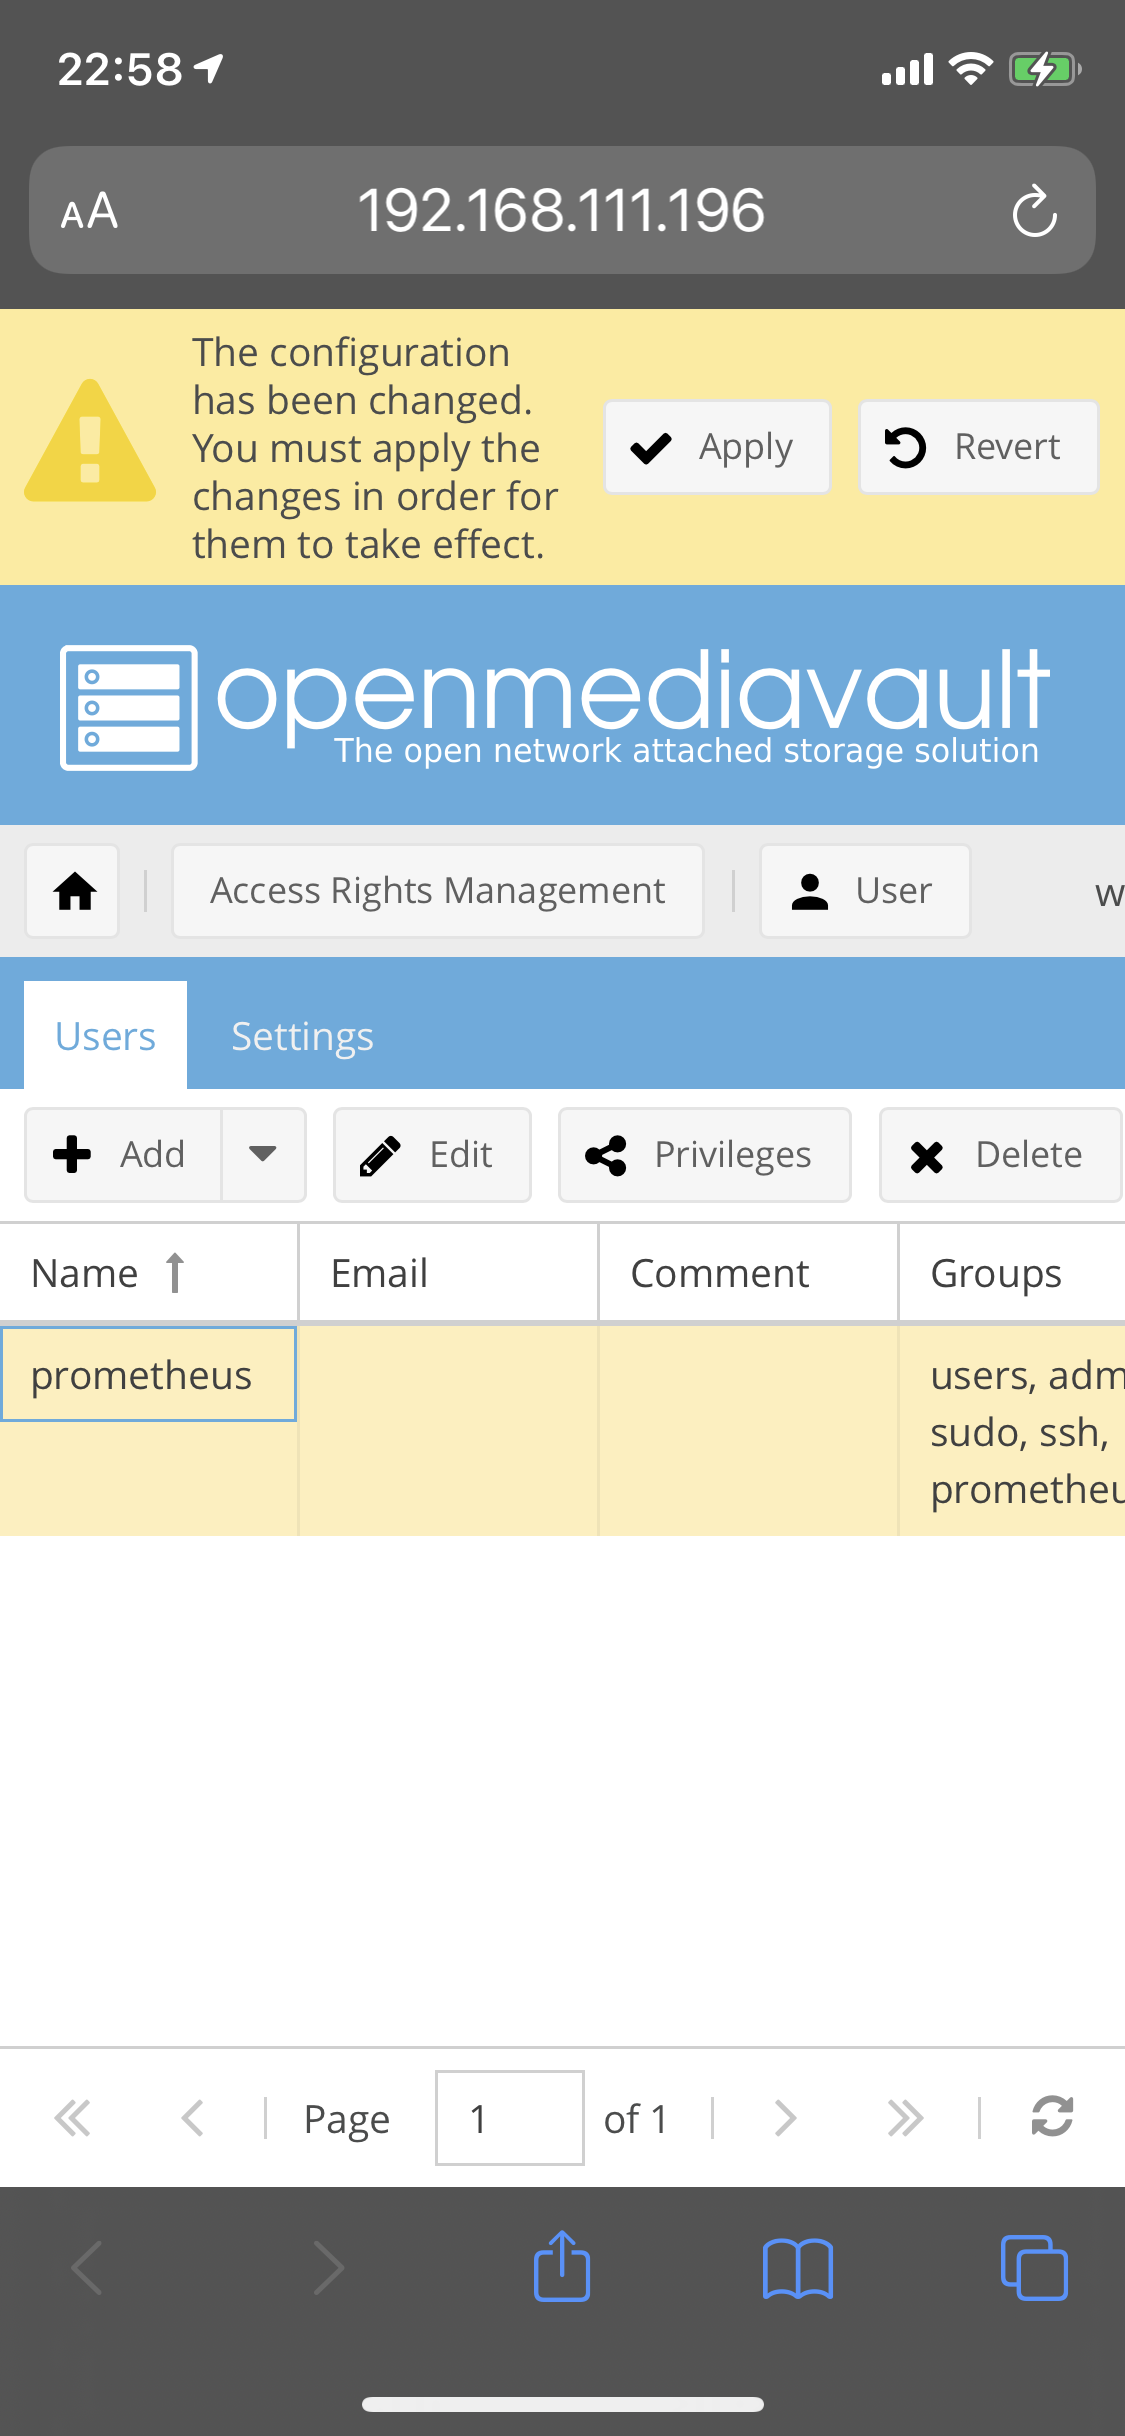
Editing user configuration
Amending user group membership

Adding an SSH Key for the user

Applying config changes to a user
Web Administration settings

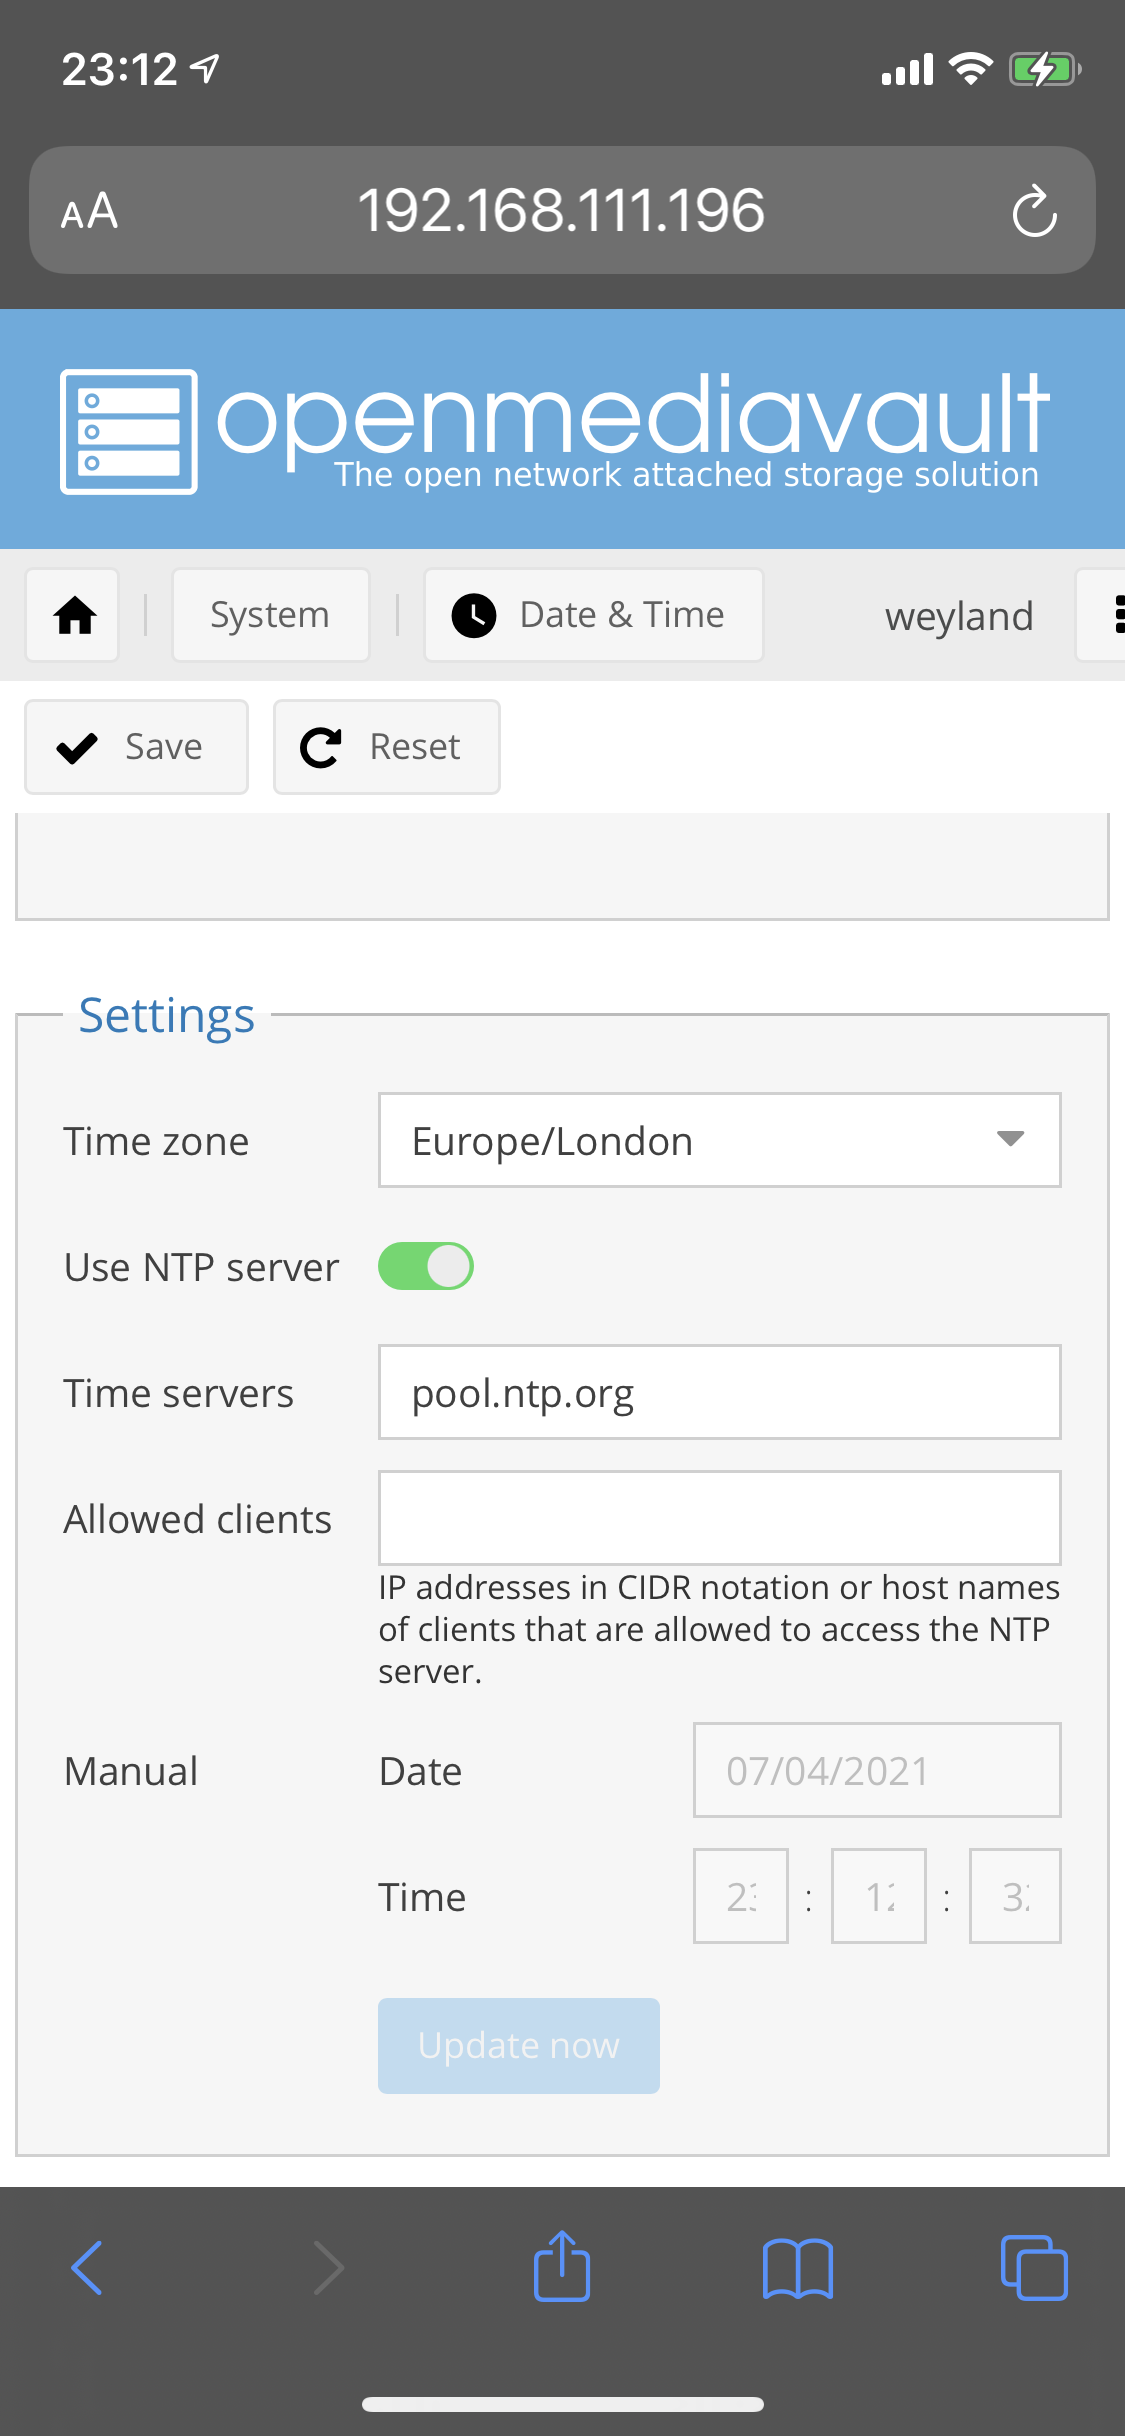
NTP Settings
Ethernet Connection Settings


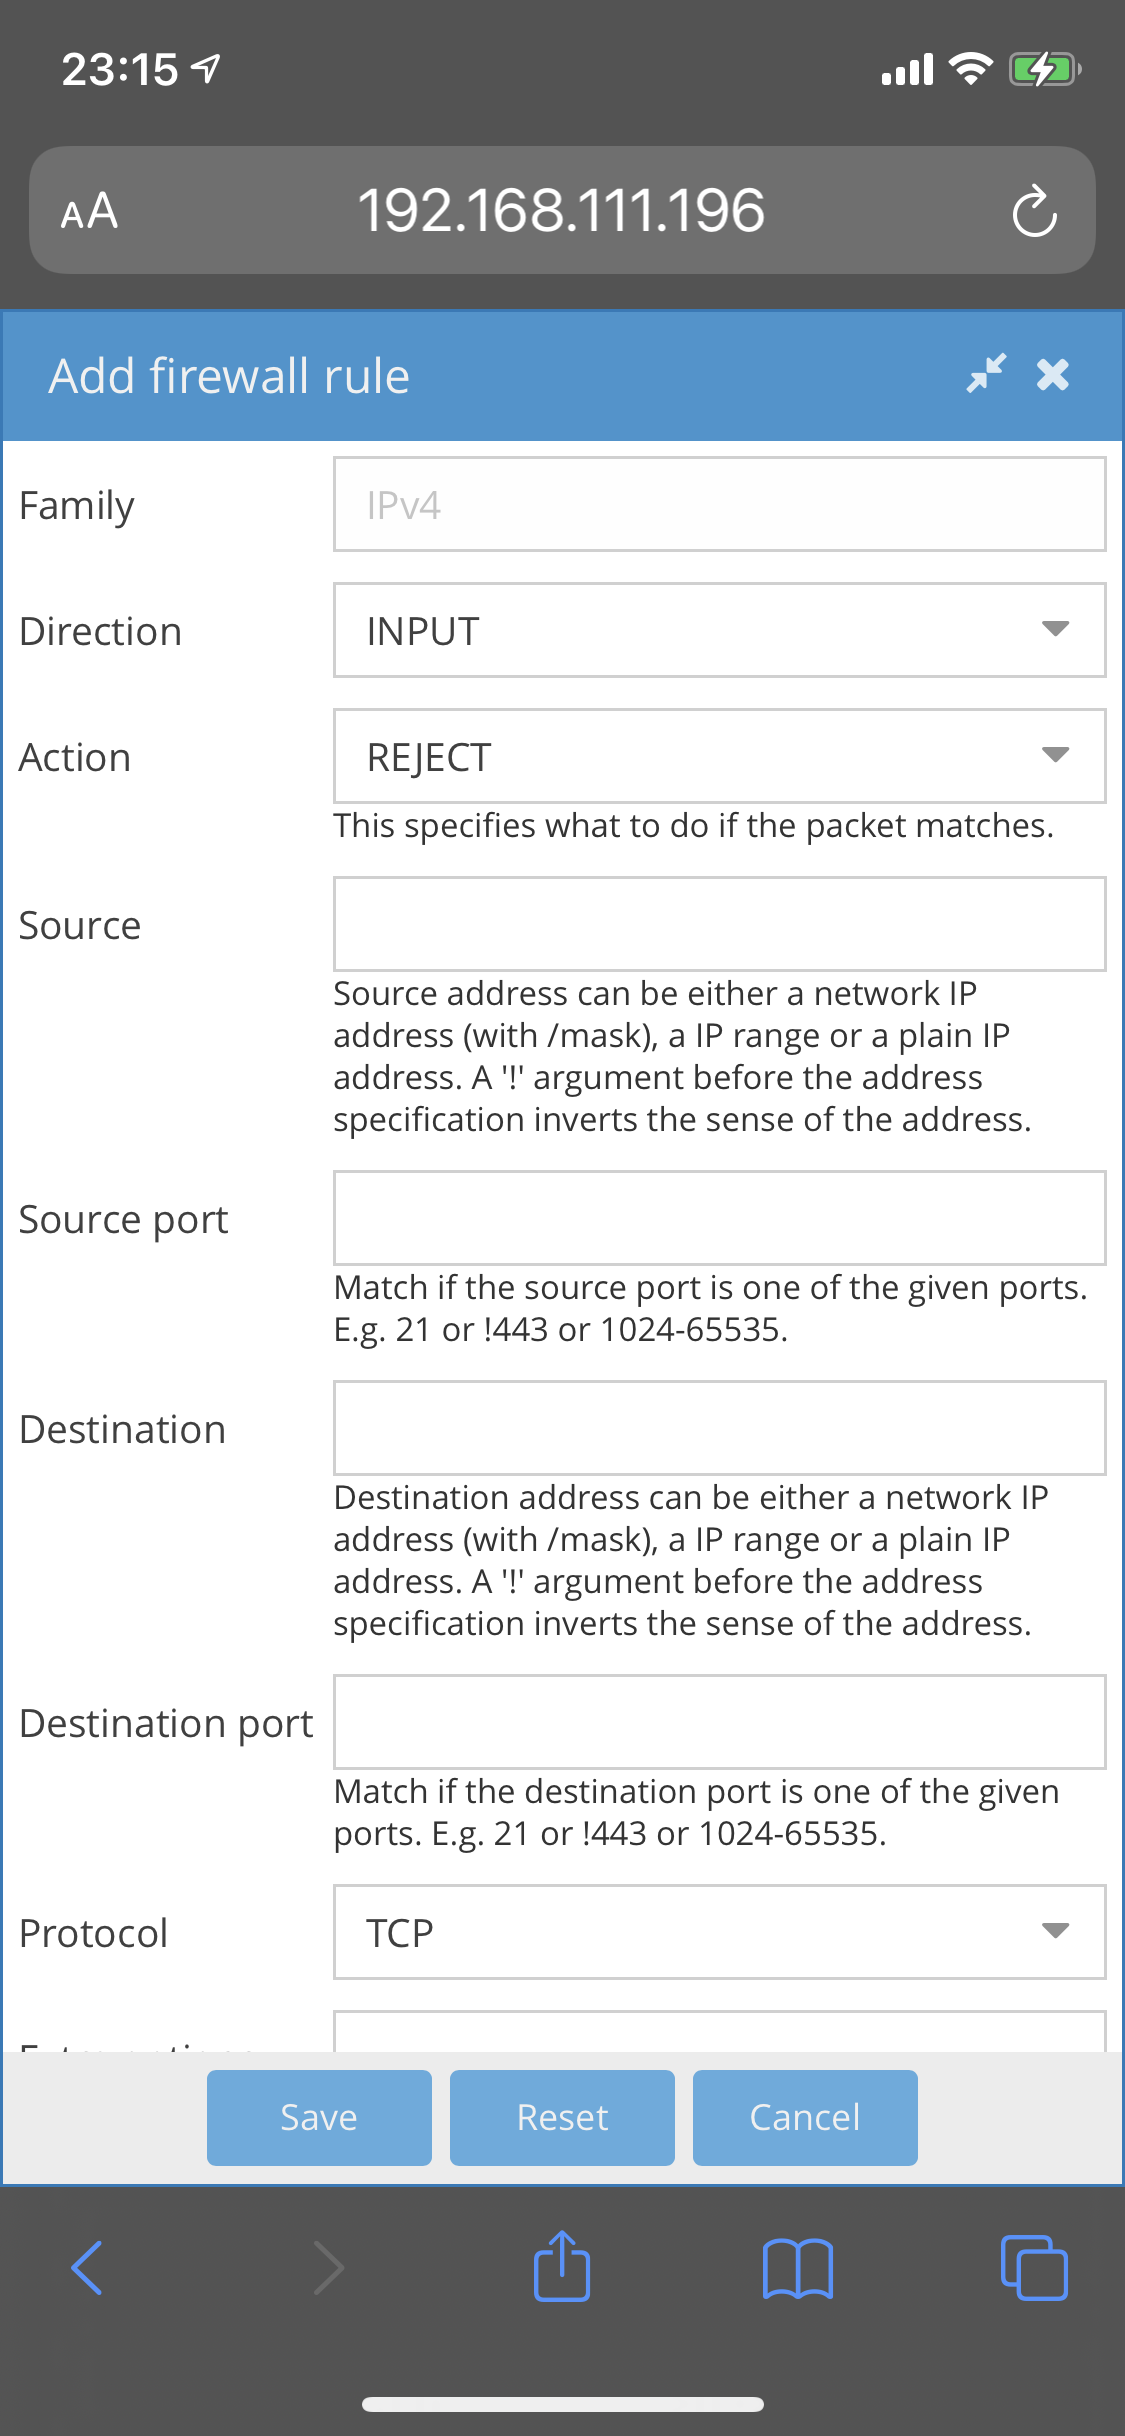
Adding firewall rules
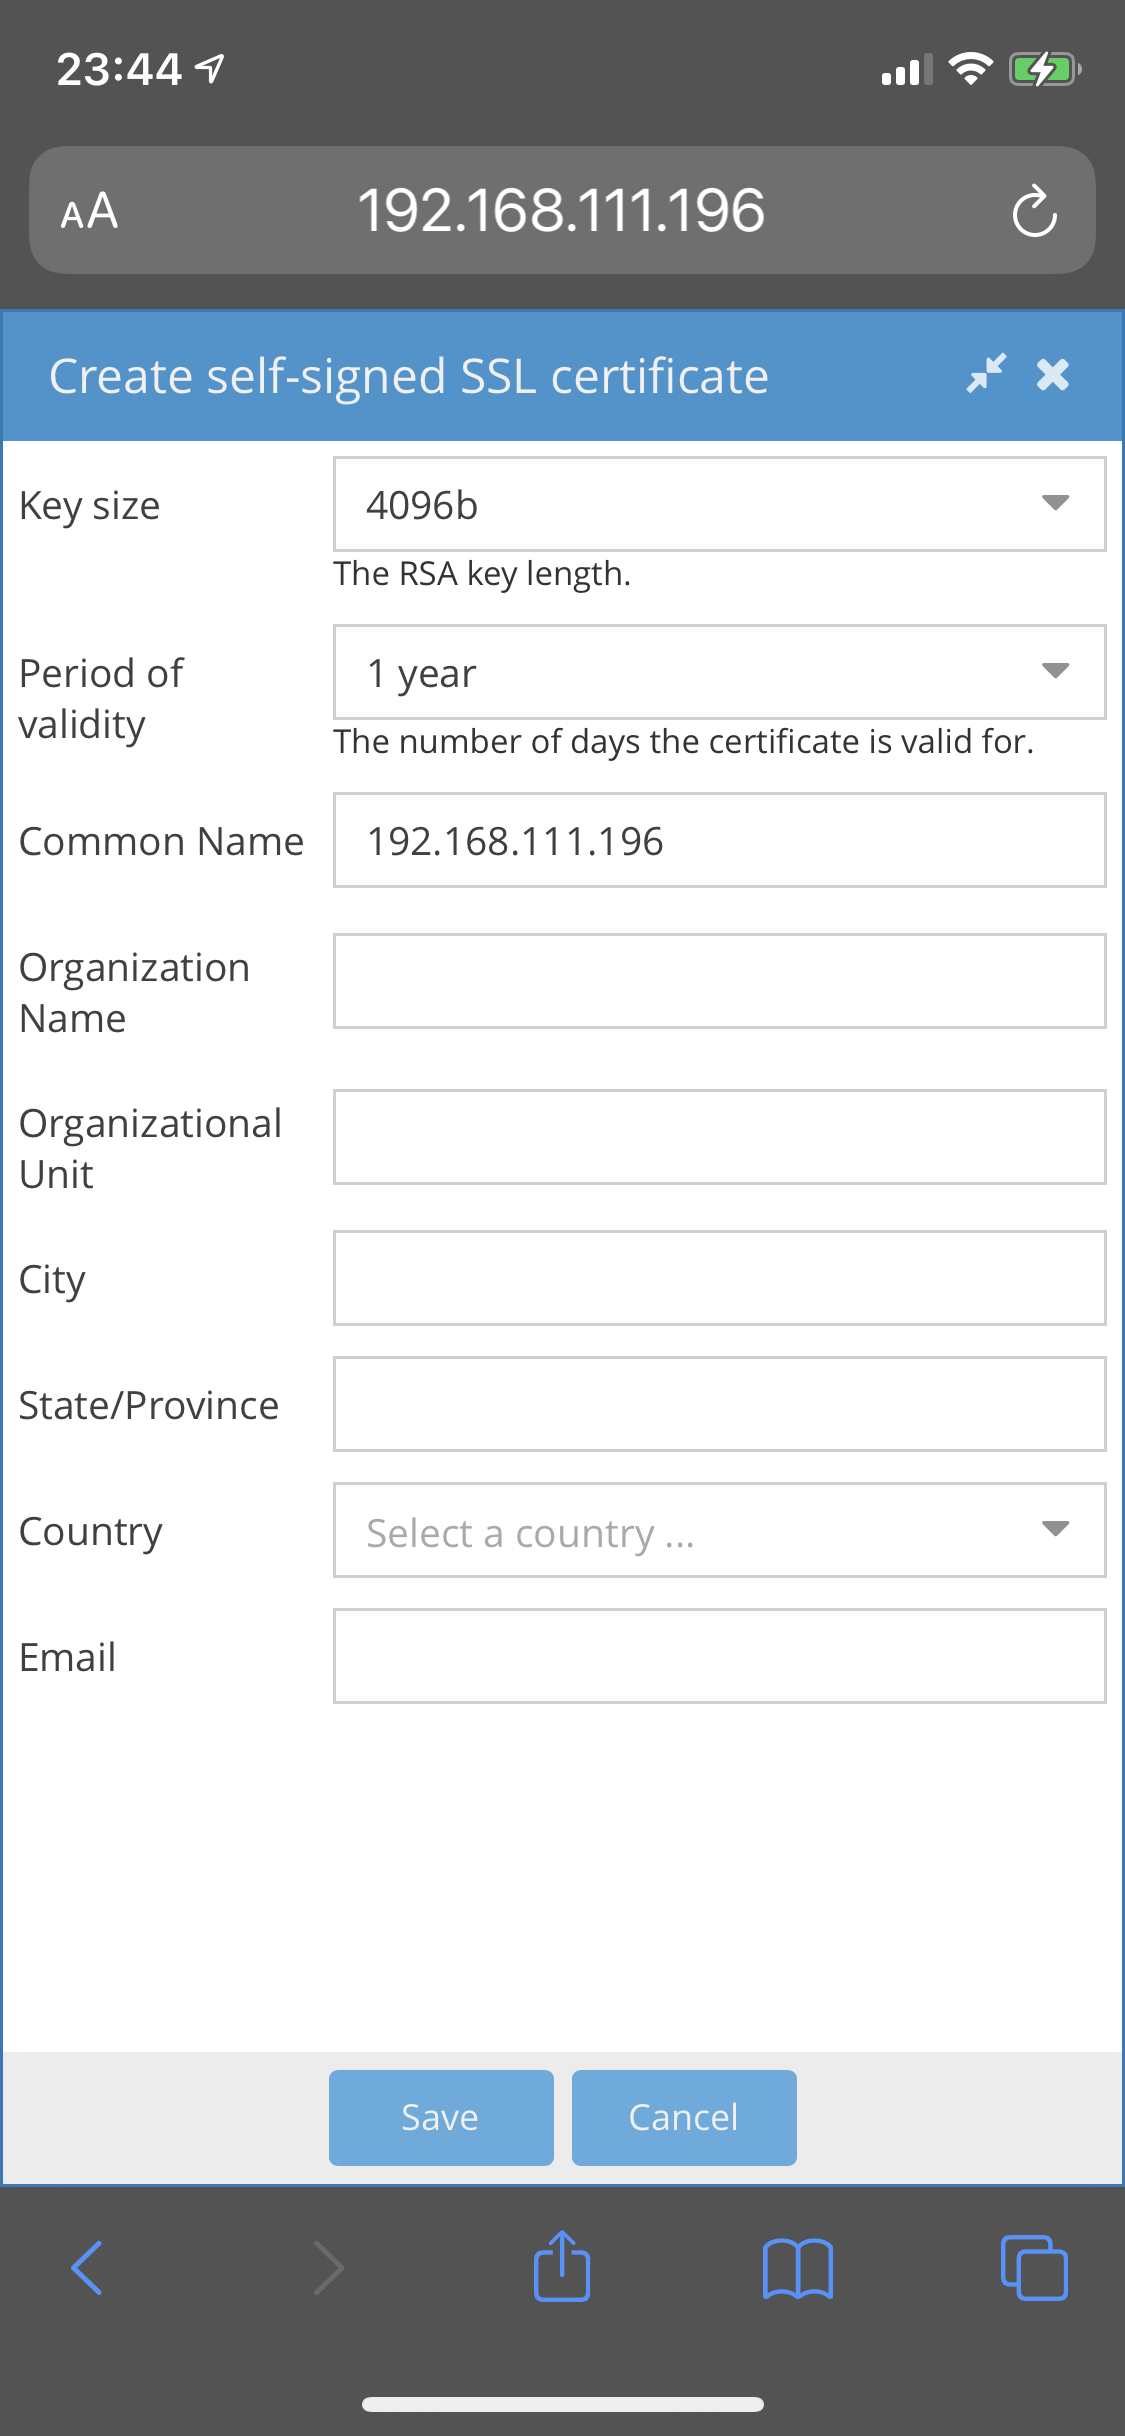
Creating a self-signed SSL certificate
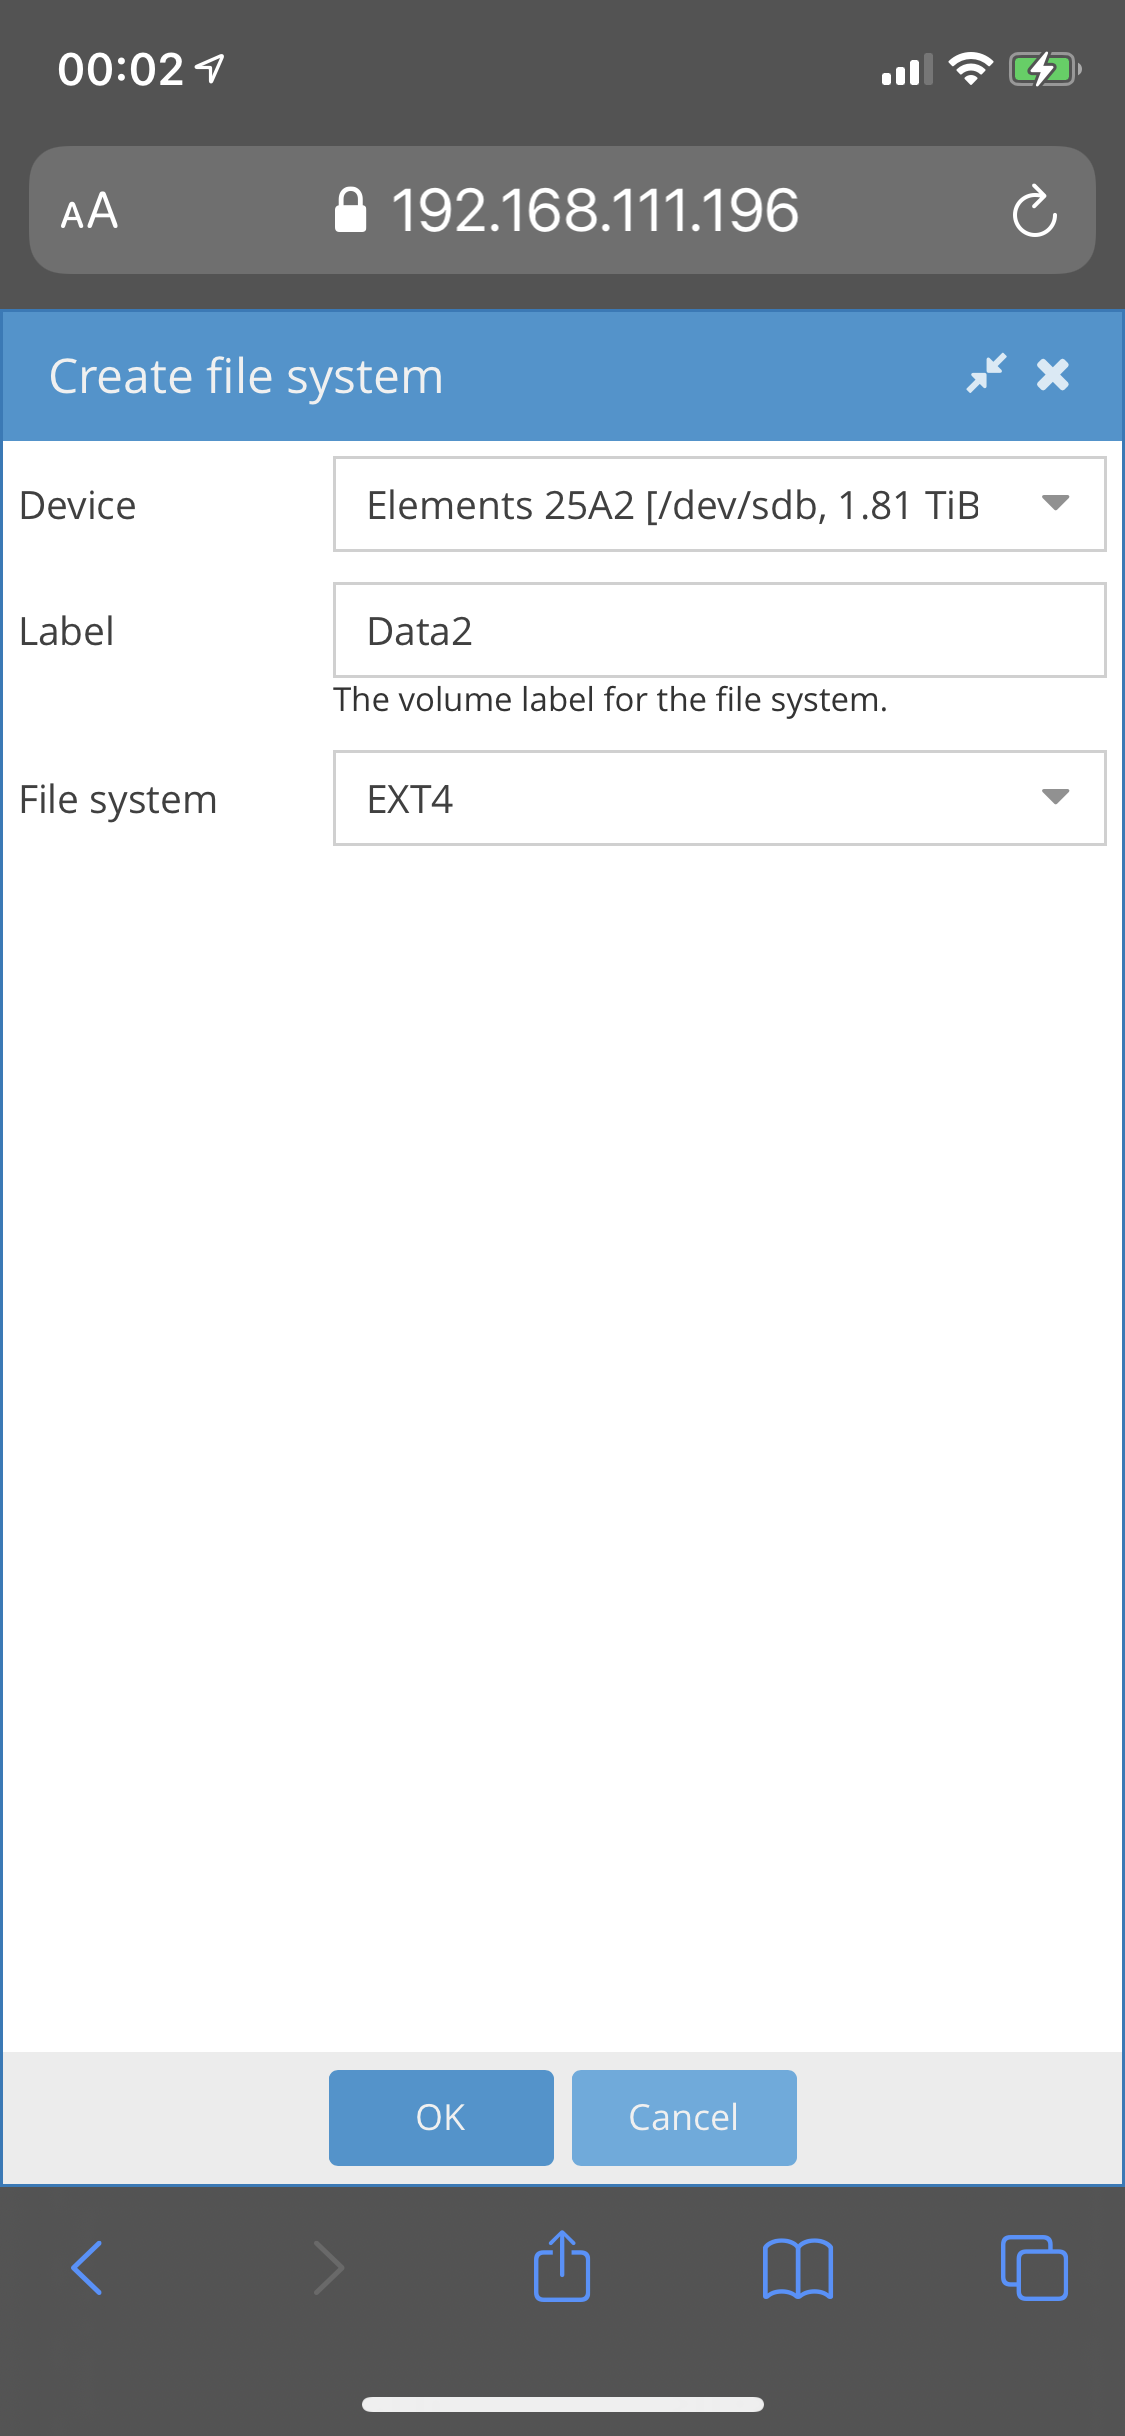
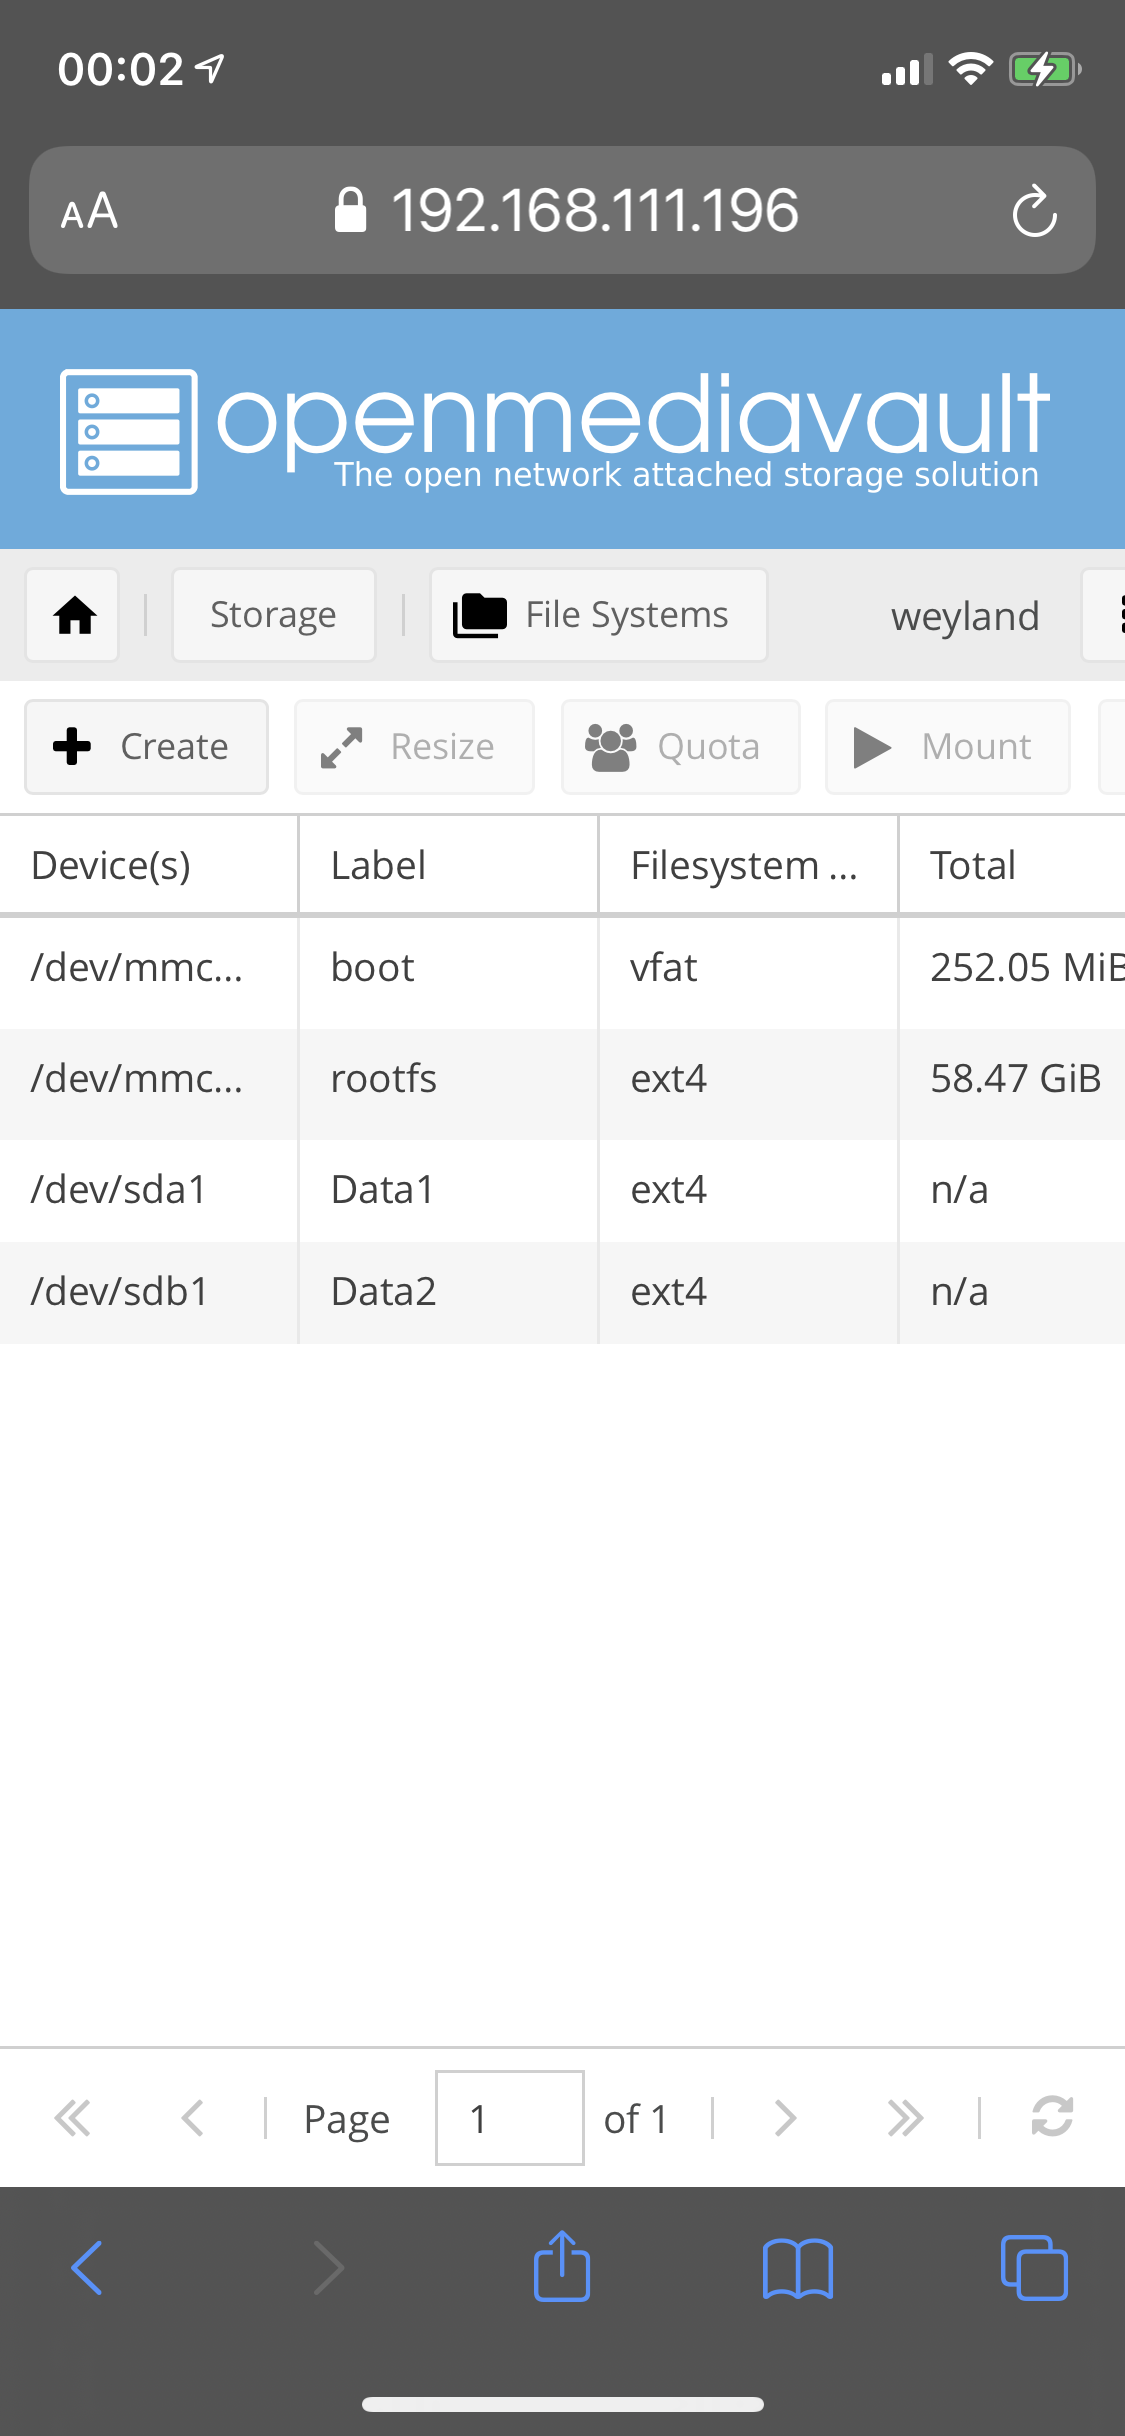
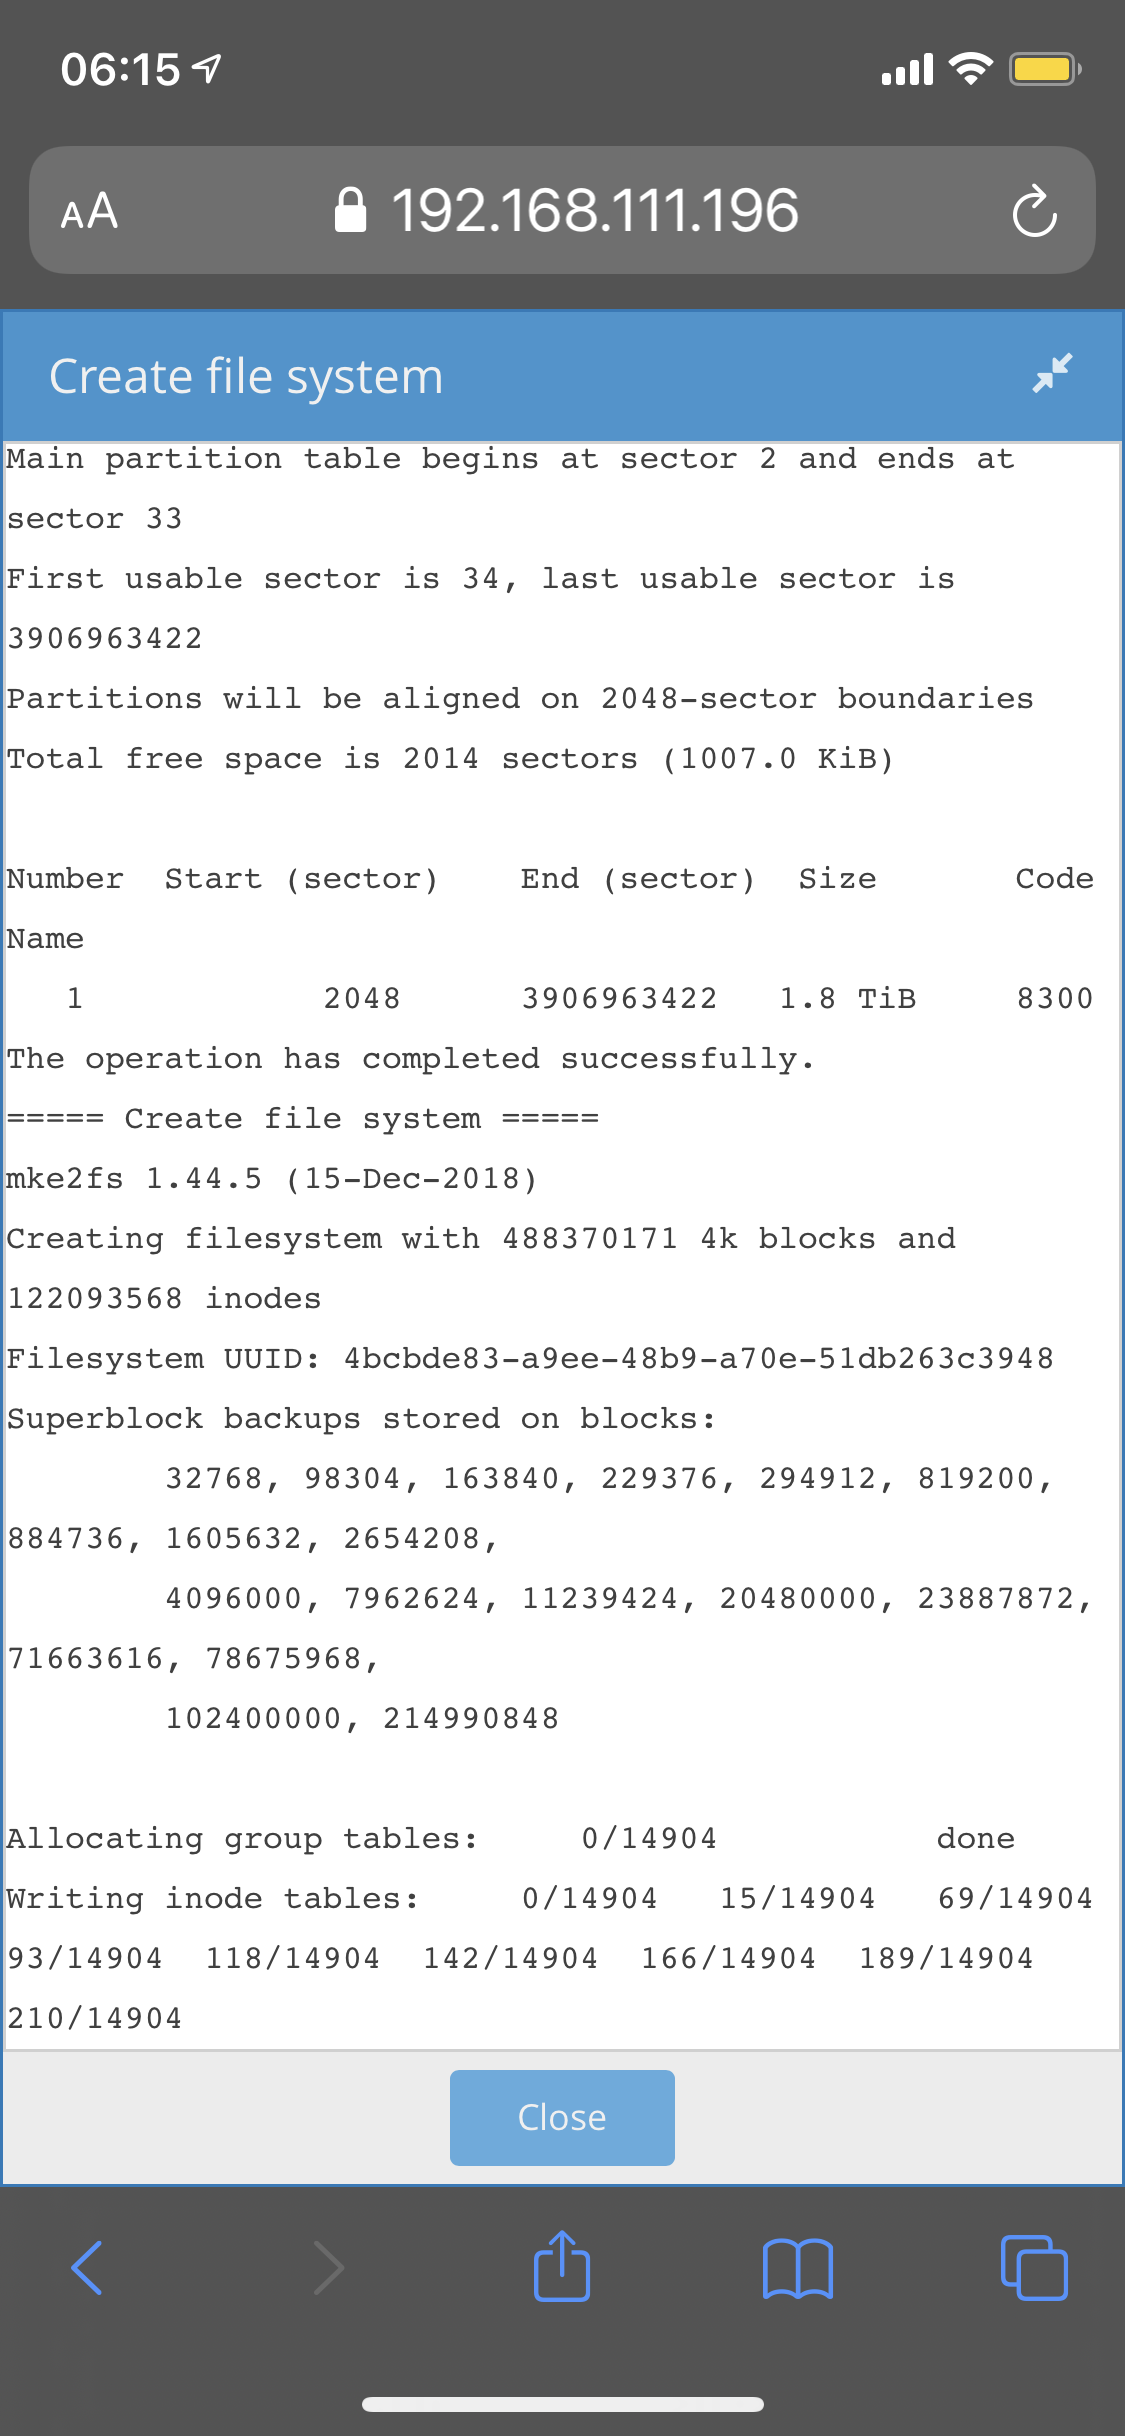
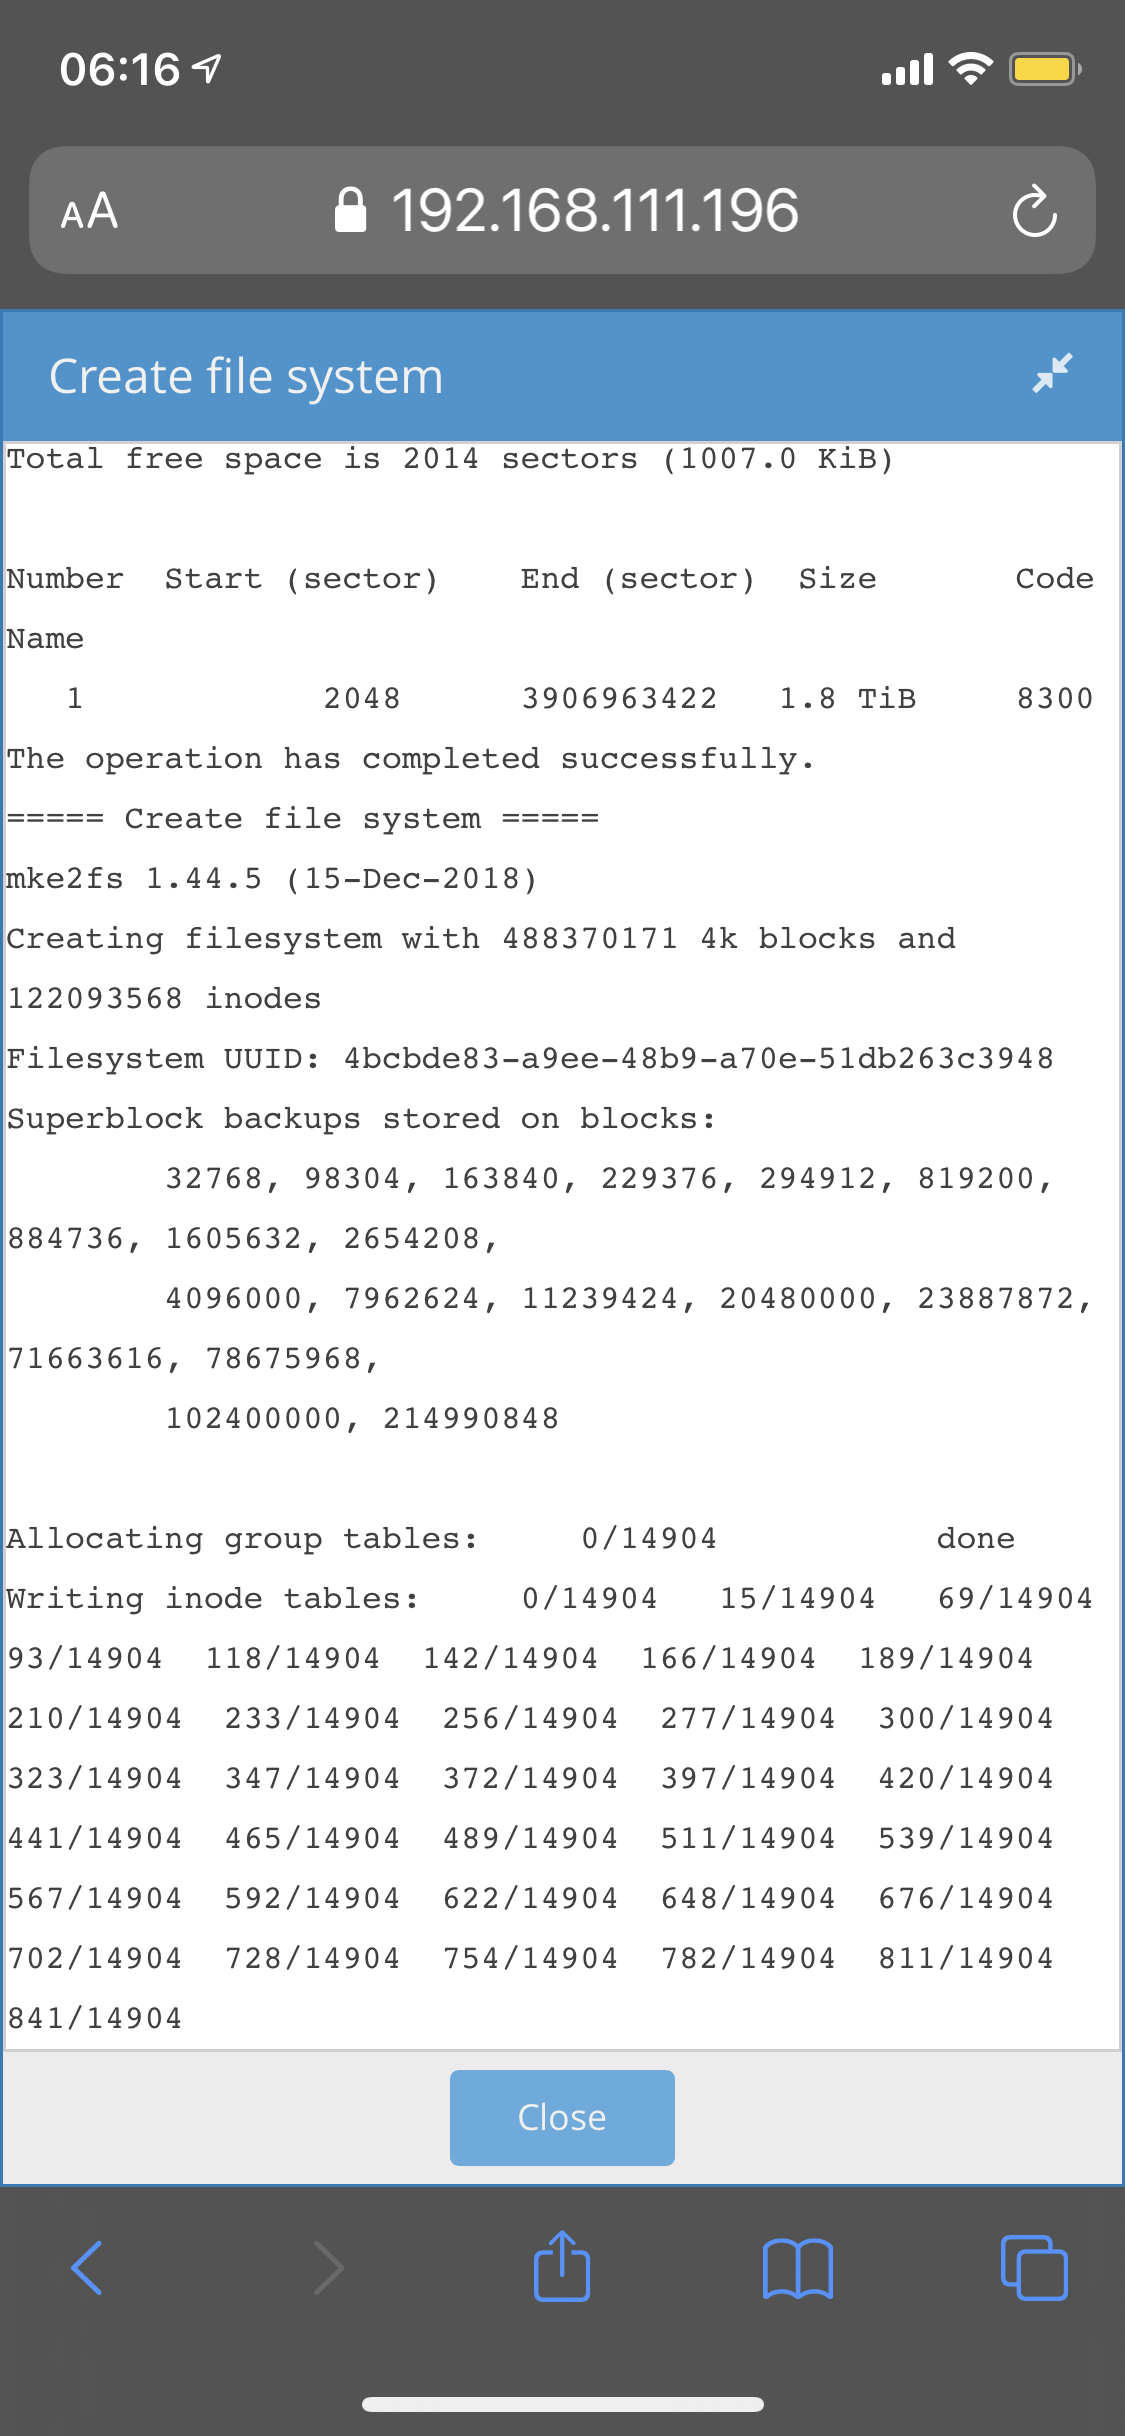
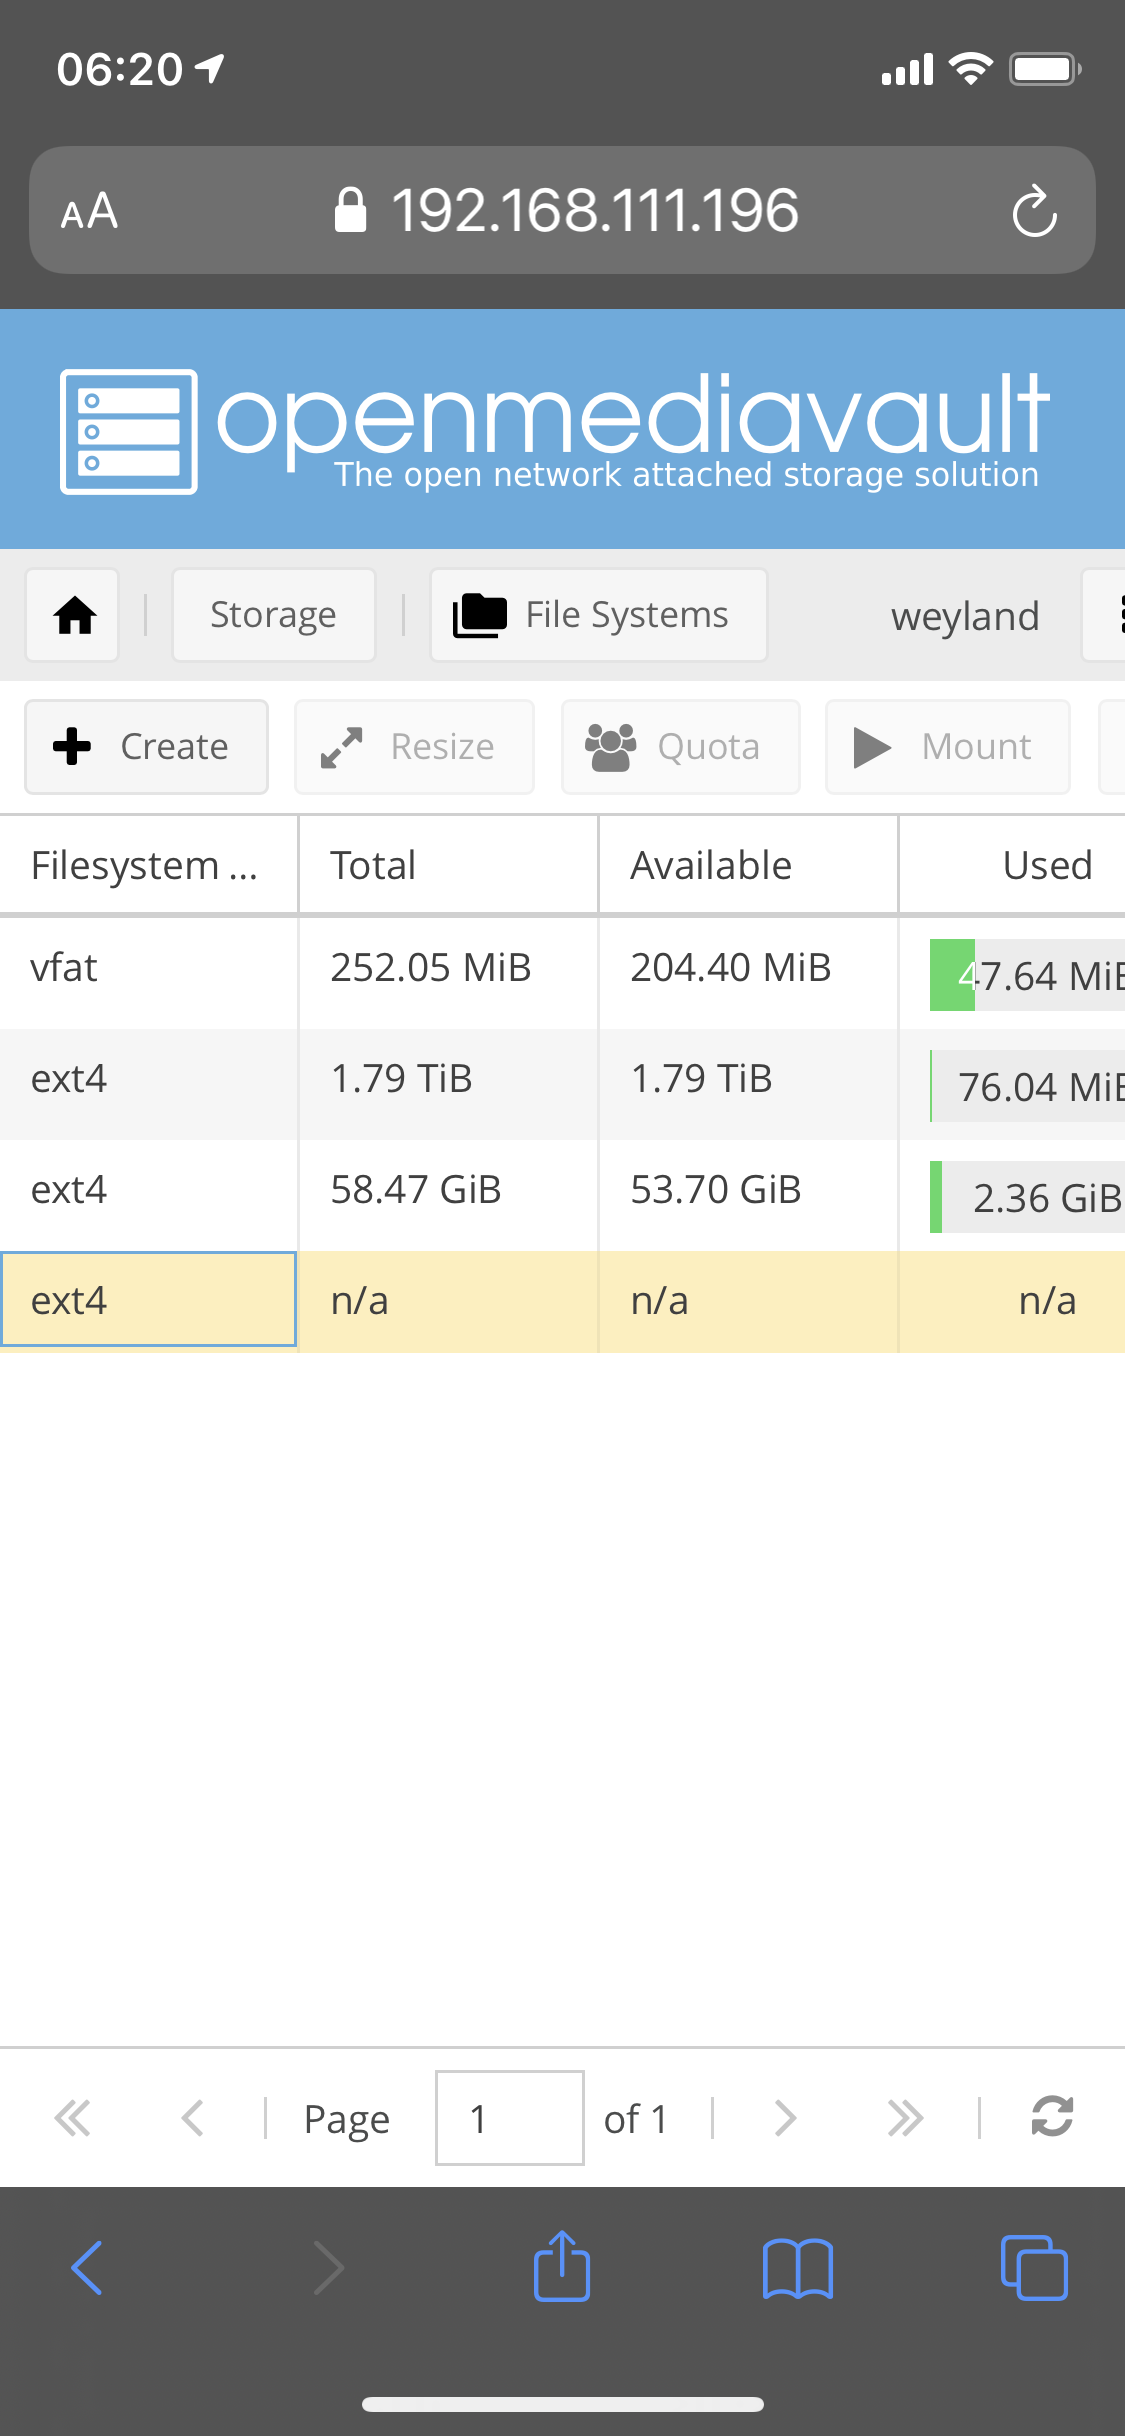
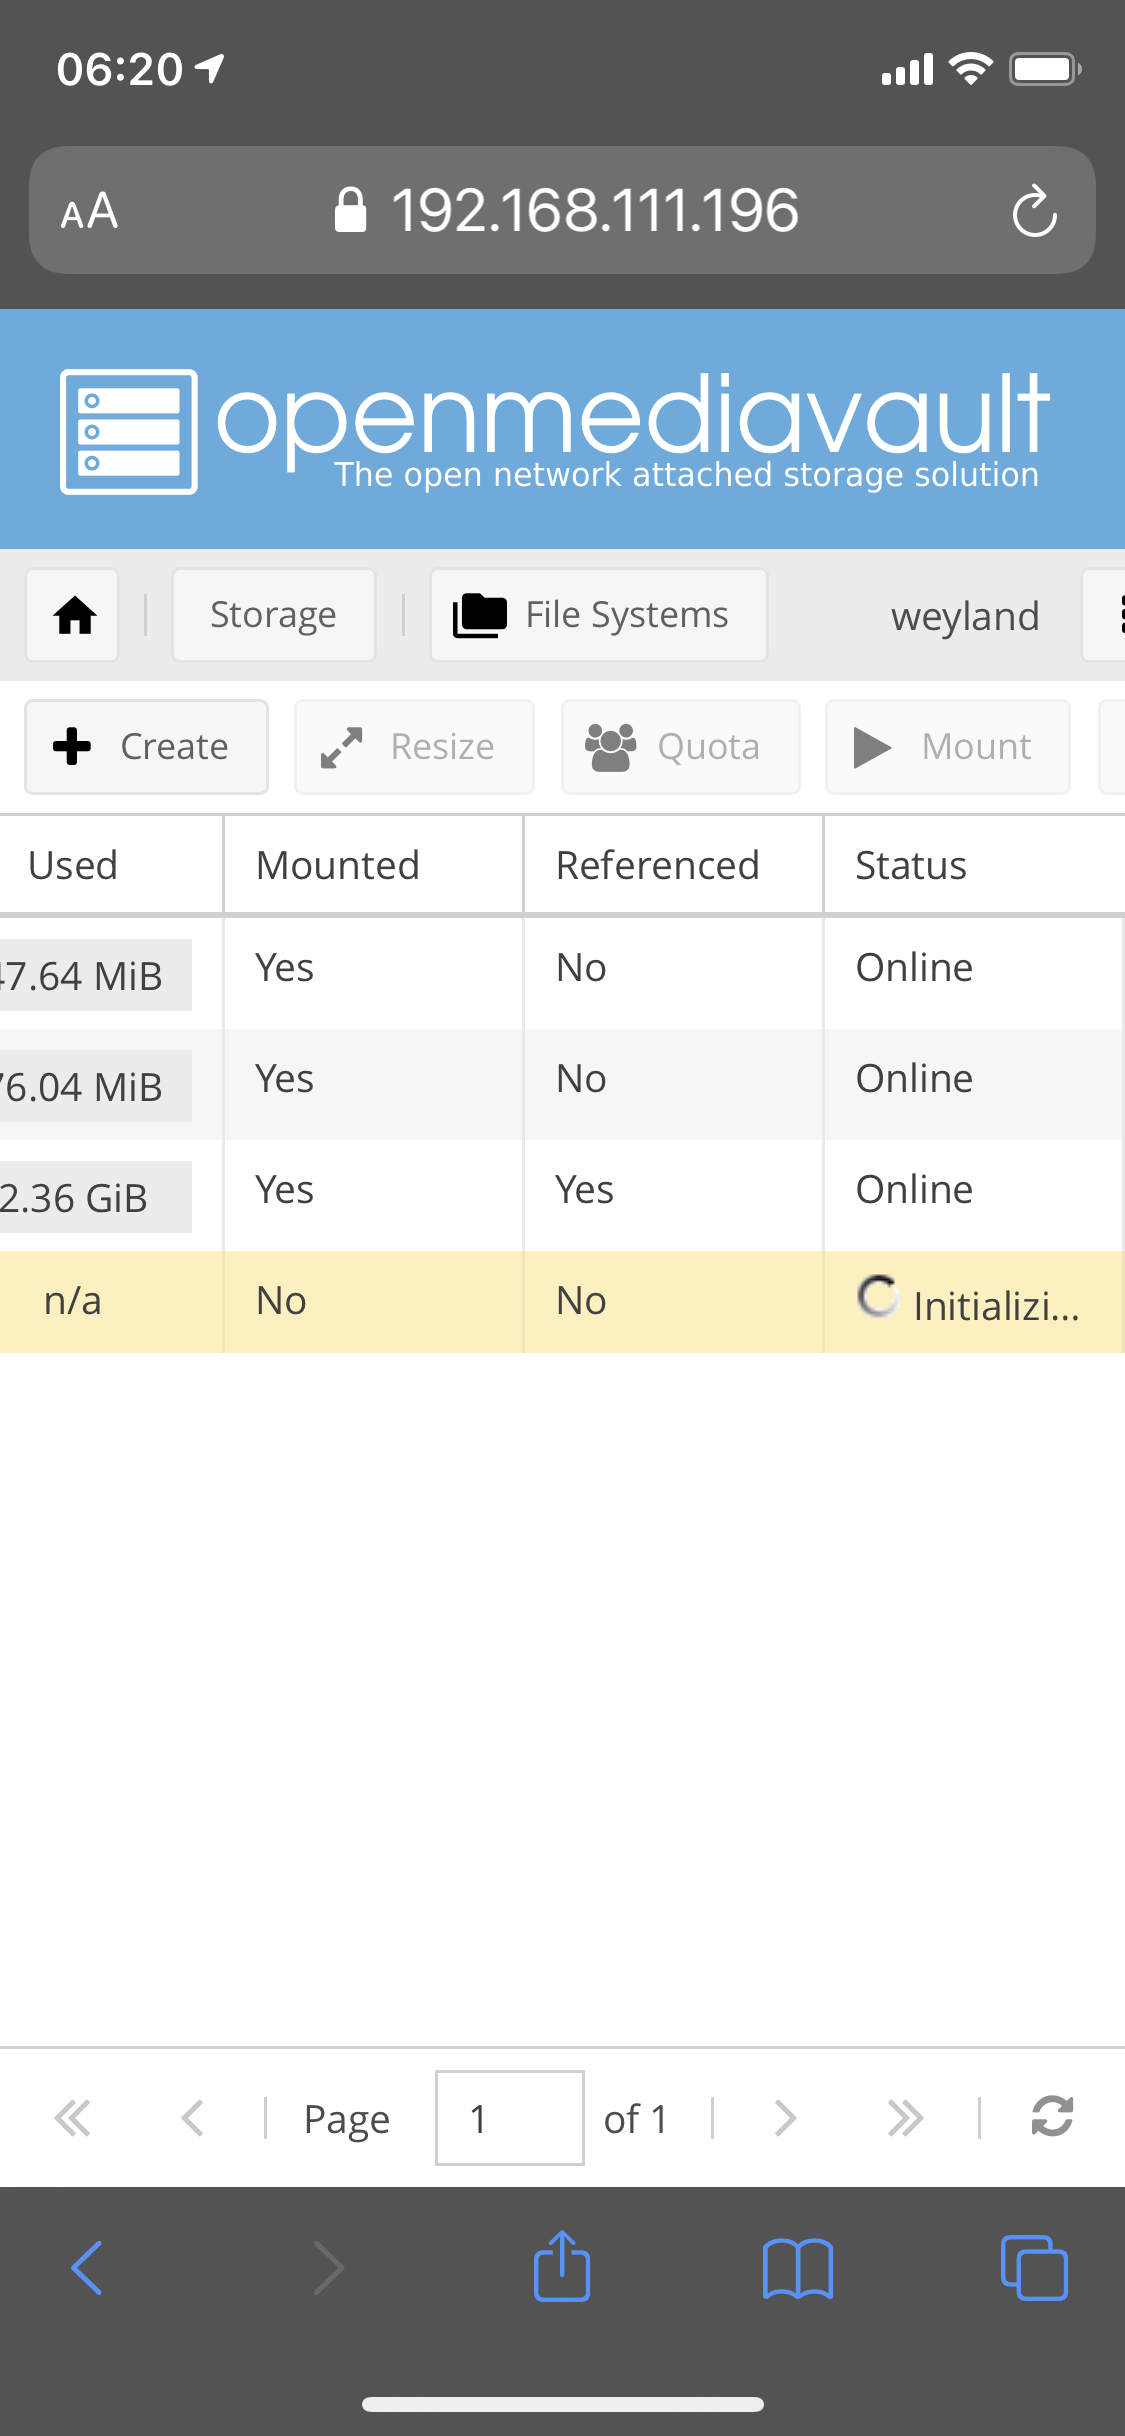
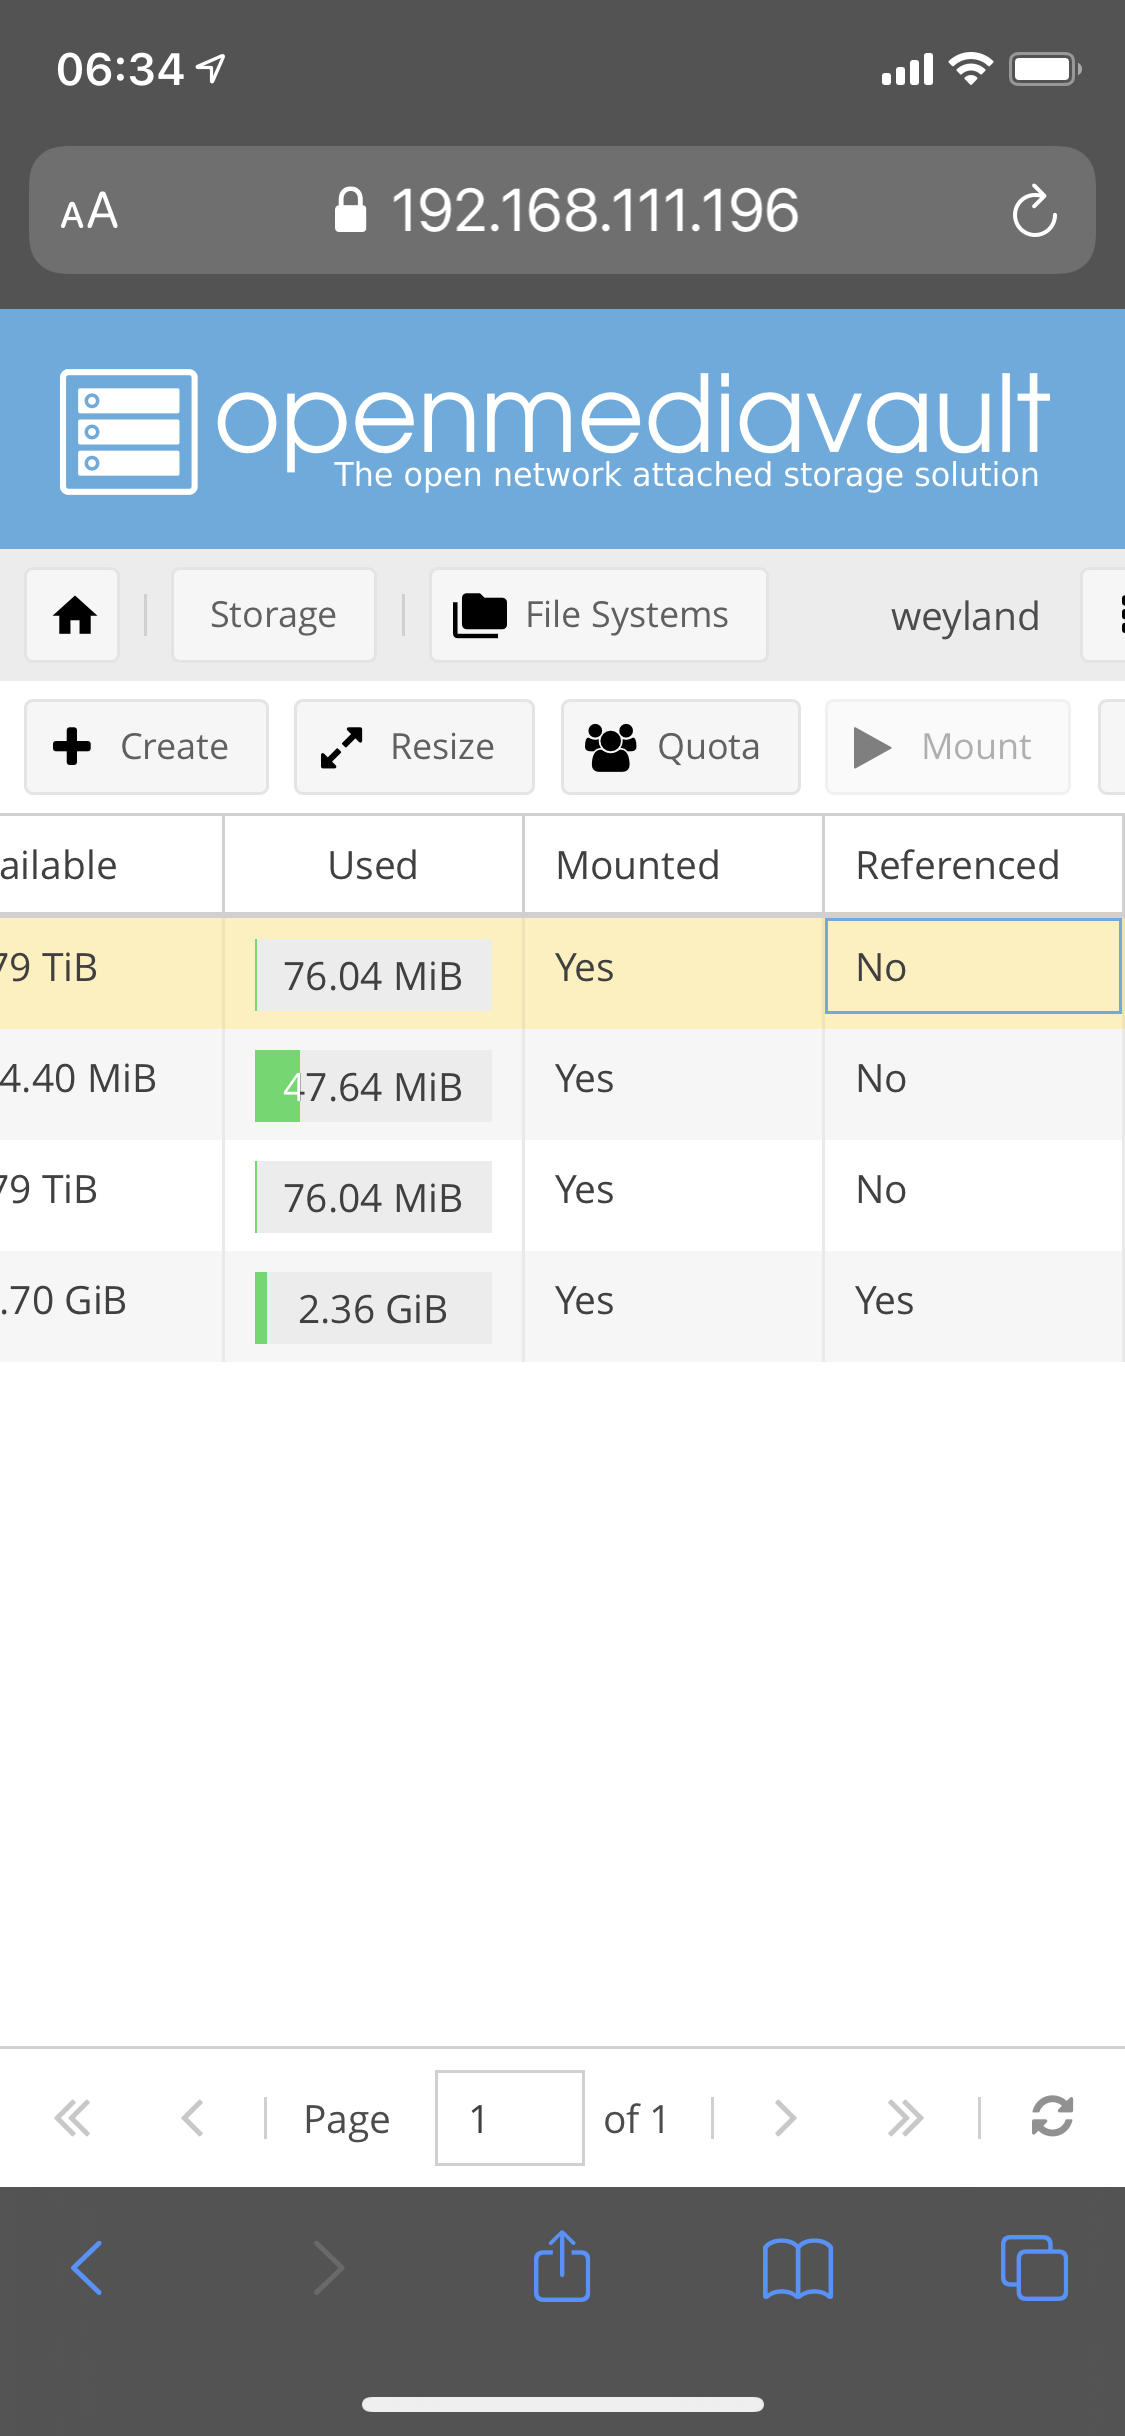
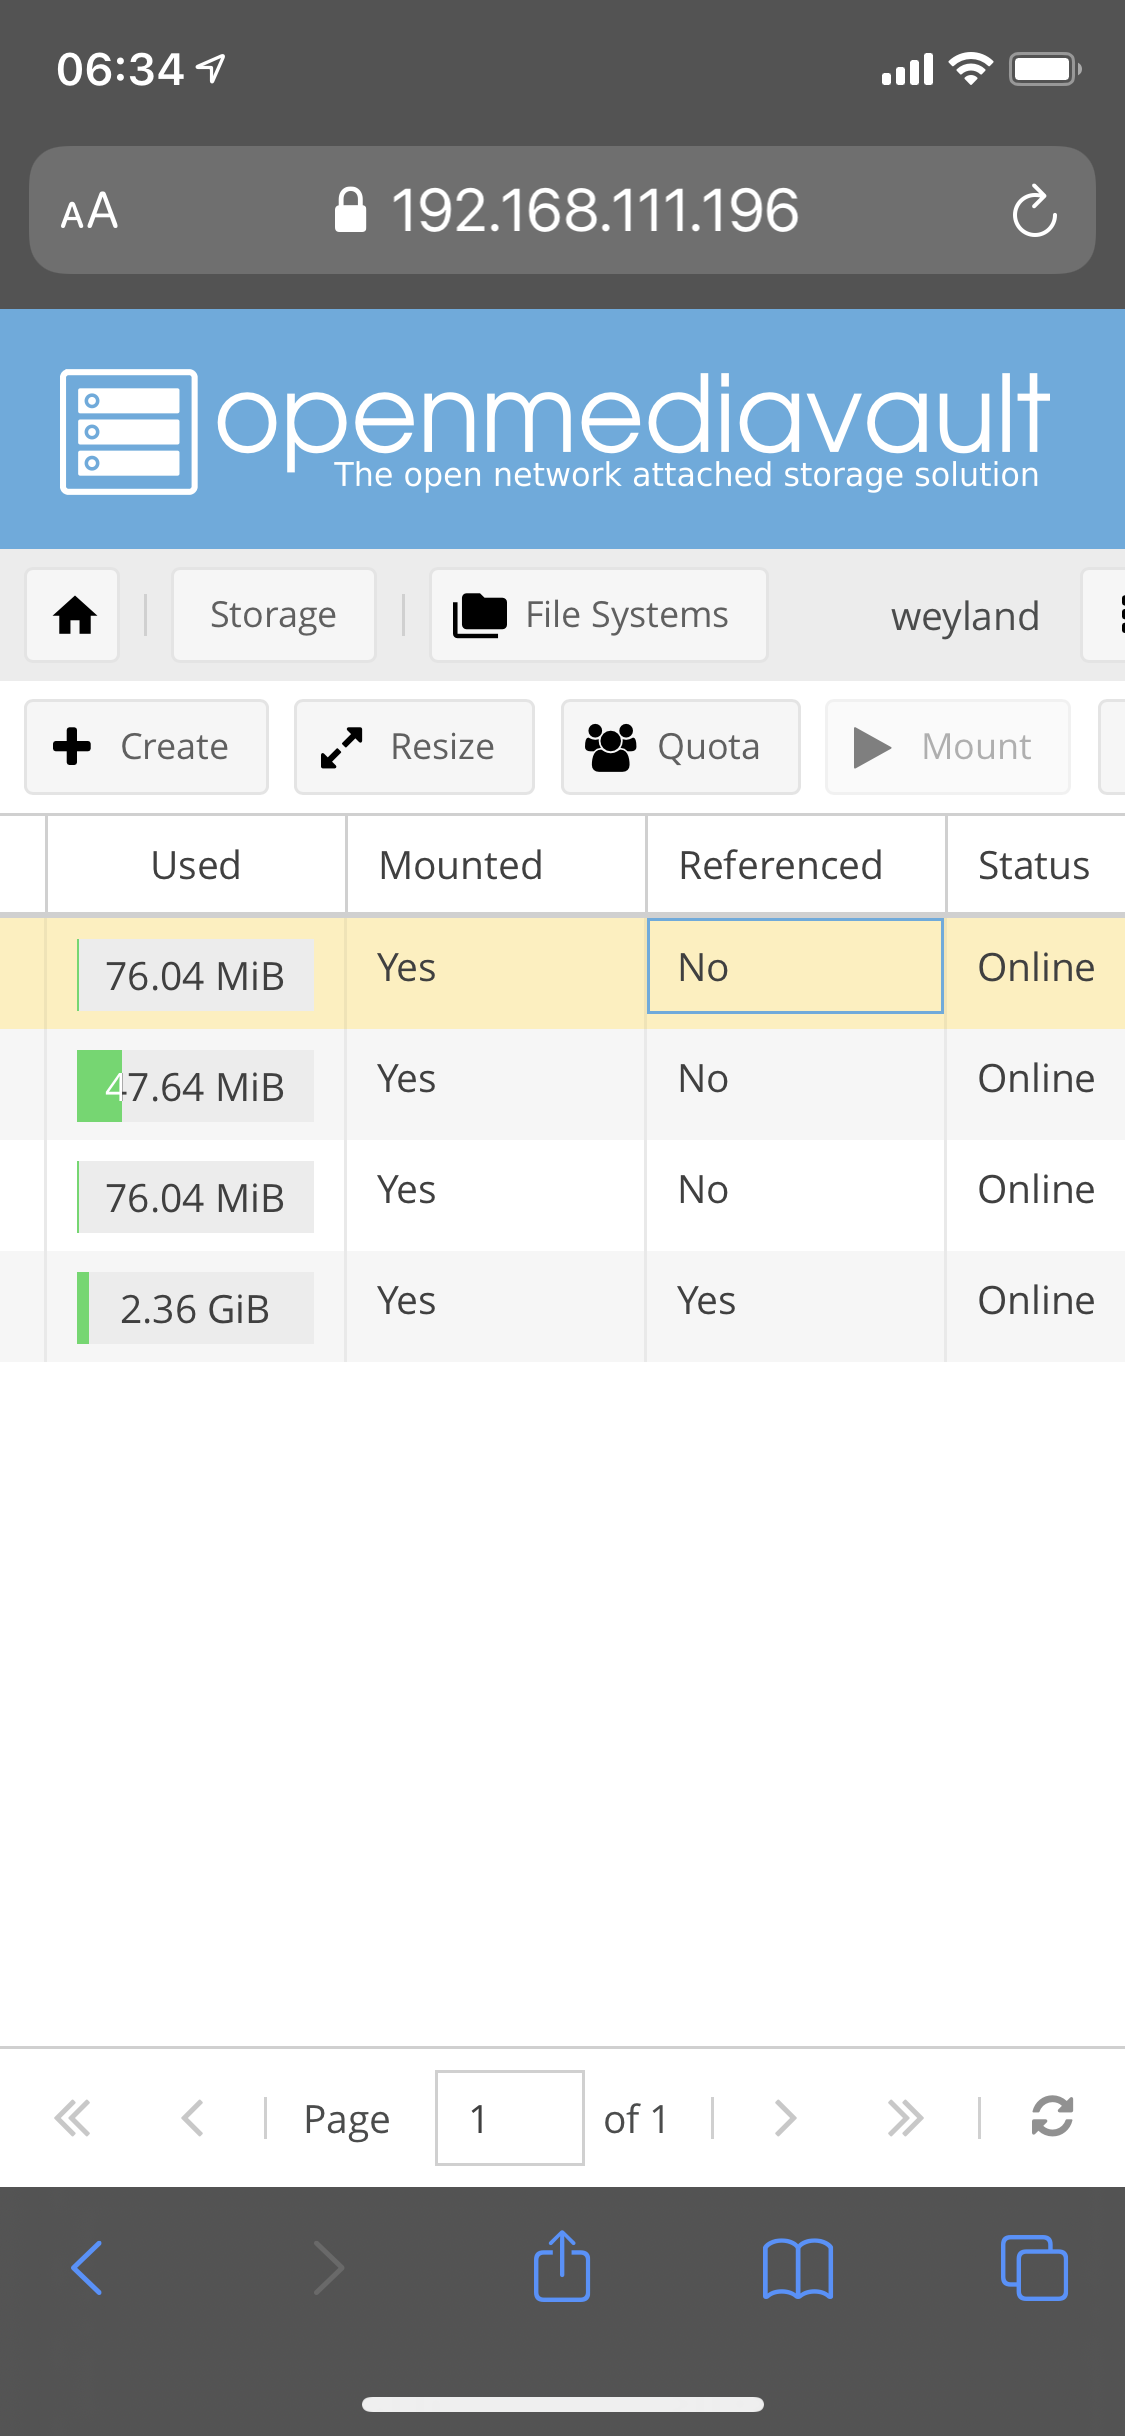
Creating a filesystem on a hard drive


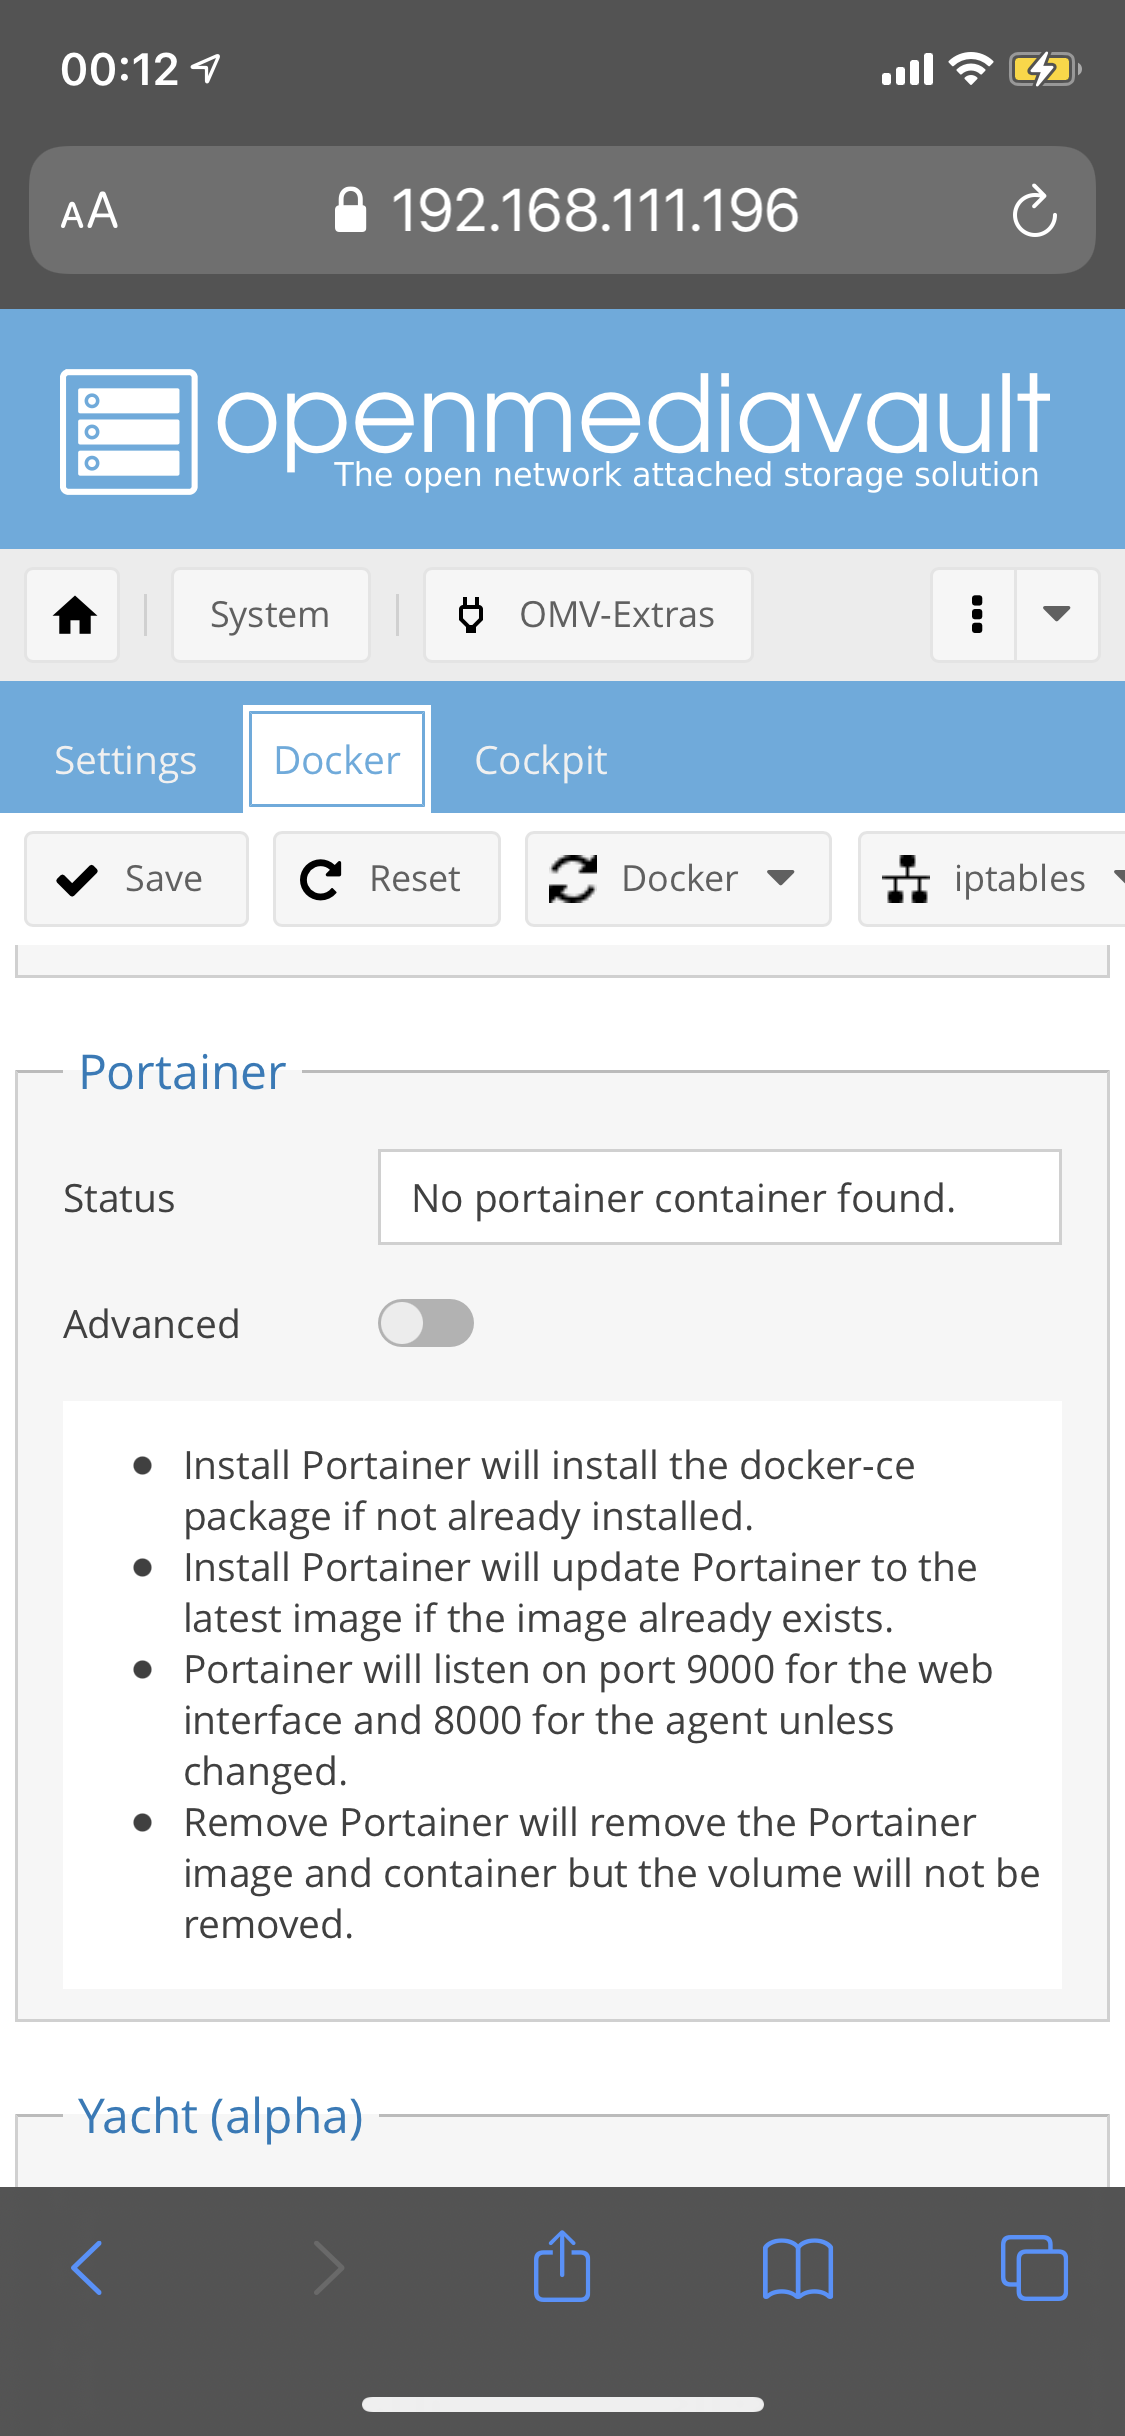
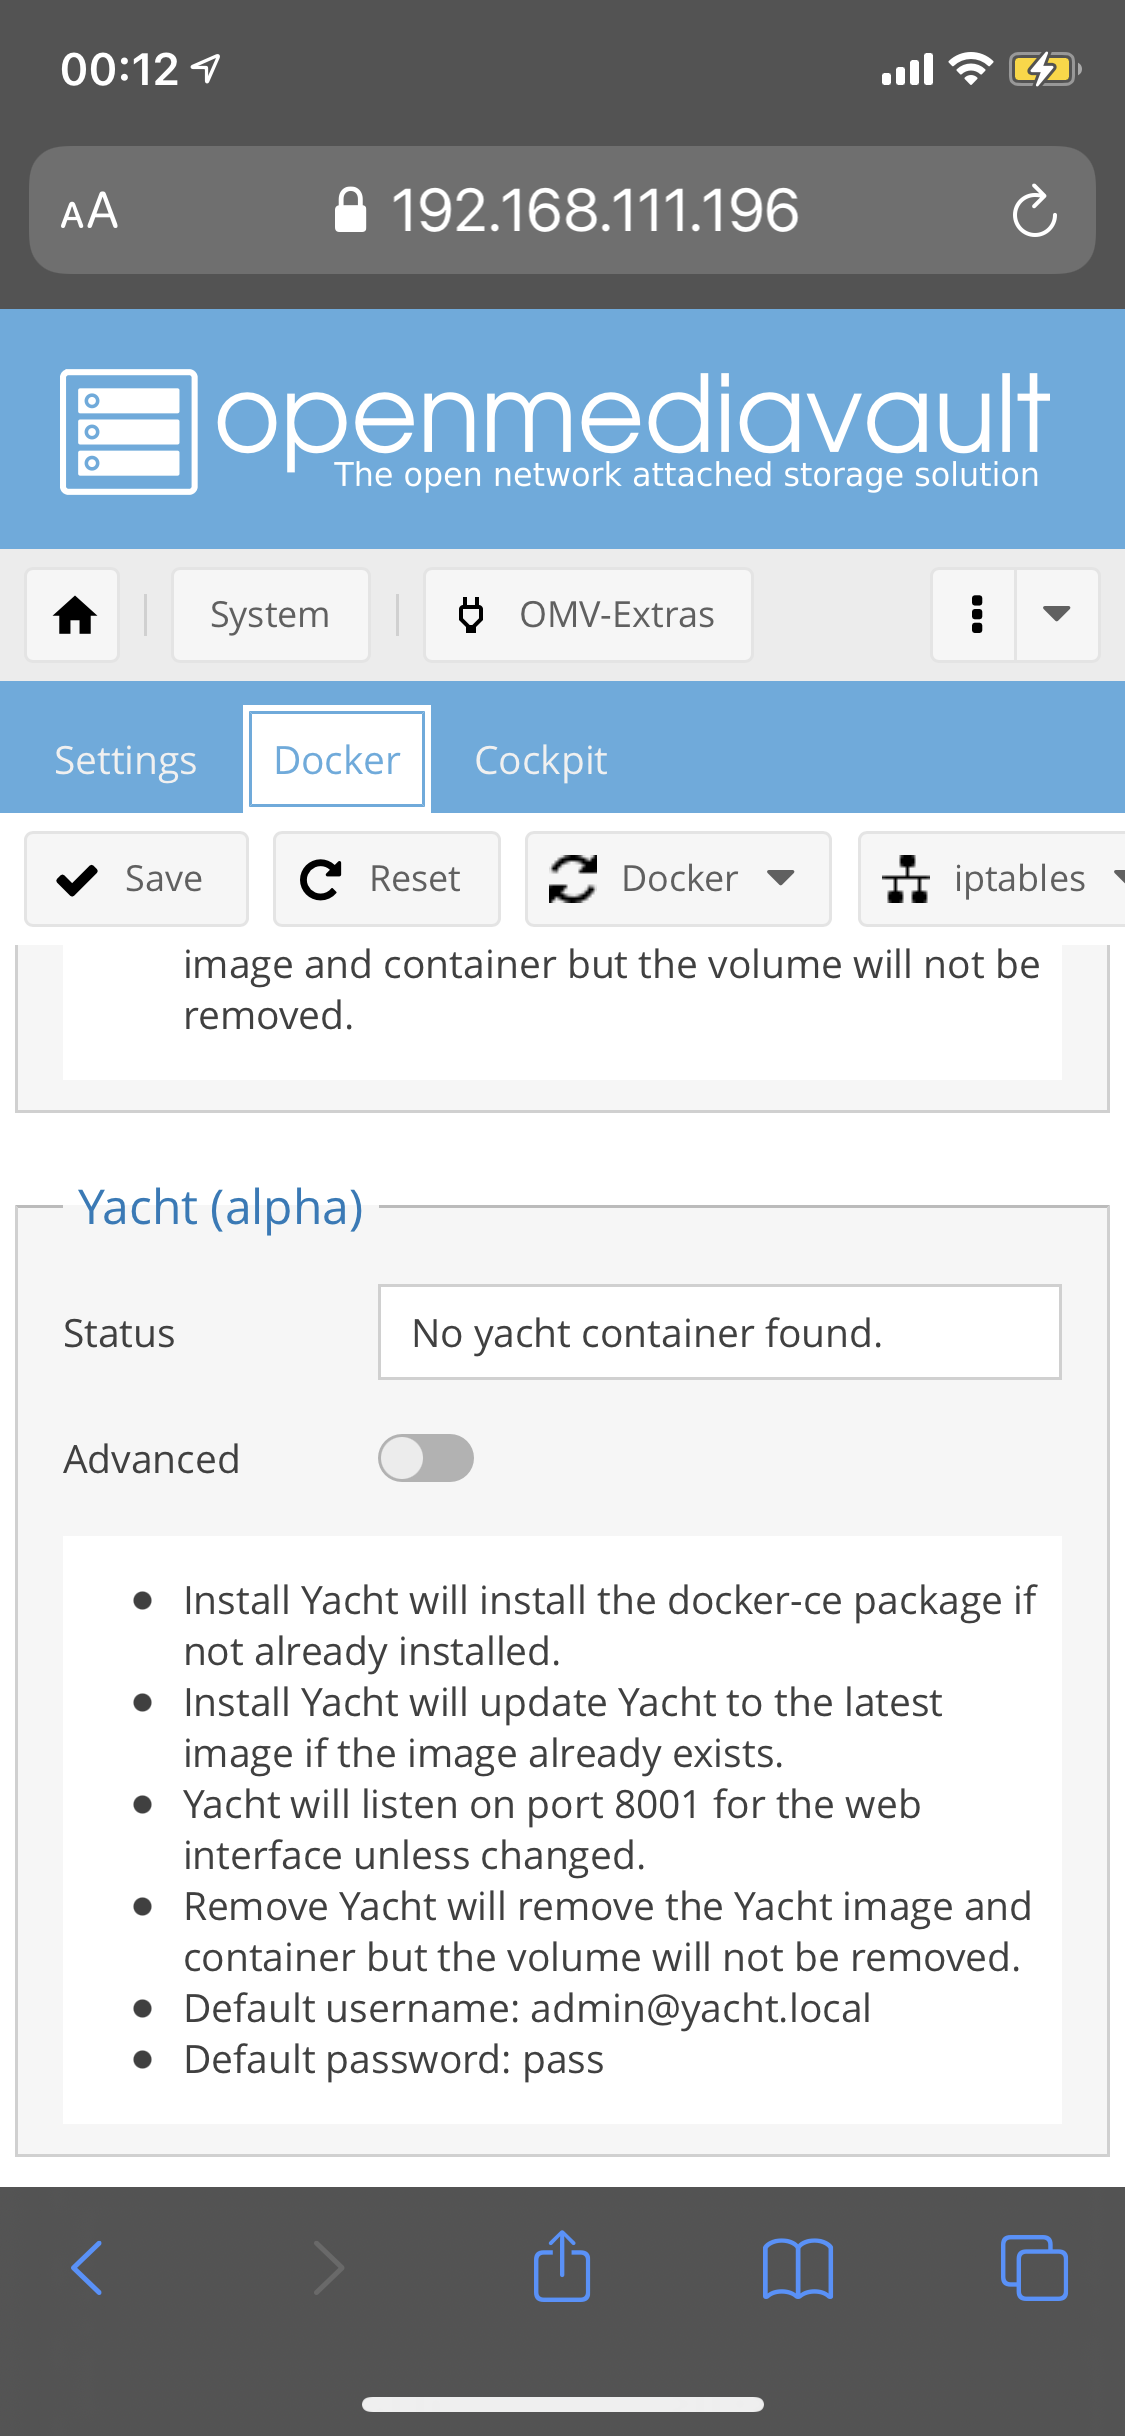
You can install docker and run containers

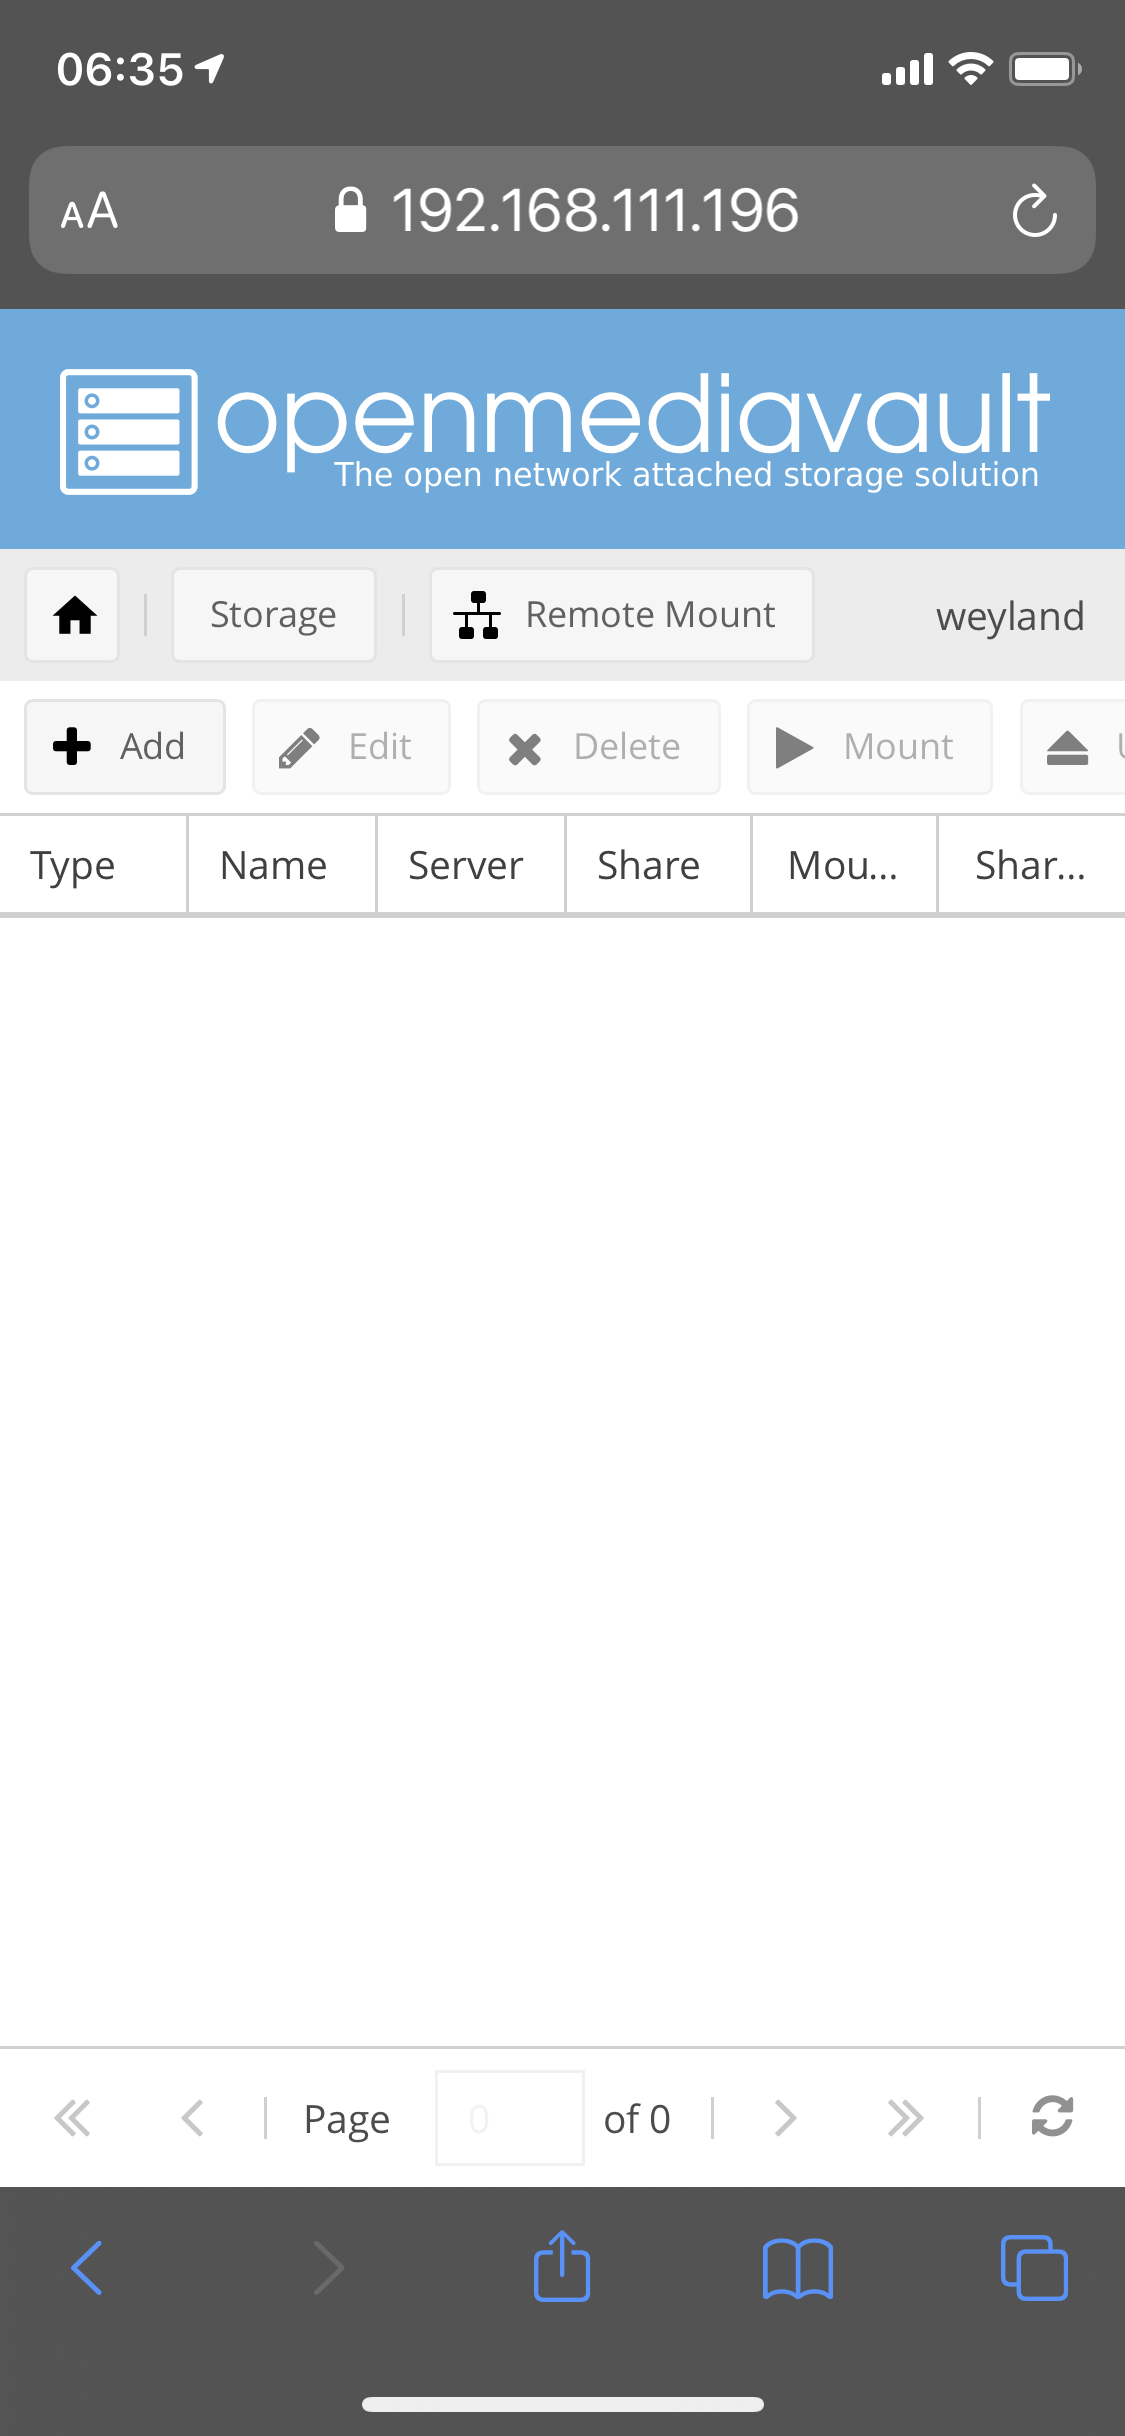
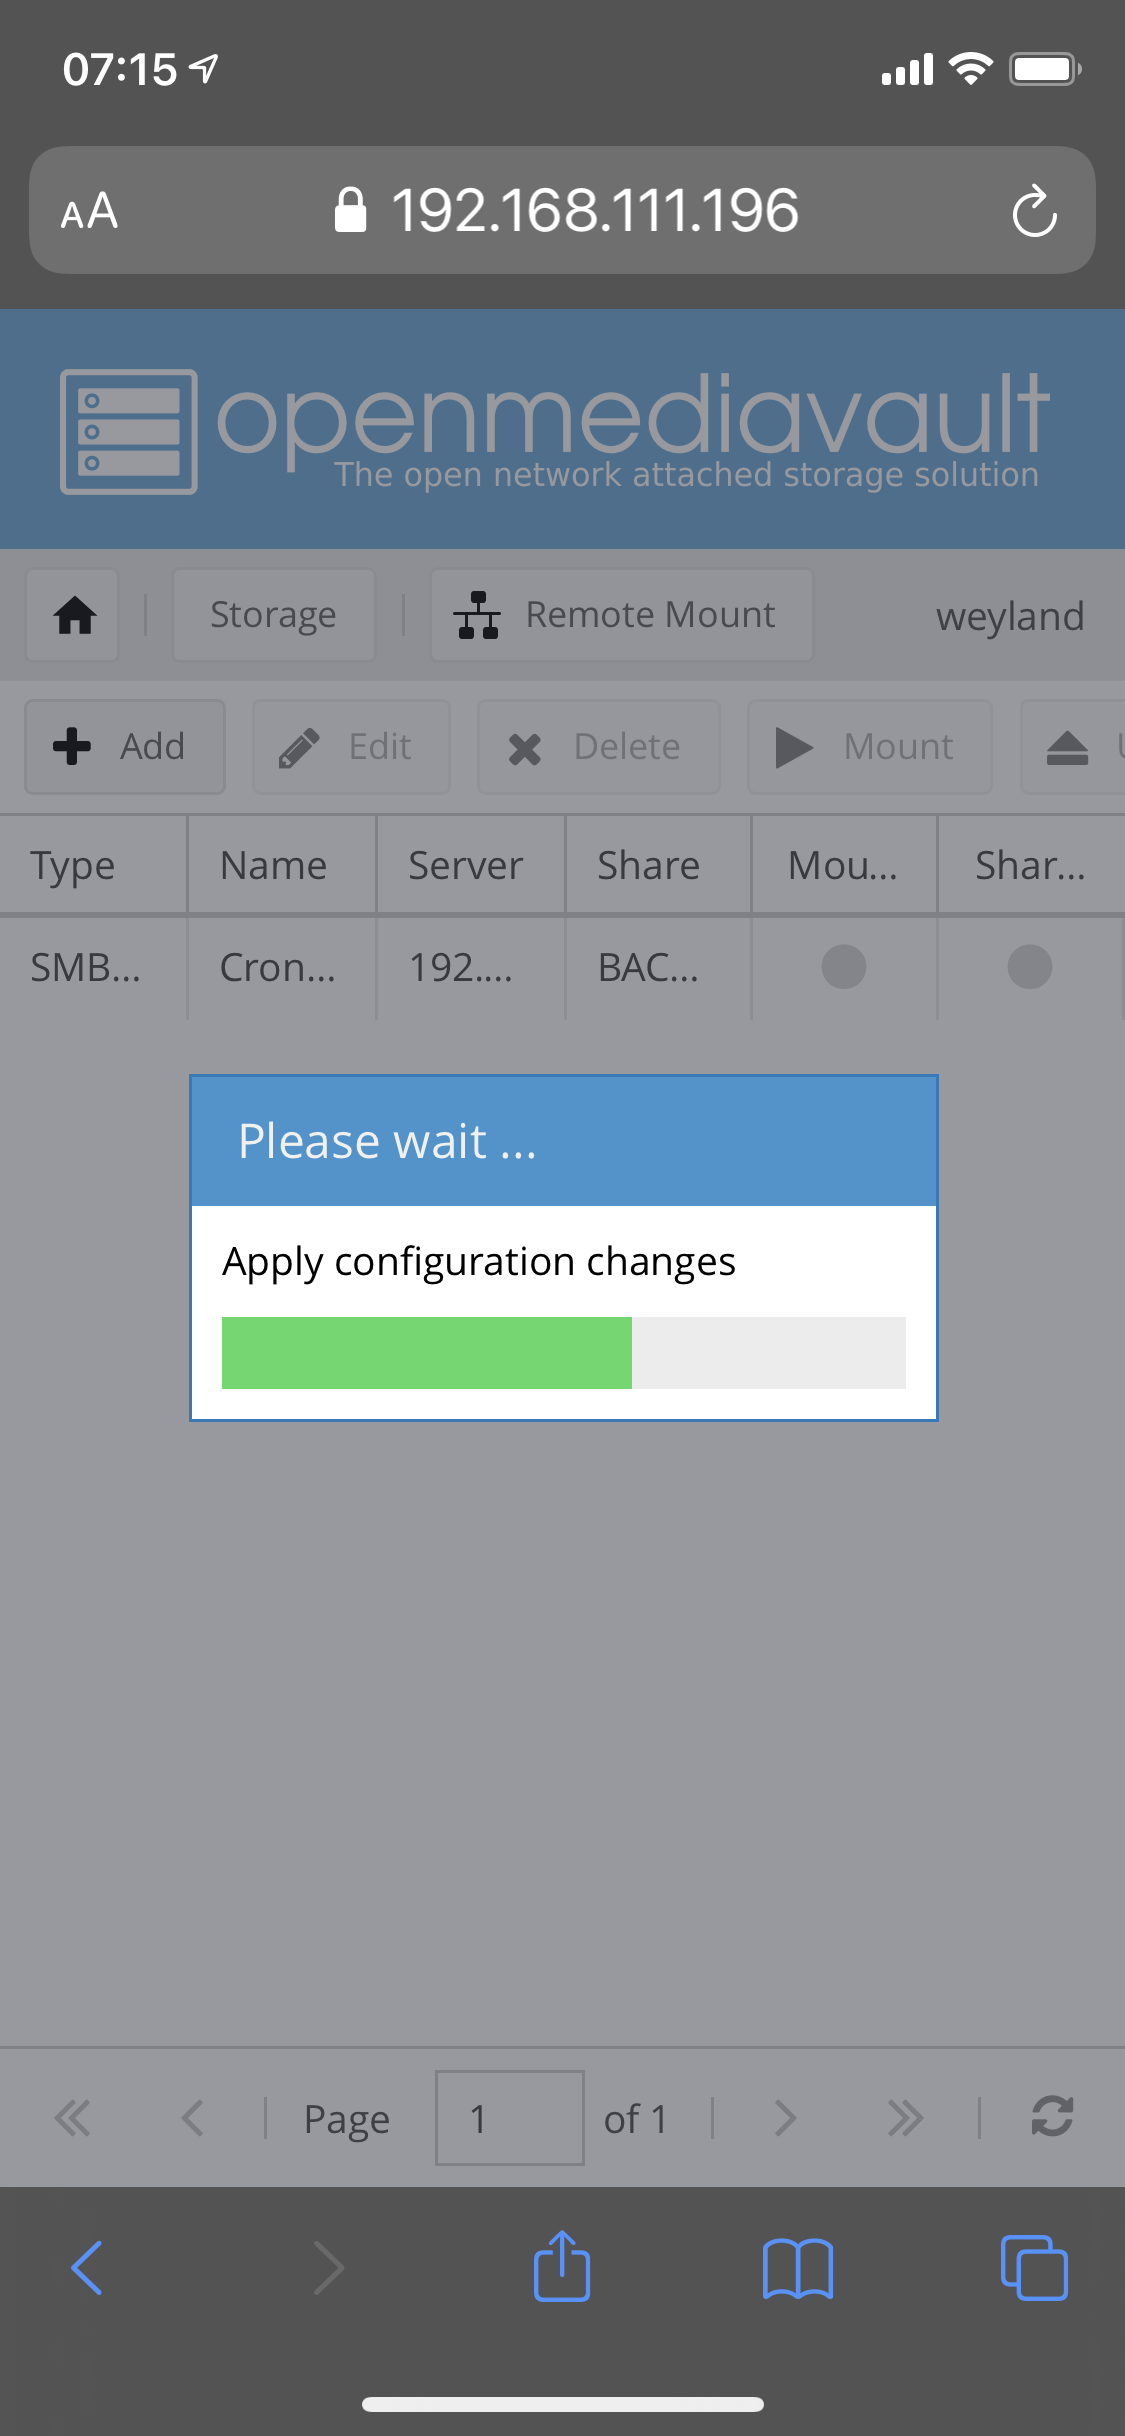
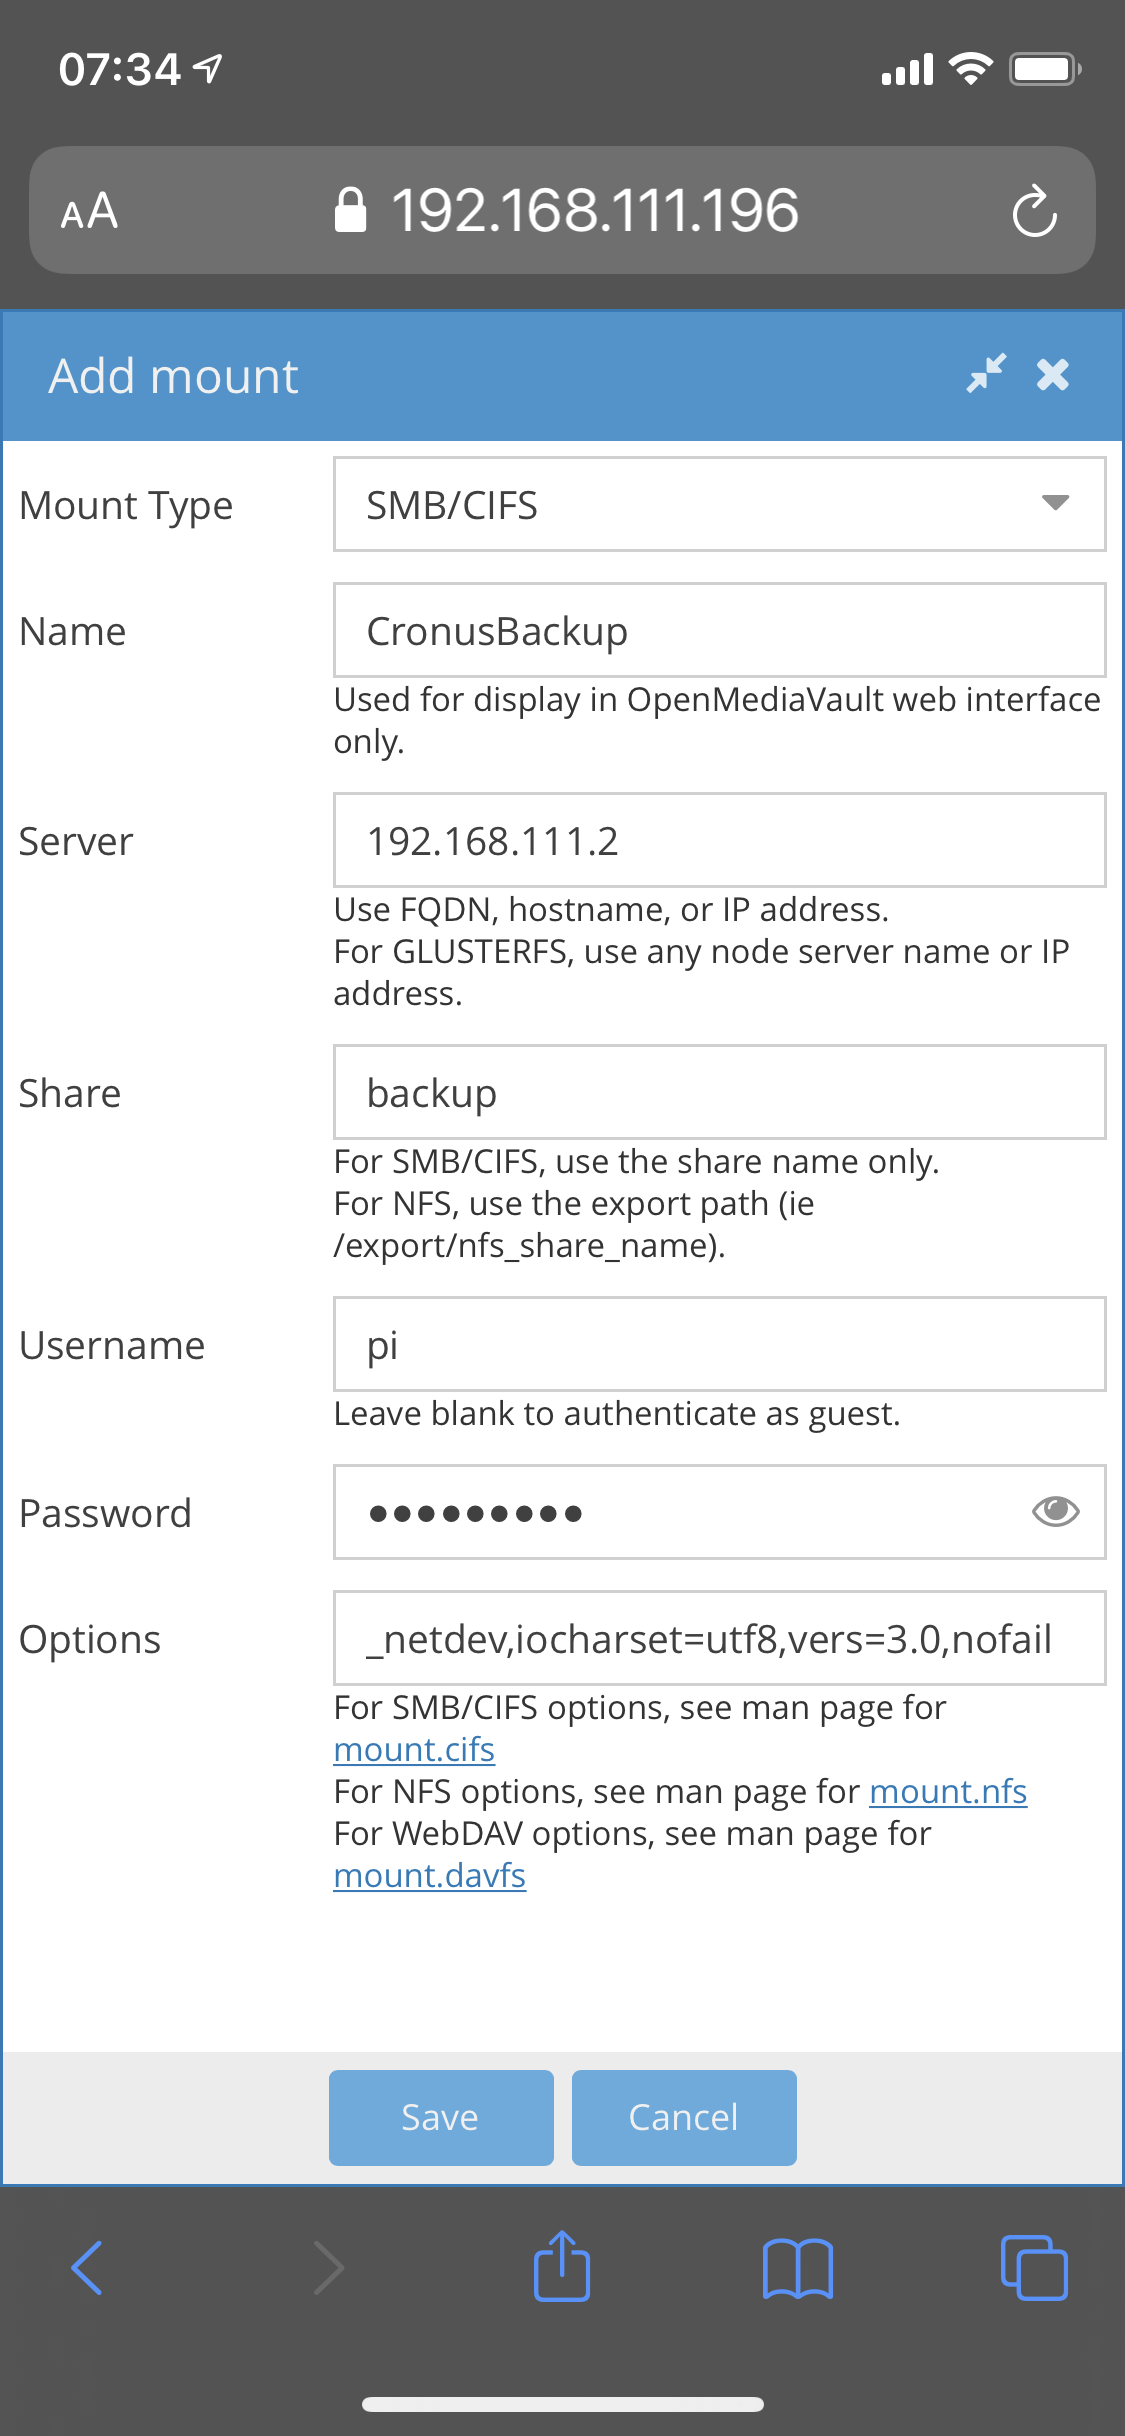
Mounting remote fileshares
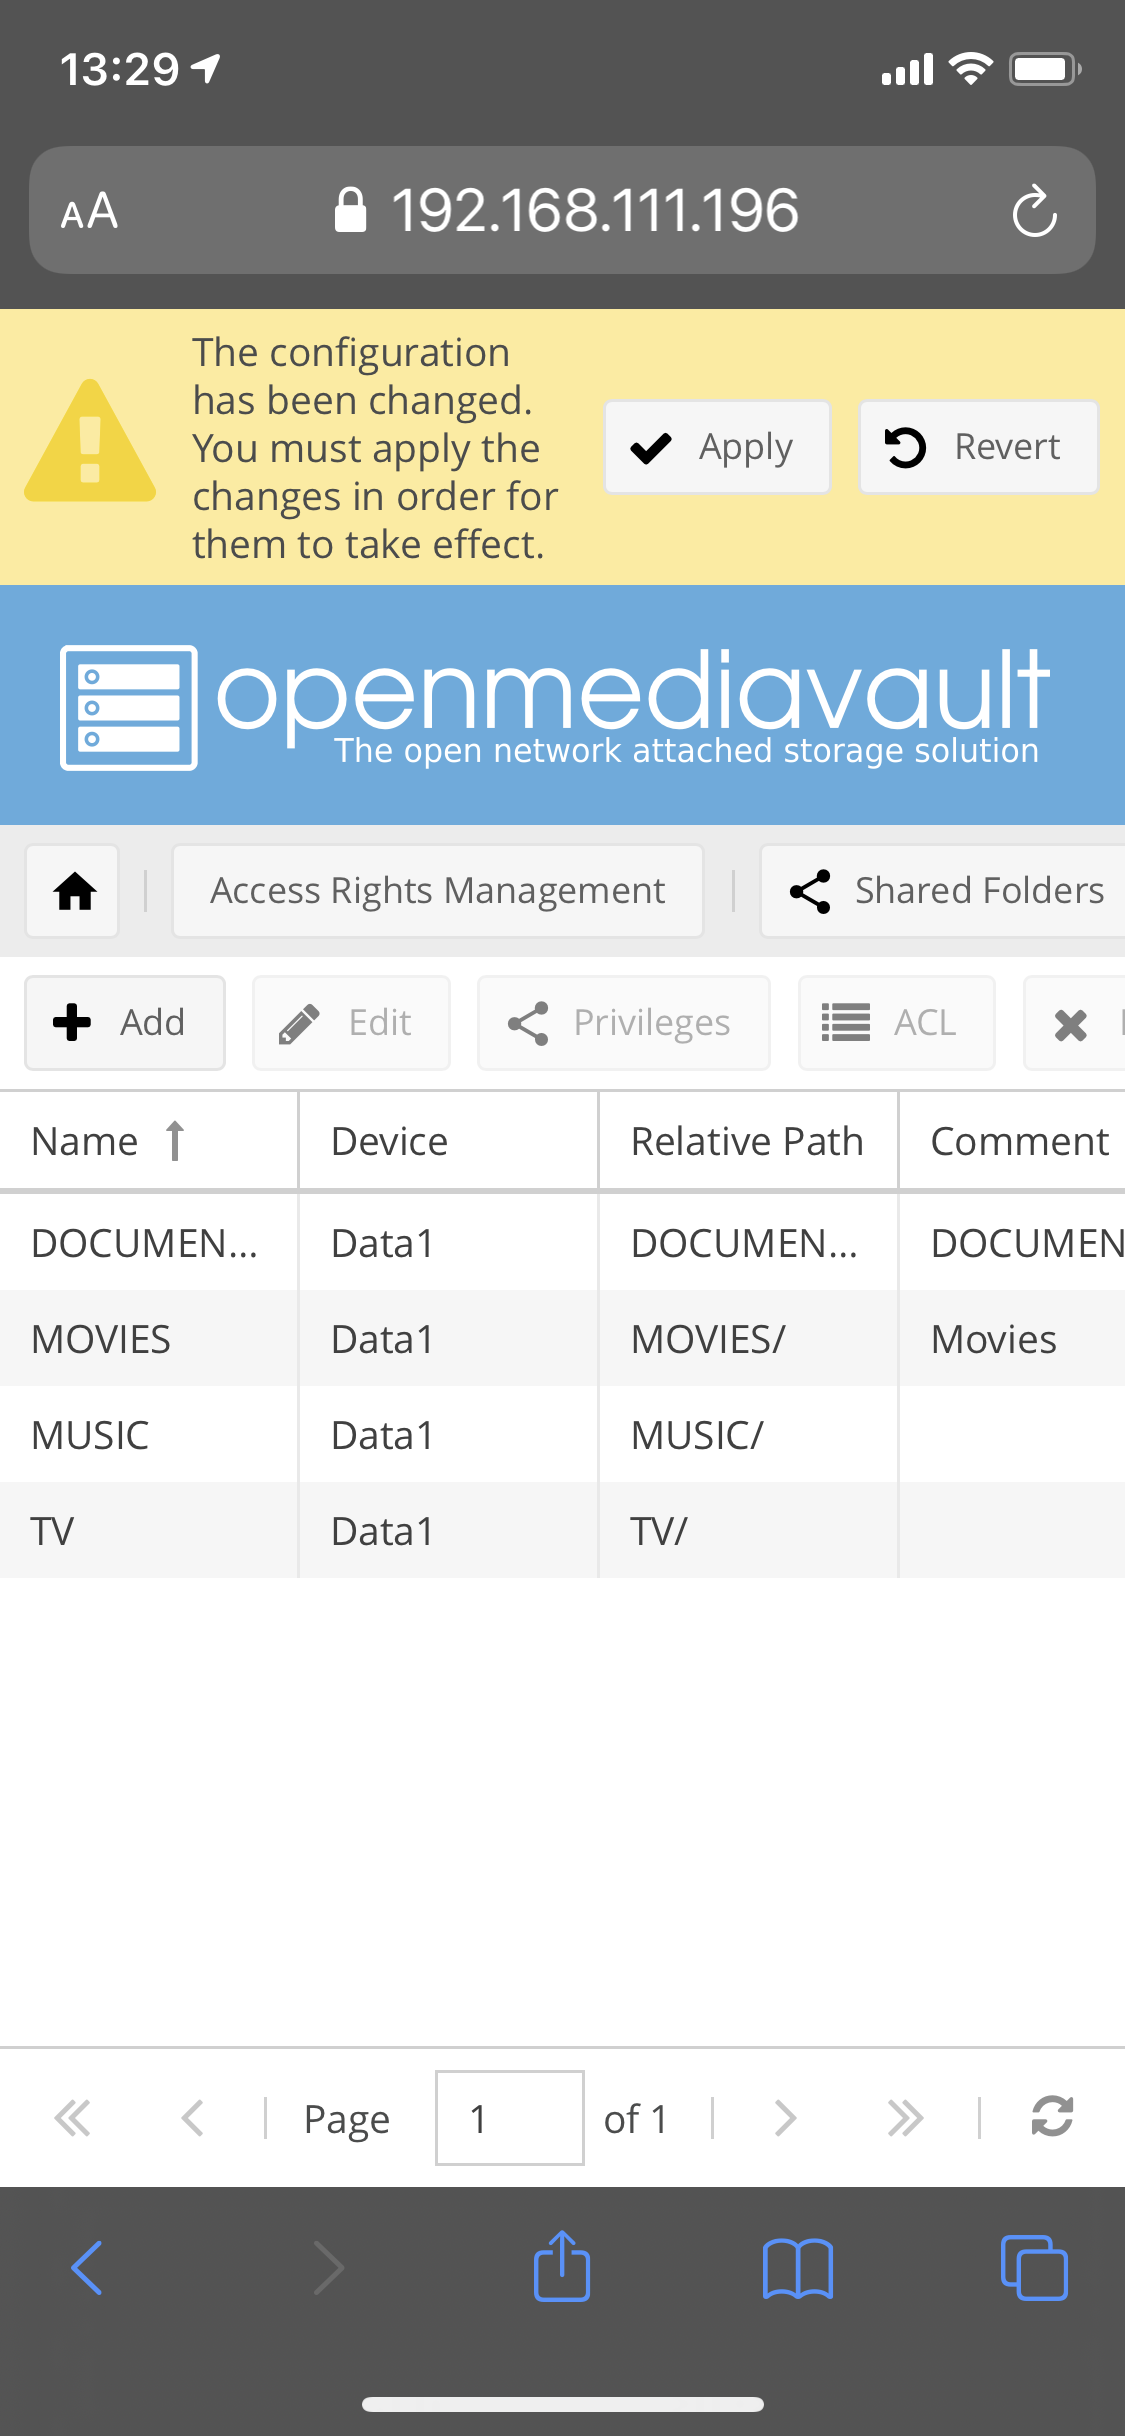
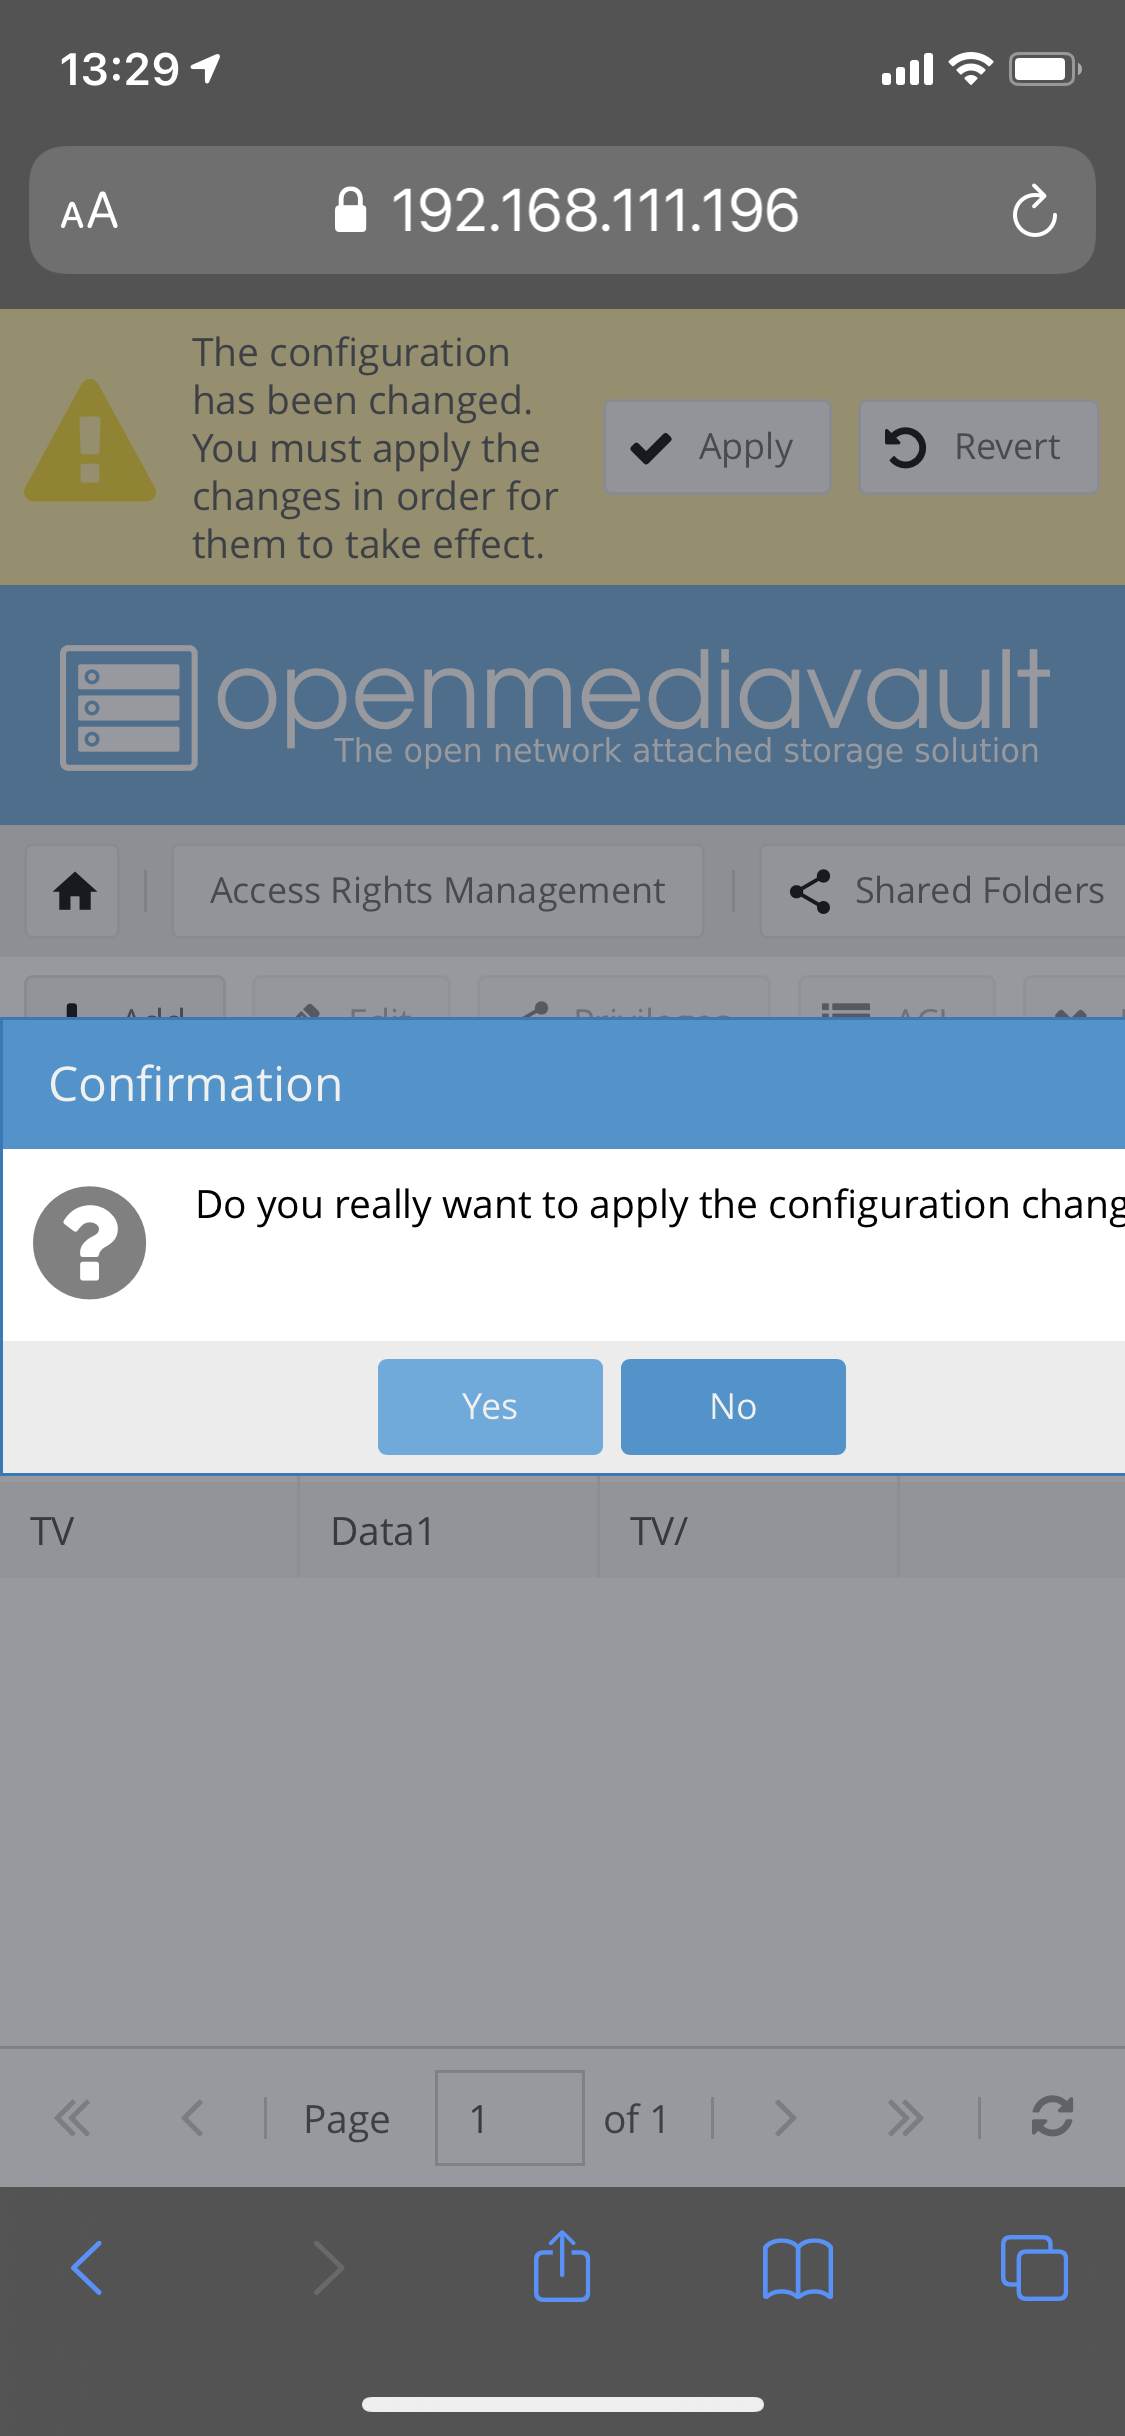
Adding local mountpoints/shares

And there you have it, you have a Raspberry Pi running as a NAS and Media Centre (with DLNA support) using Open Media Vault.
As ever, thanks for reading and feel free to leave comments down below!
If you like what I do and appreciate the time and effort and expense that goes into my content you can always ![]()